Nutrition Facts
0 servings


Welcome back to My Modern Homestead! I'm Janet, and today we're diving into one of the most beloved recipes on my blog and Pinterest—pickled okra. If you've never tried it, you're in for a treat. Not only is okra packed with health benefits, but when pickled just right, it makes a crisp, tangy snack with a spicy kick that’s downright addictive.
Whether you’re new to canning or a seasoned pro, this detailed step-by-step guide will walk you through everything you need to make perfectly pickled okra using a traditional water bath canning method.
Why Pickled Okra?
Okra is more than a Southern staple—it’s a nutritional powerhouse. Rich in fiber, antioxidants, and vitamins, okra supports gut health, lowers blood sugar, and may even aid in heart health. But let’s be honest, we’re pickling it today because it’s delicious.
Preparing Your Okra for Canning
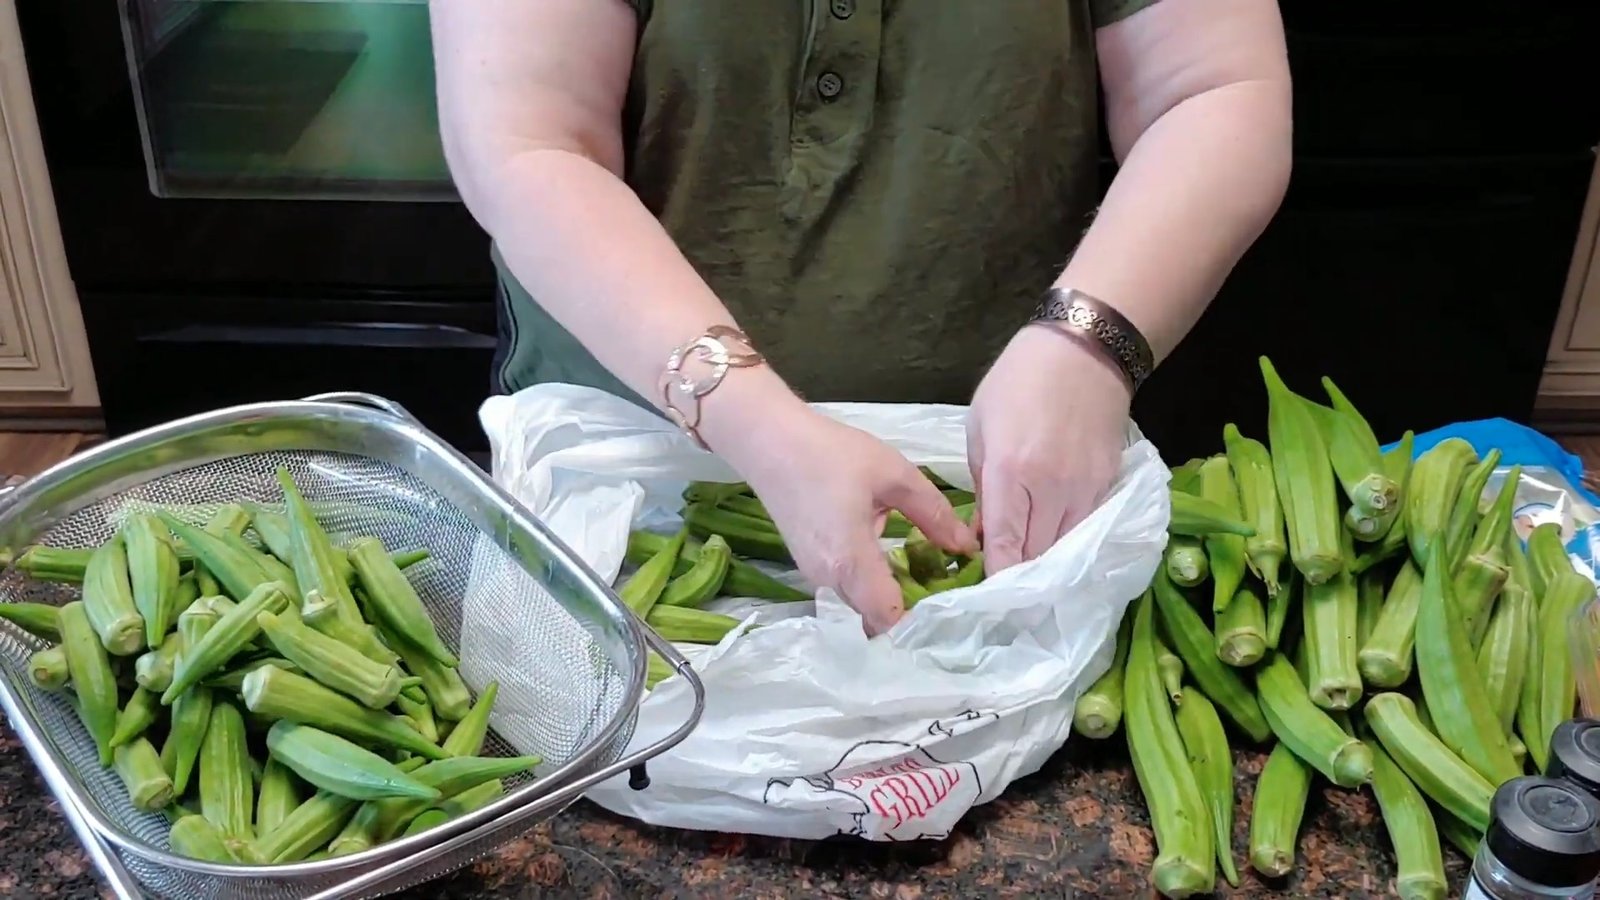
The key to great pickled okra is choosing small, tender pods. Larger pods can be too tough and won’t fit well in your jars. After sorting your okra:
Trim the tops to remove any long stems.
Rinse thoroughly and set aside to drain.
If you have leftover large pods, freeze or add them to smoothies—they’re surprisingly good when blended properly.
Sterilize Your Jars
I used seven wide-mouth pint jars, but the exact number may vary. Bring your jars to a boil and sterilize them for at least 10 minutes. Even if you’re tempted to try open-kettle canning, I recommend processing your jars in a water bath—especially if you’re new to canning.
Spices for Pickled Okra
These bold, aromatic spices create the classic flavor:
4 tbsp mustard seeds
2 tbsp coriander seeds
2 tbsp red pepper flakes (adjust for heat)
2 tsp fennel seeds
2 tsp celery seeds
4 tsp black peppercorns (I double this because my husband loves it)
Fresh garlic cloves (2–4 per jar)
Habanero or jalapeño slices (optional for a fiery batch)
Brine Recipe
In a large saucepan, combine:
3 cups white vinegar
3 cups water
1.5 tbsp sugar
4.5 tbsp canning salt
Bring the mixture to a rolling boil, stirring to dissolve the salt and sugar completely.
Pack the Jars
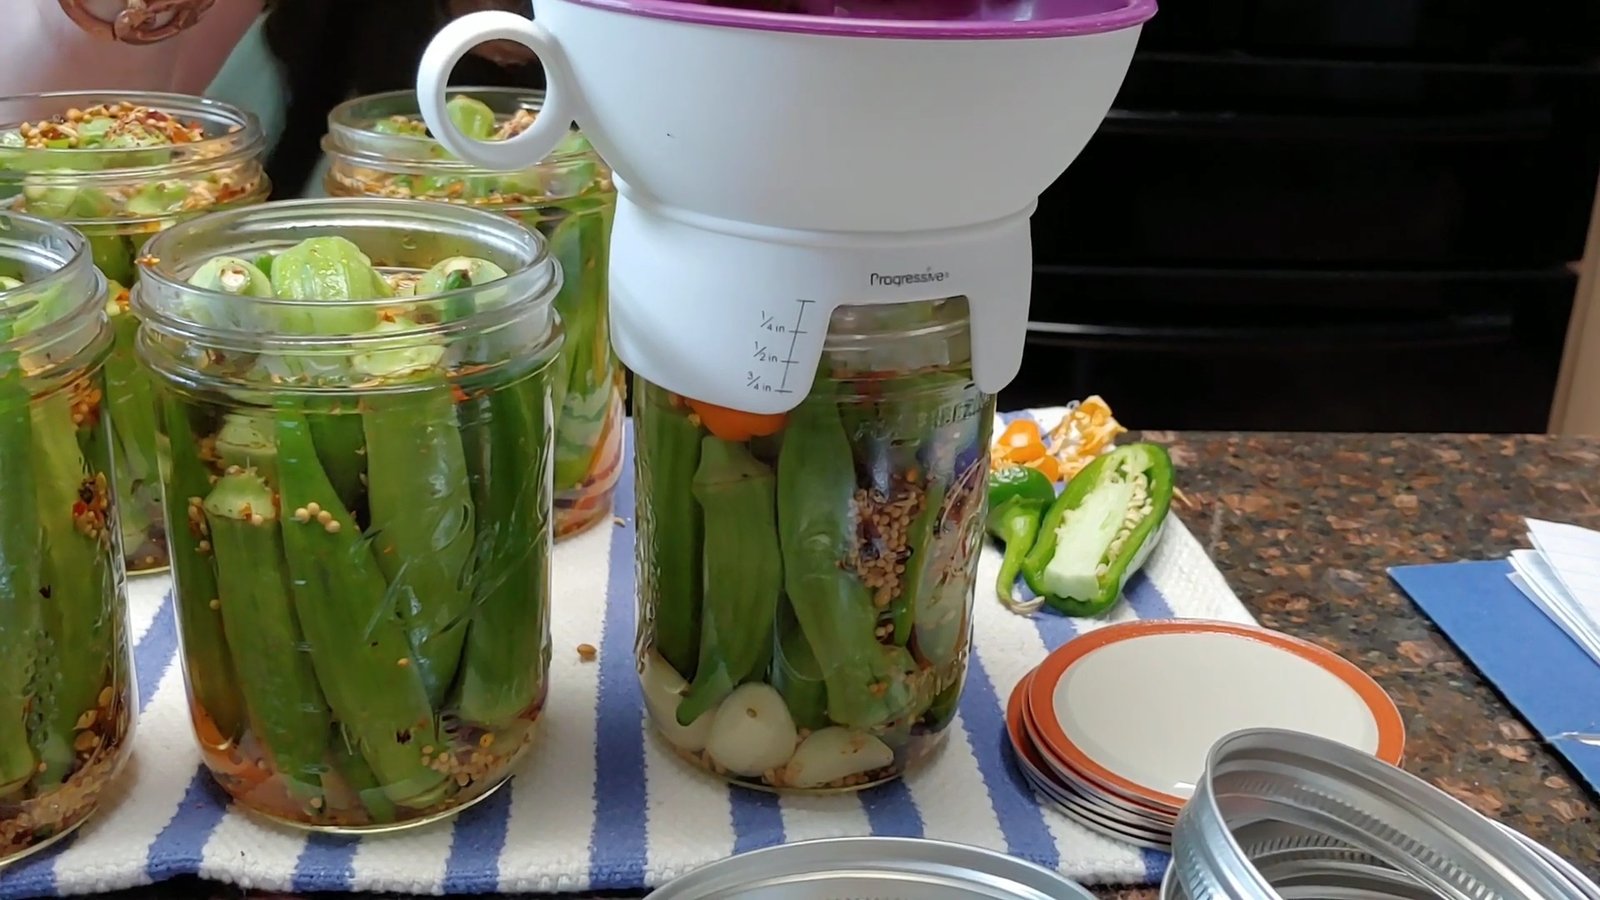
Add 2 cloves of garlic to each sterilized jar.
")
Add one half of a hot pepper (if desired).
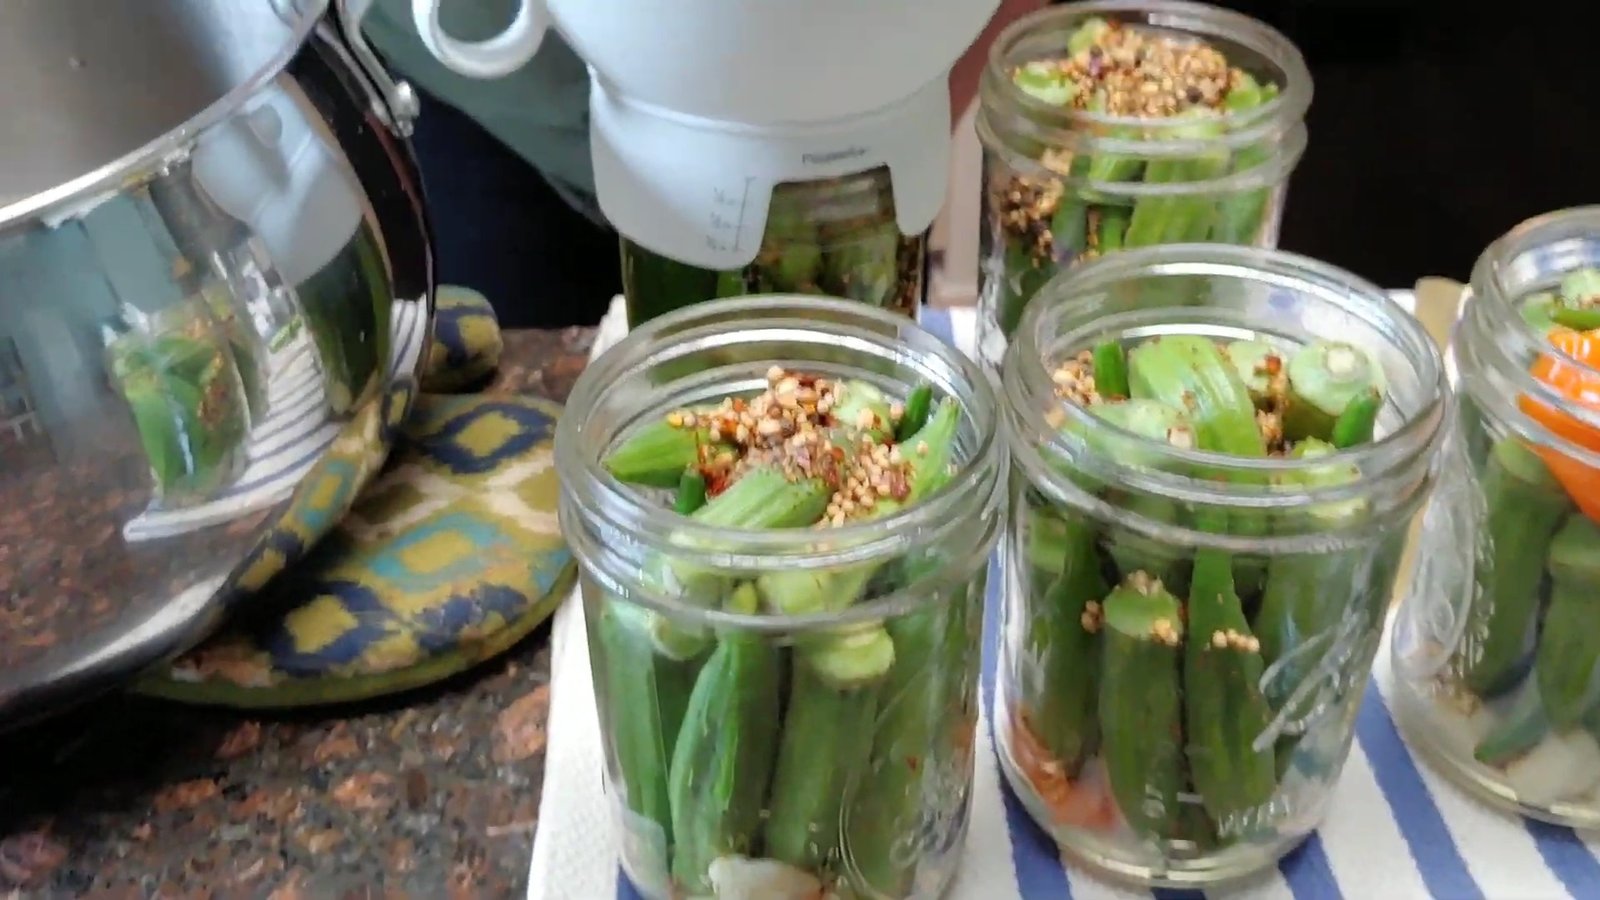
Pack the okra tightly but gently, alternating tips up and down to maximize space.
Add 1 tbsp of the spice blend to each jar.
Pour hot brine over the okra, leaving ½ inch headspace.
Remove air bubbles using a plastic knife or canning tool.
Wipe jar rims with a clean, damp cloth to ensure a tight seal.
Apply new lids and finger-tighten rings.
Process in Water Bath
Place jars in a boiling water bath canner with at least 1 inch of water above the lids. Bring back to a boil and process for 15 minutes.
After processing, allow jars to cool naturally. Don’t disturb them or remove excess water—just let them seal undisturbed.
Final Tips & Serving Ideas
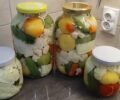
Once cooled, check your seals. Any unsealed jars should be refrigerated and eaten within a few weeks. Properly sealed jars can be stored in a cool, dark pantry for up to 12 months.
Pickled okra makes a fabulous garnish for Bloody Marys, a crunchy side for grilled meats, or a straight-from-the-jar snack.
Conclusion
")
This pickled okra recipe has stood the test of time in my kitchen and remains one of my most loved creations. Whether you're canning for the first time or adding a new staple to your pantry, these spicy, garlicky okra pickles are guaranteed to impress.
")
Welcome back to My Modern Homestead! I'm Janet, and today we're diving into one of the most beloved recipes on my blog and Pinterest—pickled okra. If you've never tried it, you're in for a treat. Not only is okra packed with health benefits, but when pickled just right, it makes a crisp, tangy snack with a spicy kick that’s downright addictive.
Whether you’re new to canning or a seasoned pro, this detailed step-by-step guide will walk you through everything you need to make perfectly pickled okra using a traditional water bath canning method.
Why Pickled Okra?
Okra is more than a Southern staple—it’s a nutritional powerhouse. Rich in fiber, antioxidants, and vitamins, okra supports gut health, lowers blood sugar, and may even aid in heart health. But let’s be honest, we’re pickling it today because it’s delicious.
Preparing Your Okra for Canning
The key to great pickled okra is choosing small, tender pods. Larger pods can be too tough and won’t fit well in your jars. After sorting your okra:
Trim the tops to remove any long stems.
Rinse thoroughly and set aside to drain.
If you have leftover large pods, freeze or add them to smoothies—they’re surprisingly good when blended properly.
Sterilize Your Jars
I used seven wide-mouth pint jars, but the exact number may vary. Bring your jars to a boil and sterilize them for at least 10 minutes. Even if you’re tempted to try open-kettle canning, I recommend processing your jars in a water bath—especially if you’re new to canning.
Spices for Pickled Okra
These bold, aromatic spices create the classic flavor:
4 tbsp mustard seeds
2 tbsp coriander seeds
2 tbsp red pepper flakes (adjust for heat)
2 tsp fennel seeds
2 tsp celery seeds
4 tsp black peppercorns (I double this because my husband loves it)
Fresh garlic cloves (2–4 per jar)
Habanero or jalapeño slices (optional for a fiery batch)
Brine Recipe
In a large saucepan, combine:
3 cups white vinegar
3 cups water
1.5 tbsp sugar
4.5 tbsp canning salt
Bring the mixture to a rolling boil, stirring to dissolve the salt and sugar completely.
Pack the Jars
Add 2 cloves of garlic to each sterilized jar.
Add one half of a hot pepper (if desired).
Pack the okra tightly but gently, alternating tips up and down to maximize space.
Add 1 tbsp of the spice blend to each jar.
Pour hot brine over the okra, leaving ½ inch headspace.
Remove air bubbles using a plastic knife or canning tool.
Wipe jar rims with a clean, damp cloth to ensure a tight seal.
Apply new lids and finger-tighten rings.
Process in Water Bath
Place jars in a boiling water bath canner with at least 1 inch of water above the lids. Bring back to a boil and process for 15 minutes.
After processing, allow jars to cool naturally. Don’t disturb them or remove excess water—just let them seal undisturbed.
Final Tips & Serving Ideas
Once cooled, check your seals. Any unsealed jars should be refrigerated and eaten within a few weeks. Properly sealed jars can be stored in a cool, dark pantry for up to 12 months.
Pickled okra makes a fabulous garnish for Bloody Marys, a crunchy side for grilled meats, or a straight-from-the-jar snack.
Conclusion
This pickled okra recipe has stood the test of time in my kitchen and remains one of my most loved creations. Whether you're canning for the first time or adding a new staple to your pantry, these spicy, garlicky okra pickles are guaranteed to impress.
0 servings