

Nutrition Facts
0 servings

Homemade Chicken Stock in the Instant Pot: Easy Recipe for Pressure Canning
If you're looking for a simple way to make flavorful, homemade chicken stock while clearing out your freezer, this easy Instant Pot recipe is for you. Today, we’re walking through how to make chicken stock using frozen, bone-in, skin-on chicken—perfect for pressure canning and storing long-term.
Whether you're meal prepping, preserving food, or just want to avoid freezer burn, this is a delicious and practical recipe you'll come back to time and again.
Why Make Chicken Stock at Home?
Store-bought chicken stock can’t compare to the rich flavor and nutrition of homemade. Plus, if you’re like me and prefer boneless chicken in meals, those bone-in chicken cuts sitting in the freezer are ideal for broth.
Using what you have—like frozen chicken, dried onions, and pantry spices—you can create a nourishing broth that’s perfect for soups, stews, or sipping straight from a mug.
Ingredients for Homemade Chicken Stock
Here’s what I used for this batch:
Frozen, bone-in, skin-on chicken (2 large bags)
Dried chopped onions (Thrive Life brand)
3–5 cloves of garlic (previously frozen)
Salt and mixed peppercorns to taste
Water to fill the Instant Pot
Optional: 1–2 tablespoons of apple cider vinegar for added mineral extraction
You can easily customize your broth with additional herbs, veggies, or spices you have on hand.
Cooking Instructions (Instant Pot or Stove-Top)
Step 1: Load the Instant Pot
Place the frozen chicken directly in the Instant Pot. Add a bit of water to the bottom to prevent burning (trust me—no one wants to see the burn notice pop up).
Step 2: Add Seasonings
Sprinkle in your dried onions, whole garlic cloves, salt, and peppercorns. Adjust to taste—this is where your creativity shines.
Step 3: Fill With Water
Top off the pot with water, but don’t exceed the fill line. You want room for pressure to build safely.
Step 4: Pressure Cook
Set the Instant Pot to “Soup/Broth” or manual high pressure for 4 hours. This long cook time allows the bones to break down and infuse your stock with rich nutrients.
")
💡 No Instant Pot? Use a slow cooker, stovetop, or roaster oven instead. It’ll take longer, but the results are just as good.
Next Day: Straining and Canning Your Broth
Once the broth has cooled (I let mine sit in our cold breezeway overnight), it’s time to strain and prepare for canning.
")
Step 5: Strain the Broth
Use a fine mesh strainer to remove bones, skin, peppercorns, and garlic. If you want a clearer stock, run it through cheesecloth—but if you're okay with a little sediment, skip that step. All that goodness adds flavor and nutrients!
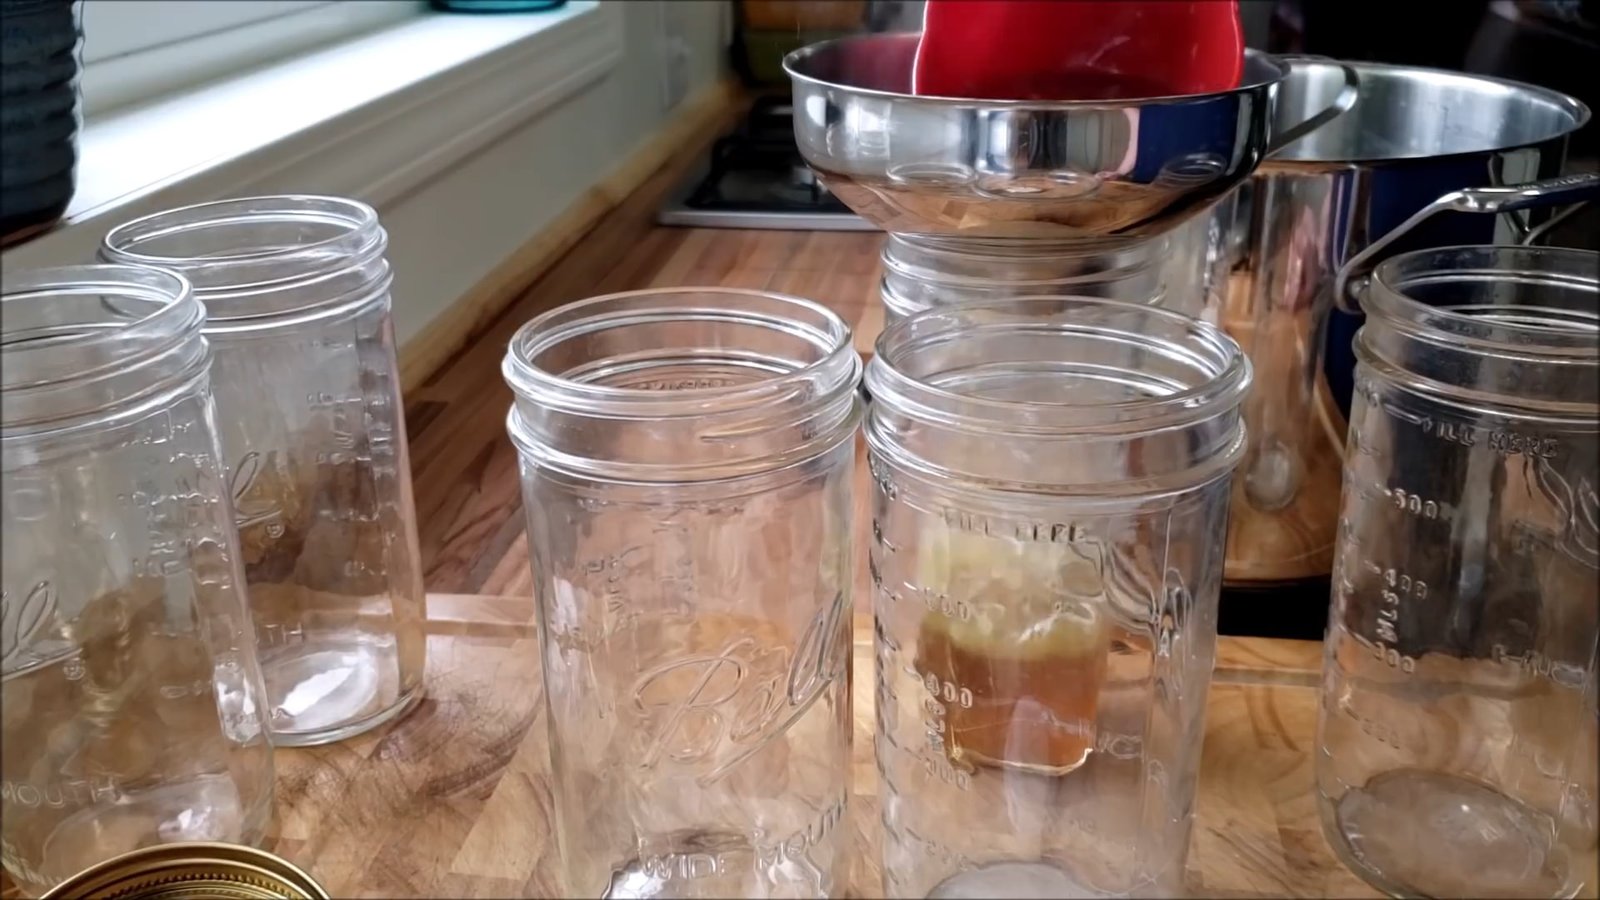
Step 6: Reheat and Fill Jars
Bring your strained broth to a rolling boil before transferring it into hot canning jars. I used pint-and-a-half jars, but pints or quarts work too. Fill to 1-inch headspace.
✅ Tip: If your stock forms a fat cap after cooling, that’s okay! Fat = flavor. You can skim it later if needed.
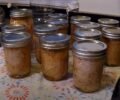
How to Pressure Can Chicken Stock
Follow standard pressure canning procedures:
Place jars in your preheated canner with hot water.
Secure the lid and vent a steady stream of steam for 10 minutes.
Add the weight and process at pressure:
")
20 minutes for pints
25 minutes for quarts and pint-and-a-half jars
Allow the pressure to release naturally before opening the canner.
🔥 Safety Reminder: Always open your canner lid away from you to avoid steam burns.
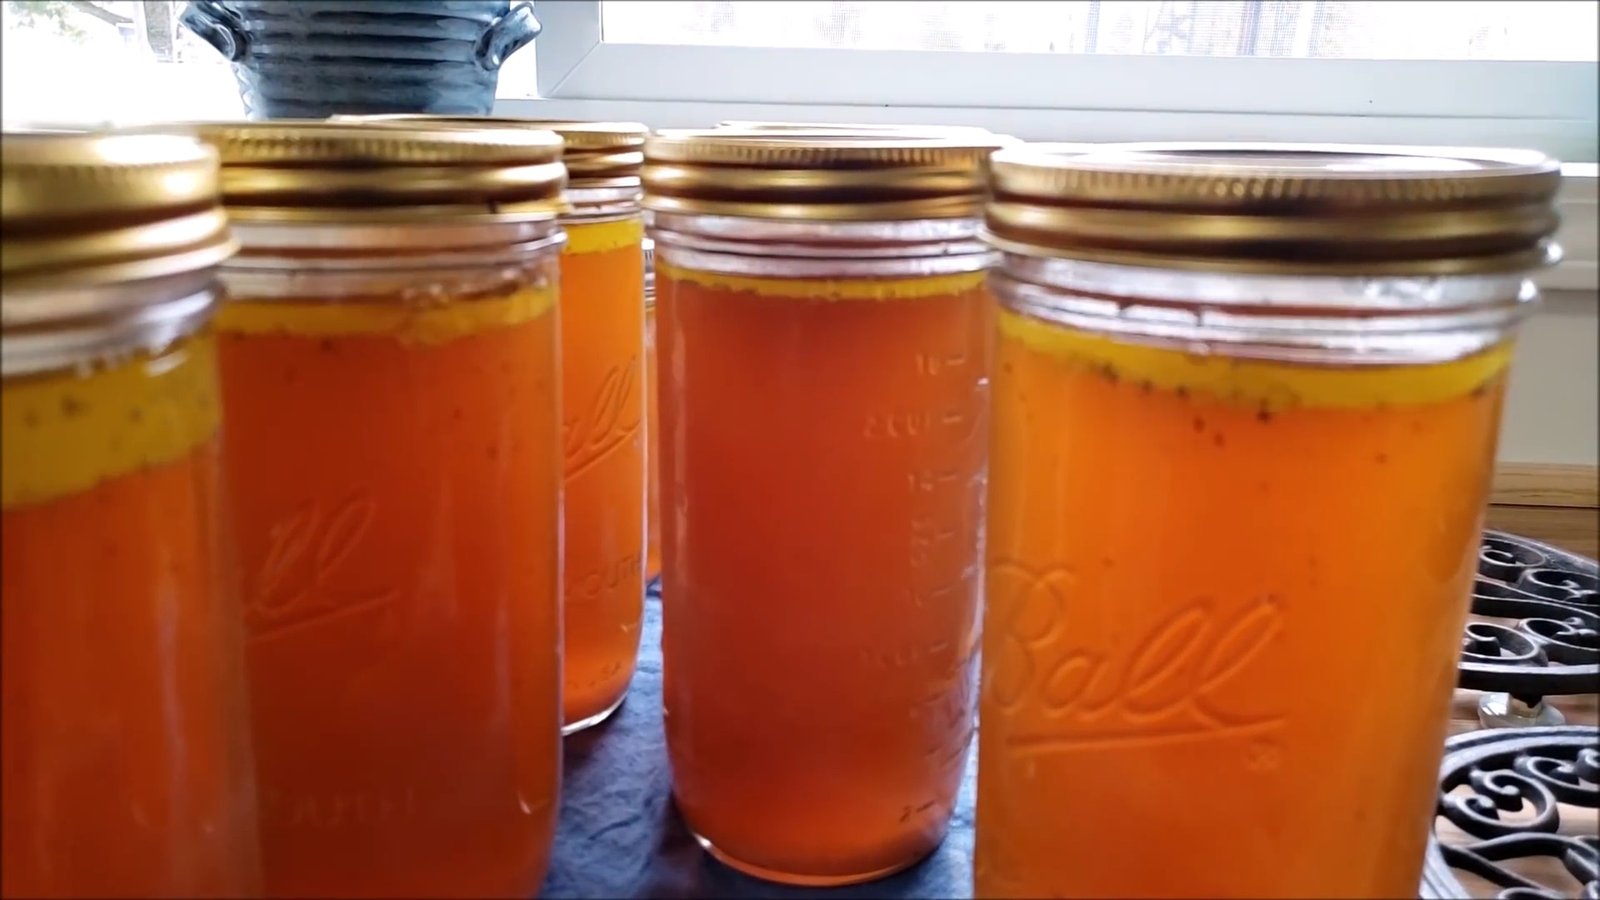
Final Result: Golden Homemade Chicken Stock
Once cooled, your jars should be sealed with no siphoning (loss of liquid). The finished stock is golden, flavorful, and shelf-stable for future use.
This “hybrid” stock, made with bones but not cooked down as long as traditional bone broth, still delivers excellent taste and health benefits. Use it for:
Chicken soup or stews
Cooking rice or grains
Sipping warm on chilly days
Final Thoughts: Clean Out the Freezer & Stock the Pantry
This method is not only a great way to prevent food waste, but it also prepares you for the months ahead. Making room in the freezer while stocking the pantry with nourishing broth? That’s a win-win!
")
So if you’ve got frozen chicken hanging around, don’t let it go to waste. Grab your Instant Pot and start simmering!
")
Homemade Chicken Stock in the Instant Pot: Easy Recipe for Pressure Canning
If you're looking for a simple way to make flavorful, homemade chicken stock while clearing out your freezer, this easy Instant Pot recipe is for you. Today, we’re walking through how to make chicken stock using frozen, bone-in, skin-on chicken—perfect for pressure canning and storing long-term.
Whether you're meal prepping, preserving food, or just want to avoid freezer burn, this is a delicious and practical recipe you'll come back to time and again.
Why Make Chicken Stock at Home?
Store-bought chicken stock can’t compare to the rich flavor and nutrition of homemade. Plus, if you’re like me and prefer boneless chicken in meals, those bone-in chicken cuts sitting in the freezer are ideal for broth.
Using what you have—like frozen chicken, dried onions, and pantry spices—you can create a nourishing broth that’s perfect for soups, stews, or sipping straight from a mug.
Ingredients for Homemade Chicken Stock
Here’s what I used for this batch:
Frozen, bone-in, skin-on chicken (2 large bags)
Dried chopped onions (Thrive Life brand)
3–5 cloves of garlic (previously frozen)
Salt and mixed peppercorns to taste
Water to fill the Instant Pot
Optional: 1–2 tablespoons of apple cider vinegar for added mineral extraction
You can easily customize your broth with additional herbs, veggies, or spices you have on hand.
Cooking Instructions (Instant Pot or Stove-Top)
Step 1: Load the Instant Pot
Place the frozen chicken directly in the Instant Pot. Add a bit of water to the bottom to prevent burning (trust me—no one wants to see the burn notice pop up).
Step 2: Add Seasonings
Sprinkle in your dried onions, whole garlic cloves, salt, and peppercorns. Adjust to taste—this is where your creativity shines.
Step 3: Fill With Water
Top off the pot with water, but don’t exceed the fill line. You want room for pressure to build safely.
Step 4: Pressure Cook
Set the Instant Pot to “Soup/Broth” or manual high pressure for 4 hours. This long cook time allows the bones to break down and infuse your stock with rich nutrients.
💡 No Instant Pot? Use a slow cooker, stovetop, or roaster oven instead. It’ll take longer, but the results are just as good.
Next Day: Straining and Canning Your Broth
Once the broth has cooled (I let mine sit in our cold breezeway overnight), it’s time to strain and prepare for canning.
Step 5: Strain the Broth
Use a fine mesh strainer to remove bones, skin, peppercorns, and garlic. If you want a clearer stock, run it through cheesecloth—but if you're okay with a little sediment, skip that step. All that goodness adds flavor and nutrients!
Step 6: Reheat and Fill Jars
Bring your strained broth to a rolling boil before transferring it into hot canning jars. I used pint-and-a-half jars, but pints or quarts work too. Fill to 1-inch headspace.
✅ Tip: If your stock forms a fat cap after cooling, that’s okay! Fat = flavor. You can skim it later if needed.
How to Pressure Can Chicken Stock
Follow standard pressure canning procedures:
Place jars in your preheated canner with hot water.
Secure the lid and vent a steady stream of steam for 10 minutes.
Add the weight and process at pressure:
20 minutes for pints
25 minutes for quarts and pint-and-a-half jars
Allow the pressure to release naturally before opening the canner.
🔥 Safety Reminder: Always open your canner lid away from you to avoid steam burns.
Final Result: Golden Homemade Chicken Stock
Once cooled, your jars should be sealed with no siphoning (loss of liquid). The finished stock is golden, flavorful, and shelf-stable for future use.
This “hybrid” stock, made with bones but not cooked down as long as traditional bone broth, still delivers excellent taste and health benefits. Use it for:
Chicken soup or stews
Cooking rice or grains
Sipping warm on chilly days
Final Thoughts: Clean Out the Freezer & Stock the Pantry
This method is not only a great way to prevent food waste, but it also prepares you for the months ahead. Making room in the freezer while stocking the pantry with nourishing broth? That’s a win-win!
So if you’ve got frozen chicken hanging around, don’t let it go to waste. Grab your Instant Pot and start simmering!
0 servings