
Nutrition Facts
0 servings

If you've ever found yourself staring at a sale on fresh strawberries and wondering what to do with them, you're not alone! That's exactly what inspired this delicious batch of homemade strawberry preserves. With just a few simple ingredients and some easy steps, you can transform fresh strawberries into sweet, chunky preserves perfect for toast, desserts, or even holiday gifts.
Why Now Is the Perfect Time to Make Strawberry Preserves
Strawberry season means abundance—and sales! When strawberries are on sale, it’s the perfect time to stock up and make homemade strawberry preserves that you can enjoy year-round. For this recipe, we used three pounds of ripe strawberries to whip up a batch of fresh, fruity preserves that’ll leave your kitchen smelling amazing.
")
Step 1: Sterilize Your Jars
Before you get started with the fruit, it's essential to sterilize your glass jars and lids. Simply boil them for a few minutes to ensure they’re clean and ready for canning. This step helps prevent bacteria and ensures your preserves stay fresh for longer.
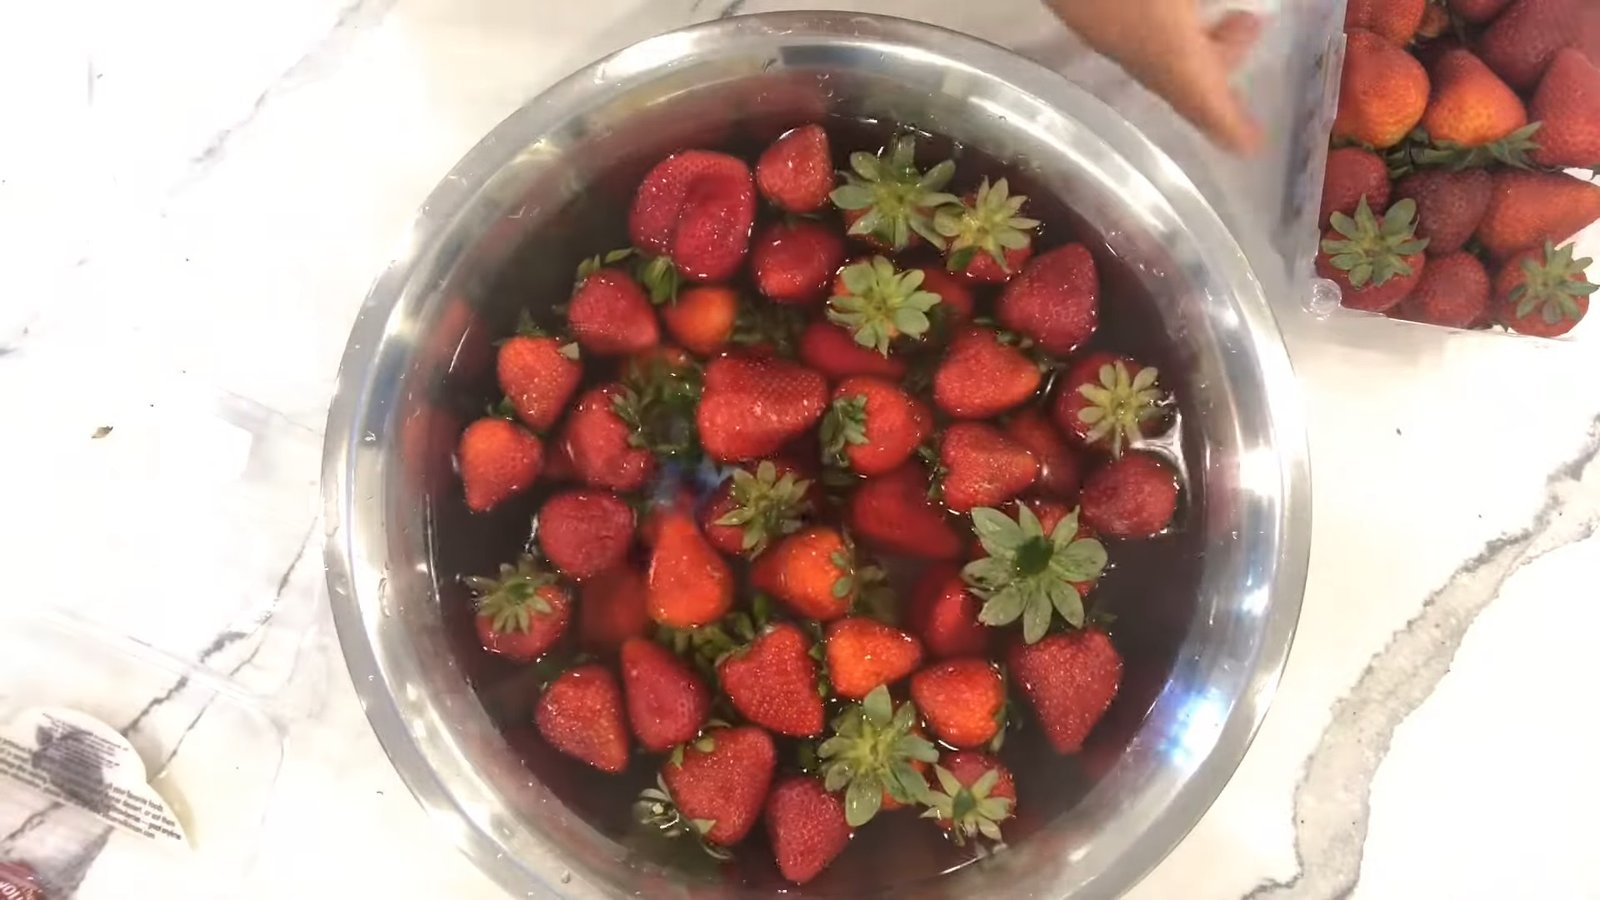
Step 2: Clean Your Strawberries Thoroughly
To clean the strawberries, fill a mixing bowl with about a gallon of water, then add ¼ cup of white vinegar and ½ teaspoon of baking soda. Swirl the strawberries around to remove debris, dirt, and any signs of spoilage. Avoid using overripe or moldy berries, as they can ruin the batch.
Step 3: Hull and Cut the Strawberries
Using a strawberry huller or a paring knife, remove the stems and the inner white core of each berry. Quarter the strawberries and place them in a clean bowl. You don’t need fancy tools—just use what works best for you.
Step 4: Prepare the Jam Base
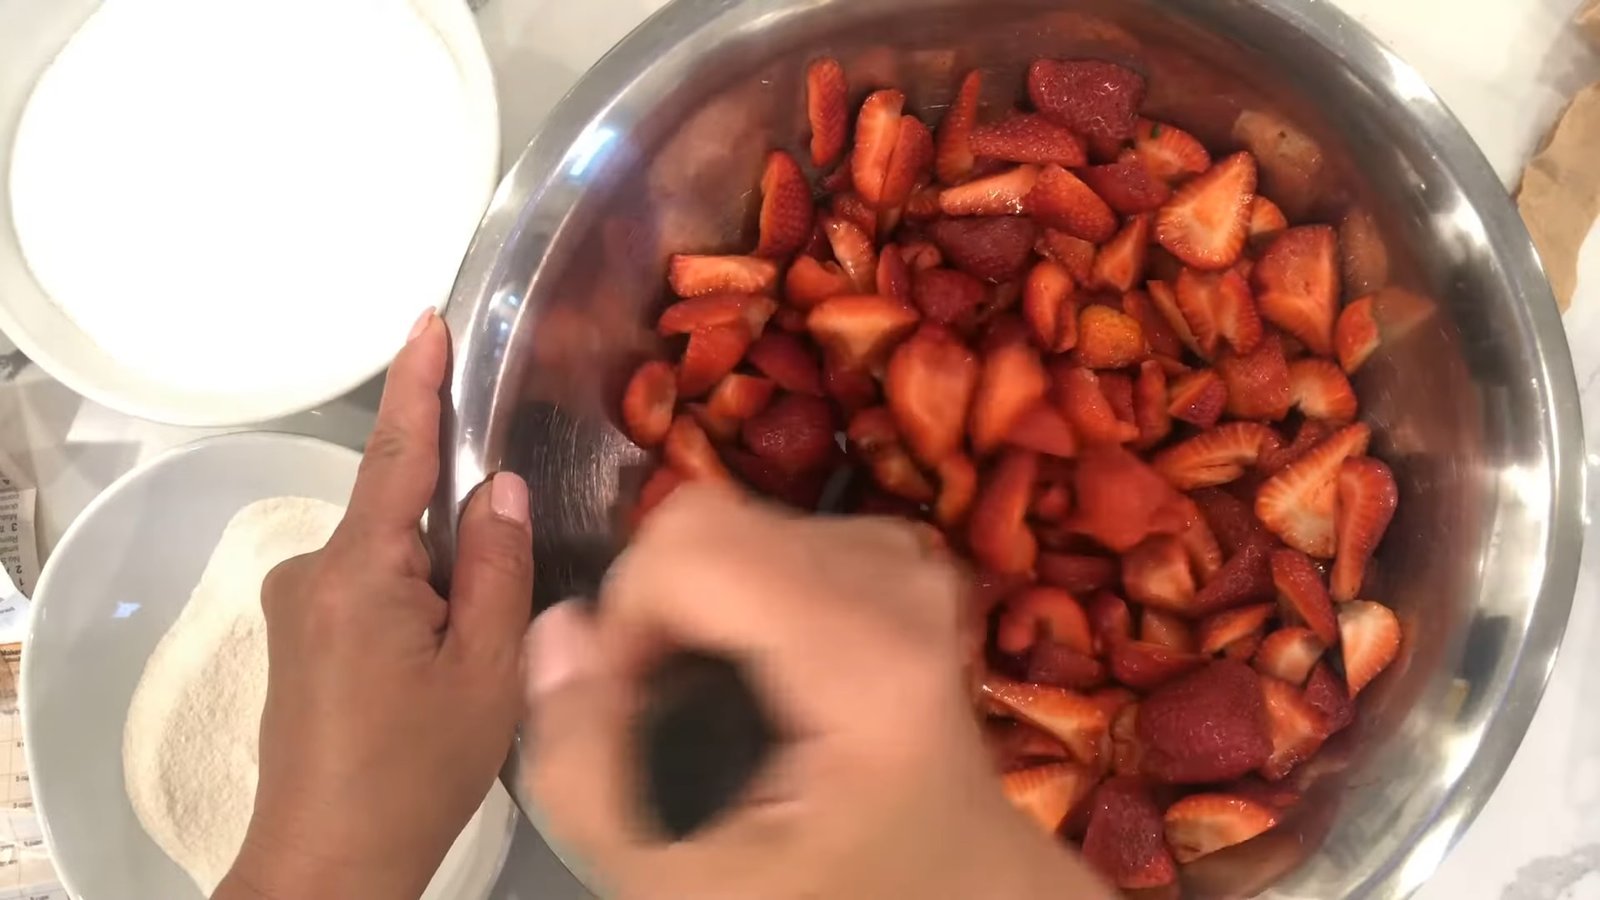
In a separate bowl, mix one package of Sure-Jell pectin with a small amount of the sugar (refer to the package for exact instructions). Set this mixture aside. Now mash the strawberries using a potato masher or similar tool. You want a chunky texture—not a puree.
Step 5: Cook the Preserves
Transfer the mashed strawberries to a large saucepan. Add about ? cup of water to help break the fruit down and dissolve the sugar. Stir in the pectin-sugar mixture and bring everything to a full rolling boil (a boil that continues even while stirring).
Be careful—hot sugar is extremely hot and sticky!
Once boiling, stir in the remaining sugar (a total of 3 cups is used). Keep stirring until all the sugar dissolves, then let the mixture boil again for another 5 minutes. If foam forms on top, you can skim it off with a spoon. Some people add butter to reduce foam, but we prefer to keep our preserves pure.
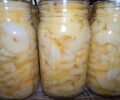
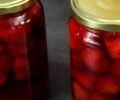
Step 6: Ladle Into Jars and Prepare for Canning
Using a ladle and funnel, pour the hot preserves into your sterilized jars, leaving about ¼ inch of space from the top. Wipe down the jar rims and loosely apply the lids—tightening them only after the canning process is complete. This allows air to escape and creates a proper seal.
")
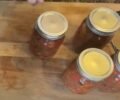
Step 7: Water Bath Canning
Place the jars into your water bath canner. If you're new to canning, be sure to research basic canning safety guidelines. Bring the water to a boil and process the jars according to the pectin instructions—usually around 10 minutes.
")
Once finished, remove the jars and place them on a cooling rack. As they cool, you’ll hear a satisfying pop—a sign that the jars have sealed properly.
Step 8: Cool, Store, and Enjoy!
Let the jars cool overnight. The next day, check to ensure each lid is sealed by pressing the center—it should not move. Once opened, store the preserves in the refrigerator. Unopened jars can last up to a year in your pantry.
We love our preserves on peanut butter crackers, toast, cookies, and more. You can even dress them up with custom labels and fabric covers to give as thoughtful homemade gifts during the holidays.
Final Thoughts
Making your own strawberry preserves is not only satisfying, it’s a great way to reduce food waste and enjoy seasonal produce all year long. Whether you’re new to canning or a seasoned pro, this recipe is sure to become a household favorite.
Ciao for now! ???
")
If you've ever found yourself staring at a sale on fresh strawberries and wondering what to do with them, you're not alone! That's exactly what inspired this delicious batch of homemade strawberry preserves. With just a few simple ingredients and some easy steps, you can transform fresh strawberries into sweet, chunky preserves perfect for toast, desserts, or even holiday gifts.
Why Now Is the Perfect Time to Make Strawberry Preserves
Strawberry season means abundance—and sales! When strawberries are on sale, it’s the perfect time to stock up and make homemade strawberry preserves that you can enjoy year-round. For this recipe, we used three pounds of ripe strawberries to whip up a batch of fresh, fruity preserves that’ll leave your kitchen smelling amazing.
Step 1: Sterilize Your Jars
Before you get started with the fruit, it's essential to sterilize your glass jars and lids. Simply boil them for a few minutes to ensure they’re clean and ready for canning. This step helps prevent bacteria and ensures your preserves stay fresh for longer.
Step 2: Clean Your Strawberries Thoroughly
To clean the strawberries, fill a mixing bowl with about a gallon of water, then add ¼ cup of white vinegar and ½ teaspoon of baking soda. Swirl the strawberries around to remove debris, dirt, and any signs of spoilage. Avoid using overripe or moldy berries, as they can ruin the batch.
Step 3: Hull and Cut the Strawberries
Using a strawberry huller or a paring knife, remove the stems and the inner white core of each berry. Quarter the strawberries and place them in a clean bowl. You don’t need fancy tools—just use what works best for you.
Step 4: Prepare the Jam Base
In a separate bowl, mix one package of Sure-Jell pectin with a small amount of the sugar (refer to the package for exact instructions). Set this mixture aside. Now mash the strawberries using a potato masher or similar tool. You want a chunky texture—not a puree.
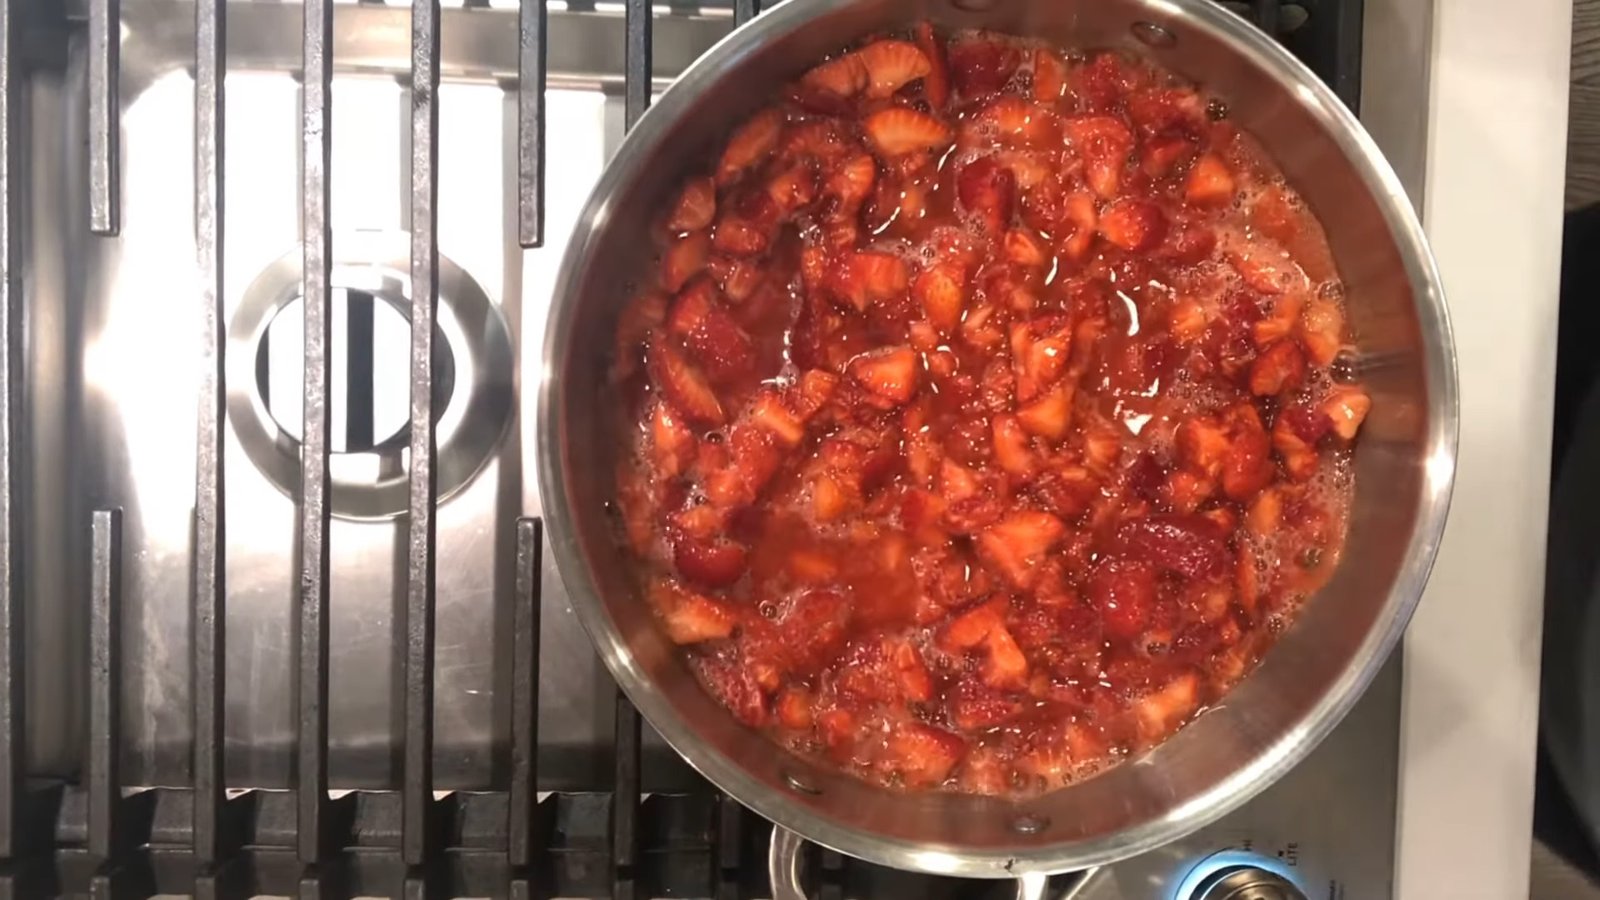
Step 5: Cook the Preserves
Transfer the mashed strawberries to a large saucepan. Add about ? cup of water to help break the fruit down and dissolve the sugar. Stir in the pectin-sugar mixture and bring everything to a full rolling boil (a boil that continues even while stirring).
Be careful—hot sugar is extremely hot and sticky!
Once boiling, stir in the remaining sugar (a total of 3 cups is used). Keep stirring until all the sugar dissolves, then let the mixture boil again for another 5 minutes. If foam forms on top, you can skim it off with a spoon. Some people add butter to reduce foam, but we prefer to keep our preserves pure.
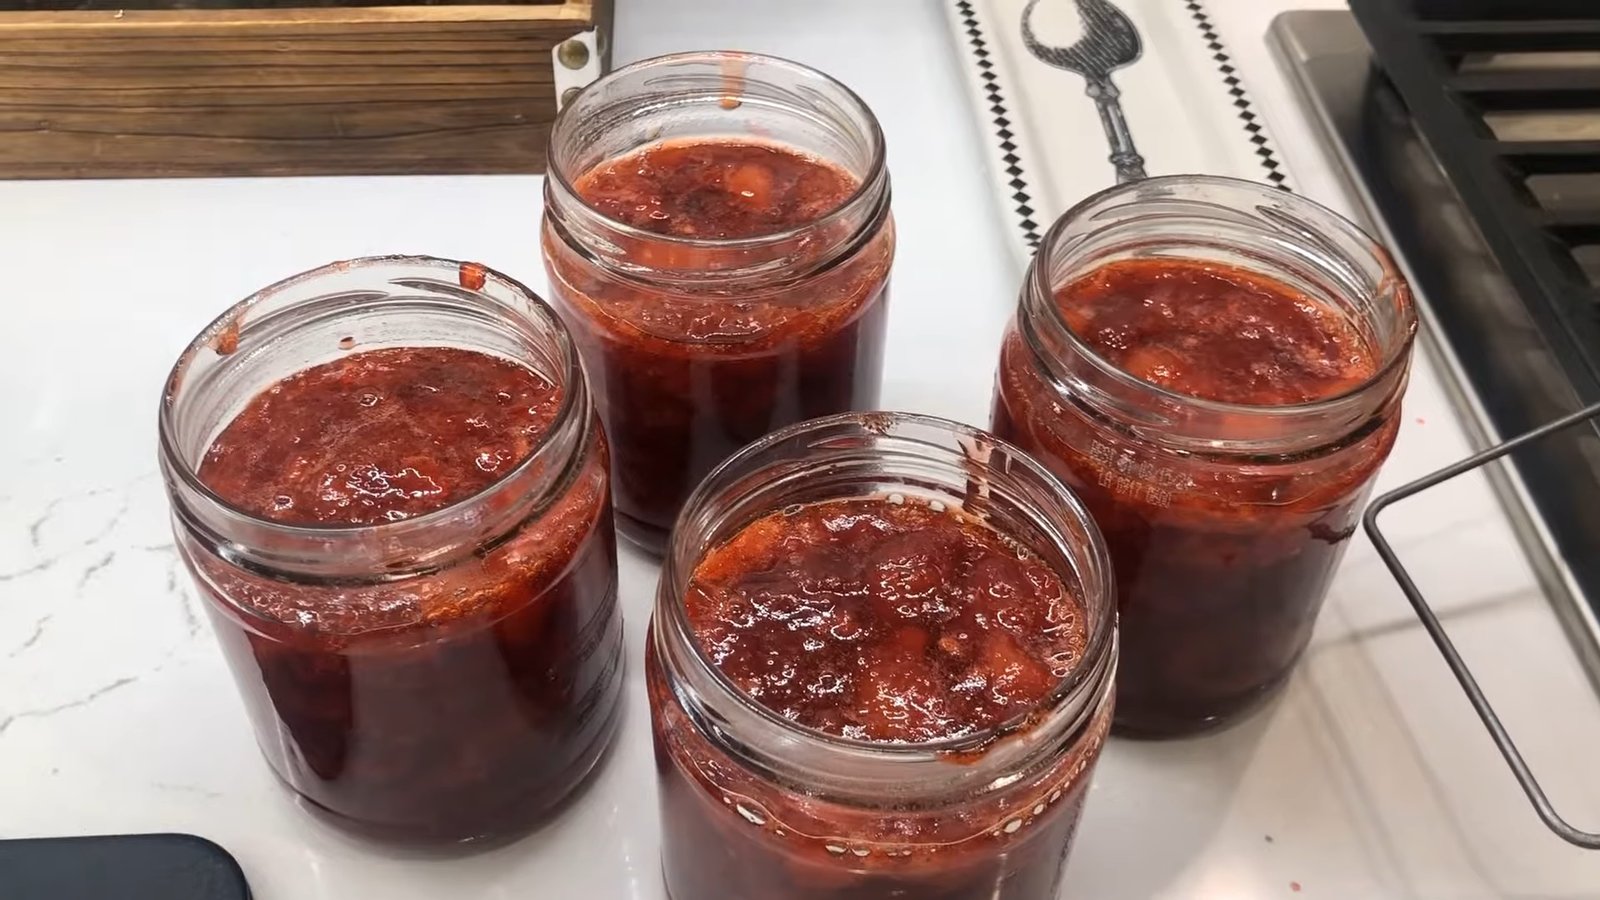
Step 6: Ladle Into Jars and Prepare for Canning
Using a ladle and funnel, pour the hot preserves into your sterilized jars, leaving about ¼ inch of space from the top. Wipe down the jar rims and loosely apply the lids—tightening them only after the canning process is complete. This allows air to escape and creates a proper seal.
Step 7: Water Bath Canning
Place the jars into your water bath canner. If you're new to canning, be sure to research basic canning safety guidelines. Bring the water to a boil and process the jars according to the pectin instructions—usually around 10 minutes.
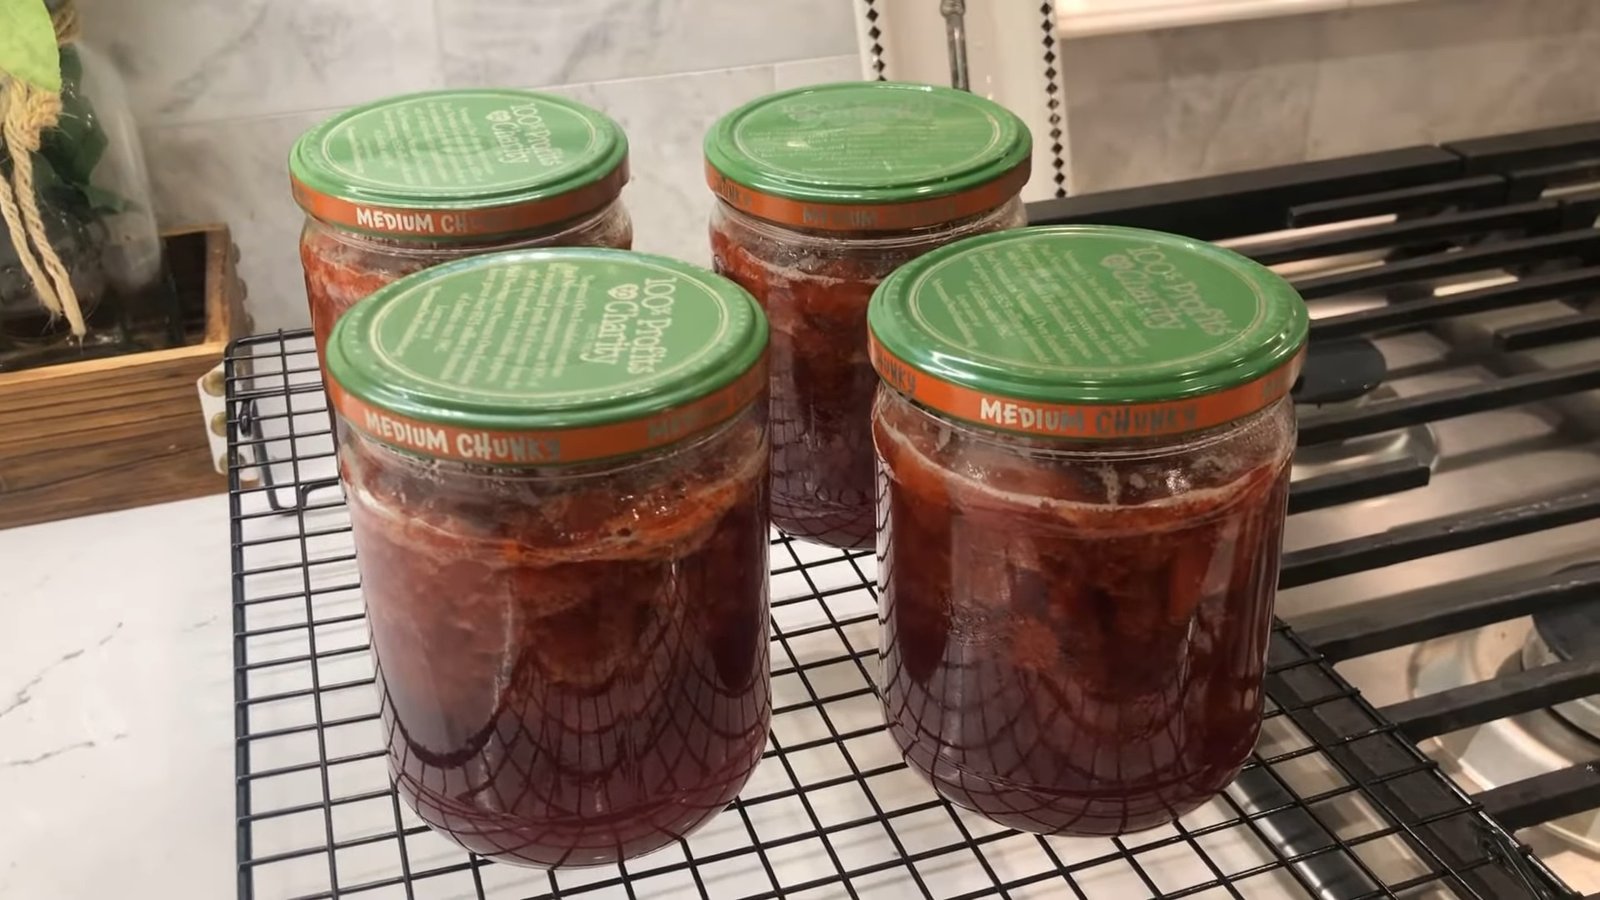
Once finished, remove the jars and place them on a cooling rack. As they cool, you’ll hear a satisfying pop—a sign that the jars have sealed properly.
Step 8: Cool, Store, and Enjoy!
Let the jars cool overnight. The next day, check to ensure each lid is sealed by pressing the center—it should not move. Once opened, store the preserves in the refrigerator. Unopened jars can last up to a year in your pantry.
We love our preserves on peanut butter crackers, toast, cookies, and more. You can even dress them up with custom labels and fabric covers to give as thoughtful homemade gifts during the holidays.
Final Thoughts
Making your own strawberry preserves is not only satisfying, it’s a great way to reduce food waste and enjoy seasonal produce all year long. Whether you’re new to canning or a seasoned pro, this recipe is sure to become a household favorite.
Ciao for now! ???
0 servings