Here in my backyard garden, tomato season is a long and beautiful journey. I grow mostly paste tomato varieties, which are perfect for homemade sauce, but this year I also experimented with some salsa and diced tomatoes. If you’re wondering how to process homegrown tomatoes without getting overwhelmed, I’ve got a system that works—and it starts with my freezer.
Step 1: Harvest and Freeze Tomatoes As They Ripen
Throughout the summer, as my tomatoes ripen on the kitchen counter, I wash, core, and toss them into freezer bags. Since making sauce takes a large amount of tomatoes, freezing them until I have enough saves time and effort. Once the season winds down, it’s time to start processing—and this year, I had about 65 pounds ready to go.
Step 2: Thaw, Drain, and Prep for Cooking
")
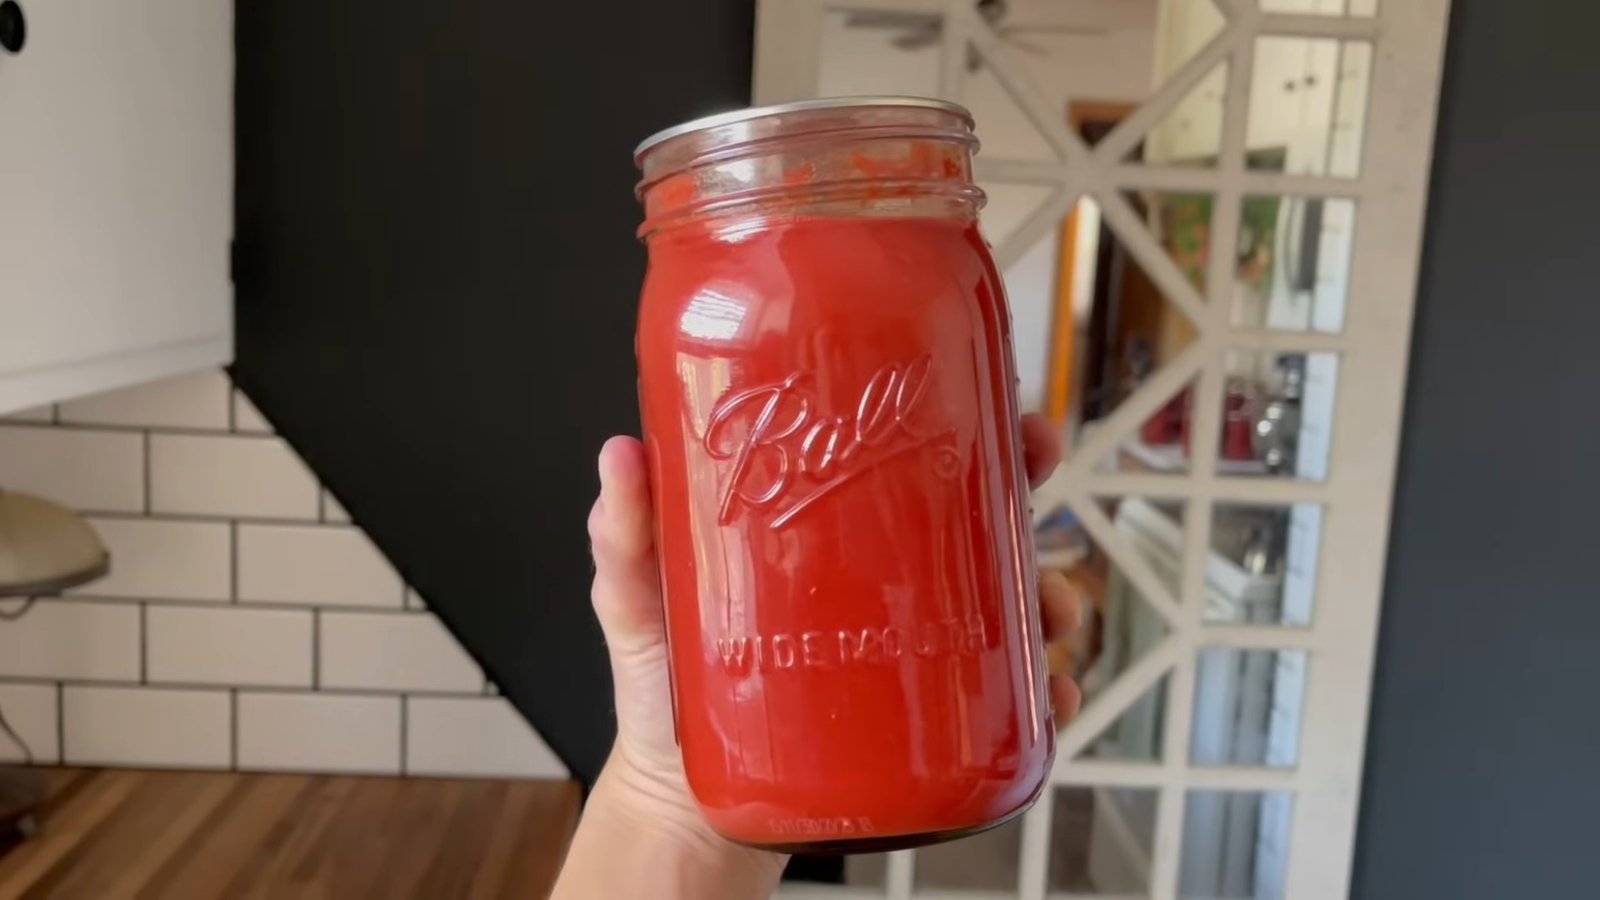
After pulling the frozen tomatoes out of the freezer, I let them thaw on the counter. Pro tip: thawed tomatoes release a lot of water. To speed up sauce-making, I drain off the excess tomato juice before cooking. This helps reduce the overall simmering time and gives a thicker, richer sauce.
Step 3: Heat and Simmer in Batches
I slowly add the thawed tomatoes to a large stock pot, stirring frequently to prevent scorching. Sauce-making takes time, but it’s not hard—you just need to be patient and stir often. Once everything is warmed through, I bring the mixture to a boil for 10 minutes before running it through my tomato press.
Step 4: Press Tomatoes to Remove Skins and Seeds
My electric tomato press is one of my favorite investments. It separates the skins and seeds from the tomato puree, making the job fast and efficient. I even run the skins and seeds through a second time to get every bit of sauce possible. While some people dehydrate the skins, I find mine are too mixed with seeds—so off to the compost pile they go.
")
Step 5: Reduce and Prepare for Canning
Once I’ve pressed all the tomatoes, I return the puree to the pot to simmer and reduce. I let it cook down by about one-third (or more for a thicker sauce). Meanwhile, I clean up the outdoor tomato press station and get my canning supplies ready inside.
Step 6: Canning the Tomato Sauce
When the sauce is ready, I use citric acid to ensure safety during water bath canning—½ tsp per quart and ¼ tsp per pint. I fill each jar, leaving ½ inch of headspace, de-bubble, wipe the rims with vinegar, and seal them with lids and rings. Then I process:
Quarts for 45 minutes
Pints for 40 minutes
This year, I did three full canning rounds. I even had a half-pint leftover that went straight into the fridge for meals that week.
")
Final Count and Storage
After letting the jars sit overnight, I removed the rings, checked for seals (100% success!), and labeled them with the date. This season I ended up with 16 quarts and 5 pints of homemade tomato sauce. While this wasn’t my biggest harvest, I’m thrilled with how much we got—especially considering the hot summers we’ve had lately.
Tips for Beginners in Tomato Canning:
Start small and grow your confidence over time.
Invest in tools like a good stock pot and a quality tomato press once you know you’re in it for the long haul.
Try freezing tomatoes first if you don’t have time to process them right away.
")
Keep your setup organized—prep your canning space ahead of time.
Preserving food from your garden isn’t just rewarding—it’s a tradition you can build on year after year.
")
0 servings