Welcome to The Goth House! If you're new here, I’m Jenny—and today, we’re diving into a deliciously simple and versatile home canning project: canning Gala apples in light syrup. Whether you’re a seasoned home canner or just starting out, this method is perfect for preserving apples to use later in pies, crumbles, muffins, breads, or even straight out of the jar.
")
Why Can Plain Apples Instead of Pie Filling?
While pie filling is fantastic, canning apples in syrup gives you more flexibility. You can transform these canned apples into a wide range of recipes—everything from desserts to breakfast bakes. Plus, if you still have pie filling left from last season (like I did!), this is a great alternative.
What You’ll Need:
About 20–25 pounds of apples (I used Gala apples)
Lemon juice or fruit fresh (to prevent browning)
Sugar and water for the syrup
Canning jars, lids, and rings
Water bath canner
Apple wedger or peeler/corer/slicer
Large pot for syrup
📖 Reference: I used the basic apple canning recipe from the Ball Blue Book (page 17), which works for most apple varieties.
Step-by-Step: Canning Apples in Syrup
1. Prep Your Apples
Start by washing, coring, and slicing your apples. I used a Pampered Chef apple wedger for uniform wedges, then peeled them with a paring knife. Toss the slices into lemon water to keep them from browning.
📝 Tip: Slice your apples about ½ inch thick to help them maintain their texture through canning and baking.
2. Sterilize Your Jars
Place your jars into a water bath canner and heat them until you're ready to use them. While official guidelines now say sterilization isn’t necessary if processing for 10+ minutes, I do it out of habit.
3. Make the Syrup
For a light syrup, combine:
4 cups water
2 cups sugar
2 tablespoons bottled lemon juice
Bring to a boil and let it simmer until the sugar is dissolved.
4. Heat the Apples
Strain your apple slices from the lemon water and add them to the syrup. Let them simmer for 5 minutes to begin softening and absorbing that sweet flavor.
")
❗ Important: The original recipe calls for syrup for 10–12 pounds of apples. I doubled the syrup but still ran short—always make extra syrup!
5. Fill the Jars
Using a ladle or spider strainer, pack hot apples into jars and top off with hot syrup, leaving ½ inch of headspace. Remove air bubbles and adjust syrup as needed.
🎮 It’s a bit of “jar Tetris”—just make sure not to overpack!
")
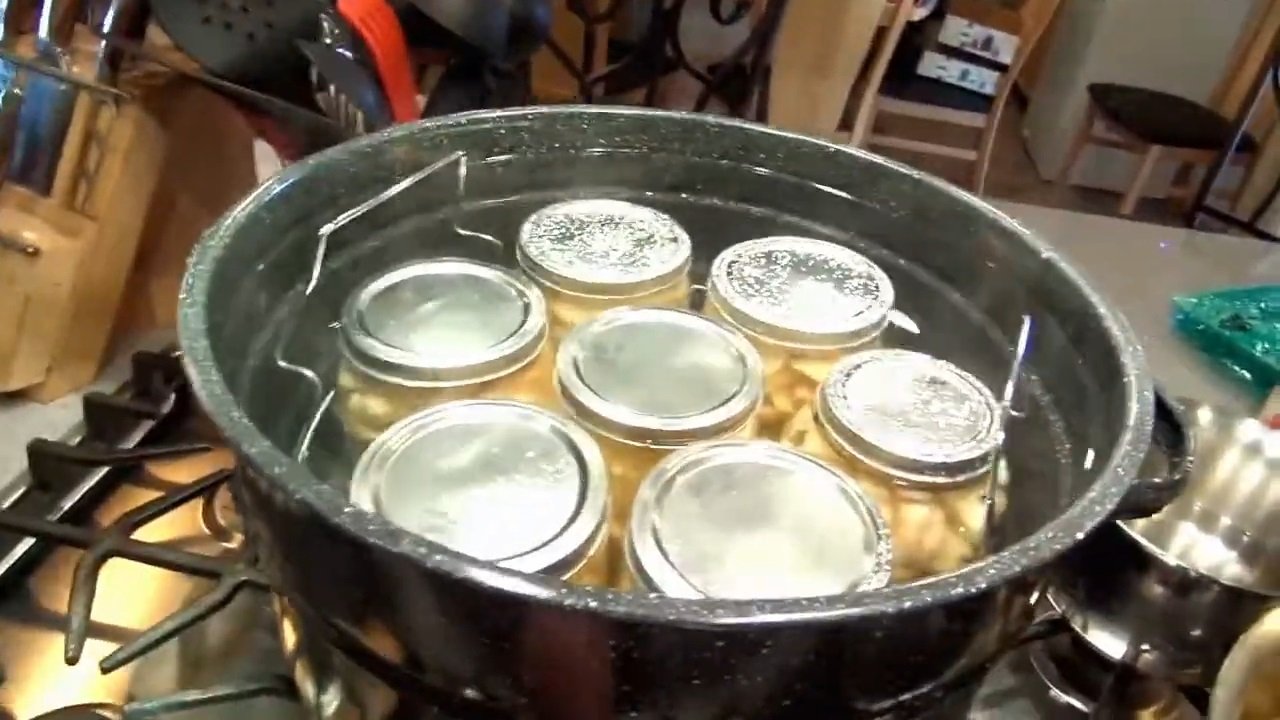
6. Process the Jars
Process in a boiling water bath for 25 minutes. Once done, remove the jars and let them cool. Listen for the satisfying “ping” of sealing lids!
Final Thoughts
Once cooled, check the seals and label your jars. Any unsealed jars should go into the fridge and be used first. I had a little leftover apple mixture, so I turned it into an easy pie filling by thickening the syrup with cornstarch and spices—perfect for baking the same day!
")
Canning apples in syrup is one of the easiest and most rewarding ways to preserve a fall harvest or grocery haul. They smell amazing while cooking and are endlessly useful.
")
0 servings