
Nutrition Facts
0 servings


If you’ve ever wondered how to preserve the juicy sweetness of fresh pineapple, water bath canning is a fantastic method to try at home. In this easy step-by-step tutorial, we’ll show you how to jar fresh pineapple safely and deliciously—with a homemade pineapple syrup made from the scraps!
Why Can Pineapple?
Canning pineapple allows you to enjoy its tropical flavor all year long, even when it's out of season. It's a great way to reduce food waste, especially since we’ll be using the pineapple cores and skin to make a flavorful syrup for our jars.
What You'll Need:
1 fresh pineapple
Cutting board and sharp knife
Large pot
2 quarts of water
2 ½ cups of white sugar
Canning jars with lids and rings
Funnel, ladle, and jar lifter
Cheesecloth (optional but helpful)
Step 1: Prepare the Pineapple
Place a towel under your cutting board to keep it from slipping. Cut off the top and bottom of the pineapple, then slice down the sides to remove the skin. Don’t throw away the eyes or core—save those for making syrup!
Cut the pineapple flesh into chunks and set aside. Place the cores and the skin with eyes into a separate bowl.
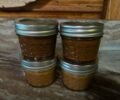
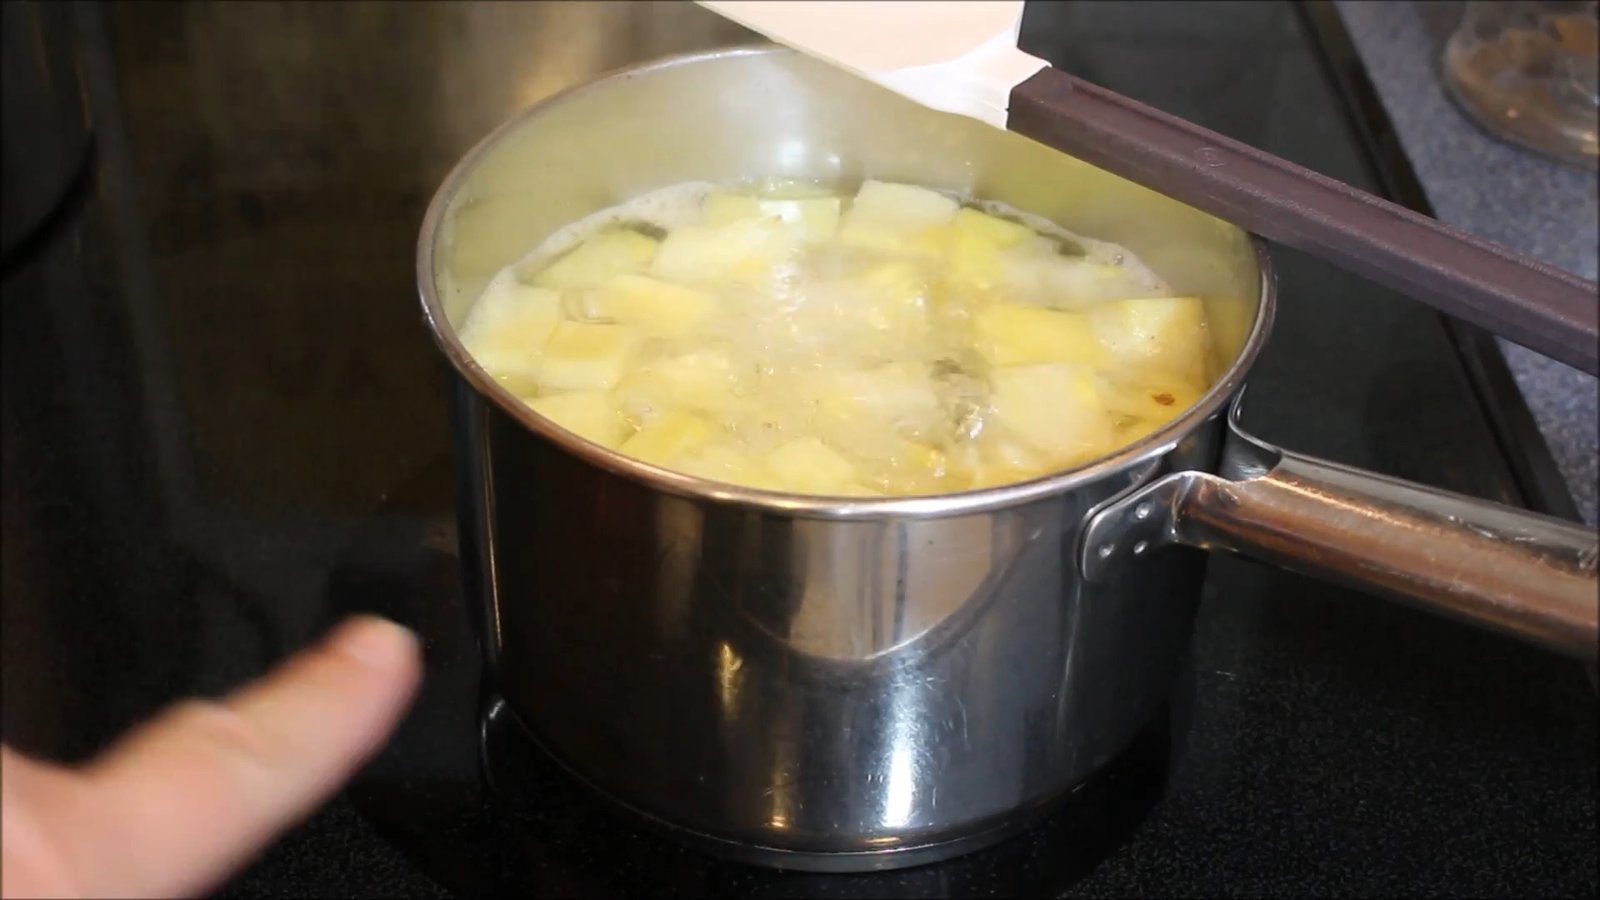
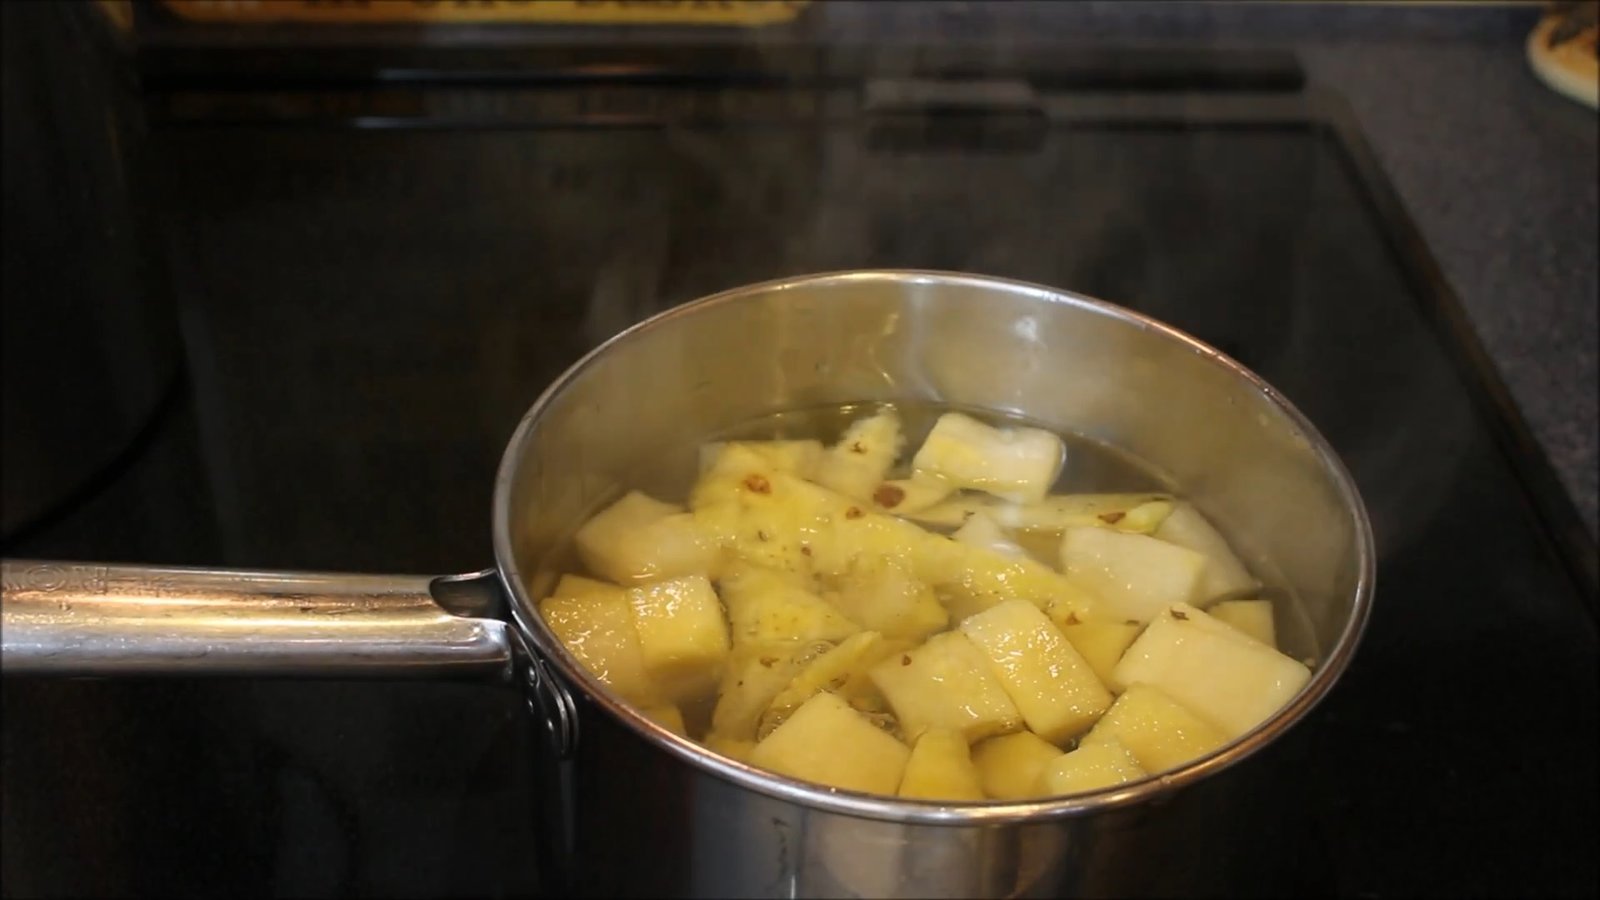
Step 2: Make the Pineapple Syrup
In a large pot, combine:
2 quarts of water
2 ½ cups of white sugar
The saved pineapple cores and skins
Stir and bring to a gentle boil. Let it simmer while you sterilize your jars.
Step 3: Sterilize Your Jars and Tools
Wash your jars, lids, rings, funnel, and any utensils with soap and water. Then place them in boiling water to sterilize. Be careful when handling hot jars—use a jar lifter and avoid letting water run down your hands.
")
Step 4: Fill the Jars
Remove the jars from hot water and place them on a clean towel. Fill each jar with fresh pineapple chunks, leaving about 1 inch of headspace at the top.
Using a sterilized ladle and funnel, pour the hot pineapple syrup into the jars, making sure to cover the fruit completely. Use a non-metallic utensil to remove air bubbles and adjust liquid if needed.
Step 5: Clean and Seal
Wipe the rims of the jars with a clean, damp cheesecloth dipped in hot water. This helps ensure a proper seal. Place the sterilized lids on top, screw on the rings finger-tight, and get ready for water bath processing.
")
Step 6: Water Bath Process
Place the filled jars into a boiling water canner. Make sure the water covers the tops of the jars by at least 1 inch. Process for 15 minutes.
")
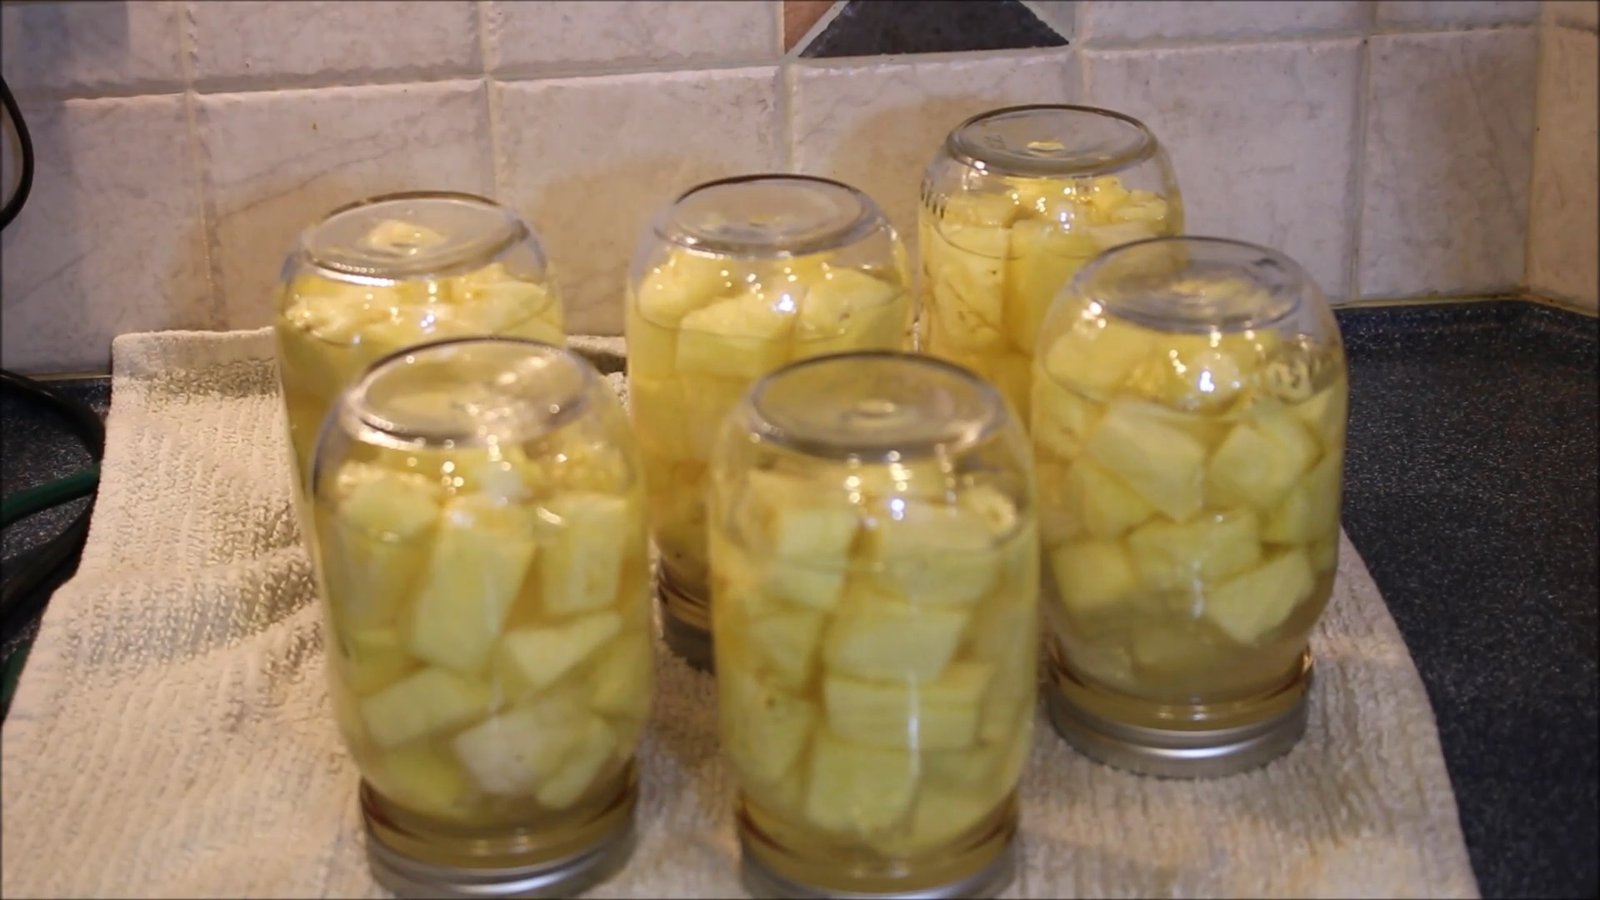
Once done, remove the jars and place them upside down on a towel. Cover them with another towel and let them sit overnight.
Step 7: Check the Seal
The next day, flip the jars upright and press the center of each lid. If it doesn’t flex, the jar has sealed correctly. If it pops back, you’ll need to refrigerate and consume that jar within a week.
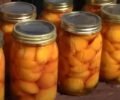
Enjoy Your Homemade Canned Pineapple!
")
That’s it! You’ve successfully canned fresh pineapple with homemade syrup. Store sealed jars in a cool, dark place and enjoy tropical sweetness whenever you like.
")
If you’ve ever wondered how to preserve the juicy sweetness of fresh pineapple, water bath canning is a fantastic method to try at home. In this easy step-by-step tutorial, we’ll show you how to jar fresh pineapple safely and deliciously—with a homemade pineapple syrup made from the scraps!
Why Can Pineapple?
Canning pineapple allows you to enjoy its tropical flavor all year long, even when it's out of season. It's a great way to reduce food waste, especially since we’ll be using the pineapple cores and skin to make a flavorful syrup for our jars.
What You'll Need:
1 fresh pineapple
Cutting board and sharp knife
Large pot
2 quarts of water
2 ½ cups of white sugar
Canning jars with lids and rings
Funnel, ladle, and jar lifter
Cheesecloth (optional but helpful)
Step 1: Prepare the Pineapple
Place a towel under your cutting board to keep it from slipping. Cut off the top and bottom of the pineapple, then slice down the sides to remove the skin. Don’t throw away the eyes or core—save those for making syrup!
Cut the pineapple flesh into chunks and set aside. Place the cores and the skin with eyes into a separate bowl.
Step 2: Make the Pineapple Syrup
In a large pot, combine:
2 quarts of water
2 ½ cups of white sugar
The saved pineapple cores and skins
Stir and bring to a gentle boil. Let it simmer while you sterilize your jars.
Step 3: Sterilize Your Jars and Tools
Wash your jars, lids, rings, funnel, and any utensils with soap and water. Then place them in boiling water to sterilize. Be careful when handling hot jars—use a jar lifter and avoid letting water run down your hands.
Step 4: Fill the Jars
Remove the jars from hot water and place them on a clean towel. Fill each jar with fresh pineapple chunks, leaving about 1 inch of headspace at the top.
Using a sterilized ladle and funnel, pour the hot pineapple syrup into the jars, making sure to cover the fruit completely. Use a non-metallic utensil to remove air bubbles and adjust liquid if needed.
Step 5: Clean and Seal
Wipe the rims of the jars with a clean, damp cheesecloth dipped in hot water. This helps ensure a proper seal. Place the sterilized lids on top, screw on the rings finger-tight, and get ready for water bath processing.
Step 6: Water Bath Process
Place the filled jars into a boiling water canner. Make sure the water covers the tops of the jars by at least 1 inch. Process for 15 minutes.
Once done, remove the jars and place them upside down on a towel. Cover them with another towel and let them sit overnight.
Step 7: Check the Seal
The next day, flip the jars upright and press the center of each lid. If it doesn’t flex, the jar has sealed correctly. If it pops back, you’ll need to refrigerate and consume that jar within a week.
Enjoy Your Homemade Canned Pineapple!
That’s it! You’ve successfully canned fresh pineapple with homemade syrup. Store sealed jars in a cool, dark place and enjoy tropical sweetness whenever you like.
0 servings