Nutrition Facts
0 servings


Canning your own enchilada sauce at home is a fantastic way to enjoy rich, homemade flavors while ensuring a shelf-stable supply for your favorite Mexican dishes. This guide will take you through the entire process, from preparing the sauce to sealing the jars for long-term storage.
Why Make Your Own Enchilada Sauce?
Homemade enchilada sauce is fresher, richer, and free from artificial preservatives. Once you try making it yourself, you'll never want to go back to store-bought versions again. Plus, it’s incredibly versatile—you can use it in enchiladas, soups, chili, and more.
Ingredients for Homemade Enchilada Sauce
To create a flavorful and well-balanced enchilada sauce, you'll need:
Dried peppers (such as ancho, guajillo, or pasilla)
Chicken bouillon or broth (for added depth)
Ground cumin (a must for authentic flavor)
Mexican oregano (a heaping tablespoon for a robust taste)
Black pepper (about a teaspoon, or to taste)
Cayenne pepper (for heat, adjust according to preference)
Salt (optional, depending on your bouillon or broth choice)
Step-by-Step Guide to Making and Canning Enchilada Sauce
Step 1: Prepare the Ingredients
Start by soaking your dried peppers in warm chicken broth or bouillon water. Let them sit and soften, absorbing all the flavorful liquid.
Add the cumin, oregano, black pepper, and cayenne to the mixture.
Allow everything to simmer for about 15 minutes, then remove from heat and let it cool slightly.
Step 2: Blend and Strain the Sauce
Use an immersion blender to puree the softened peppers and liquid until smooth.
Strain the sauce through a fine-mesh sieve to remove skins, seeds, and any unwanted pulp. This step is crucial for achieving a silky, luxurious texture.
If the sauce is too thick, thin it out with additional broth or water. Enchilada sauce should be smooth and pourable, not overly thick.
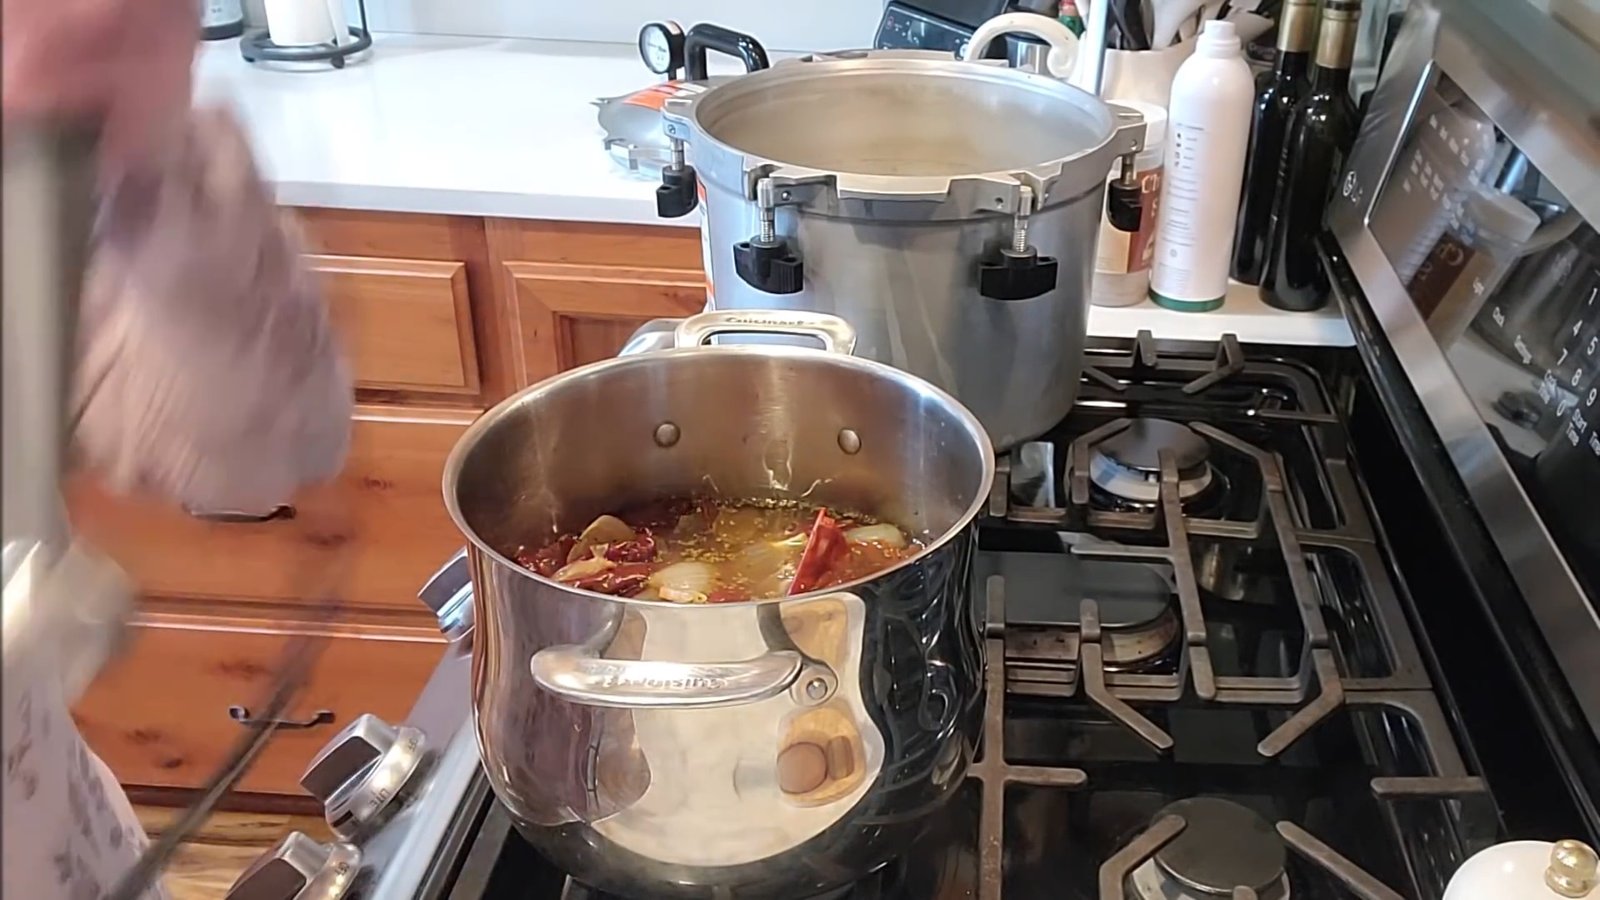
Step 3: Heat and Prepare for Canning
")
Pour the strained sauce back into the pot and bring it up to temperature.
Get your pressure canner, jars, and lids ready. Jars should be warm and clean, and lids should be preheated if using Tattler reusable lids.
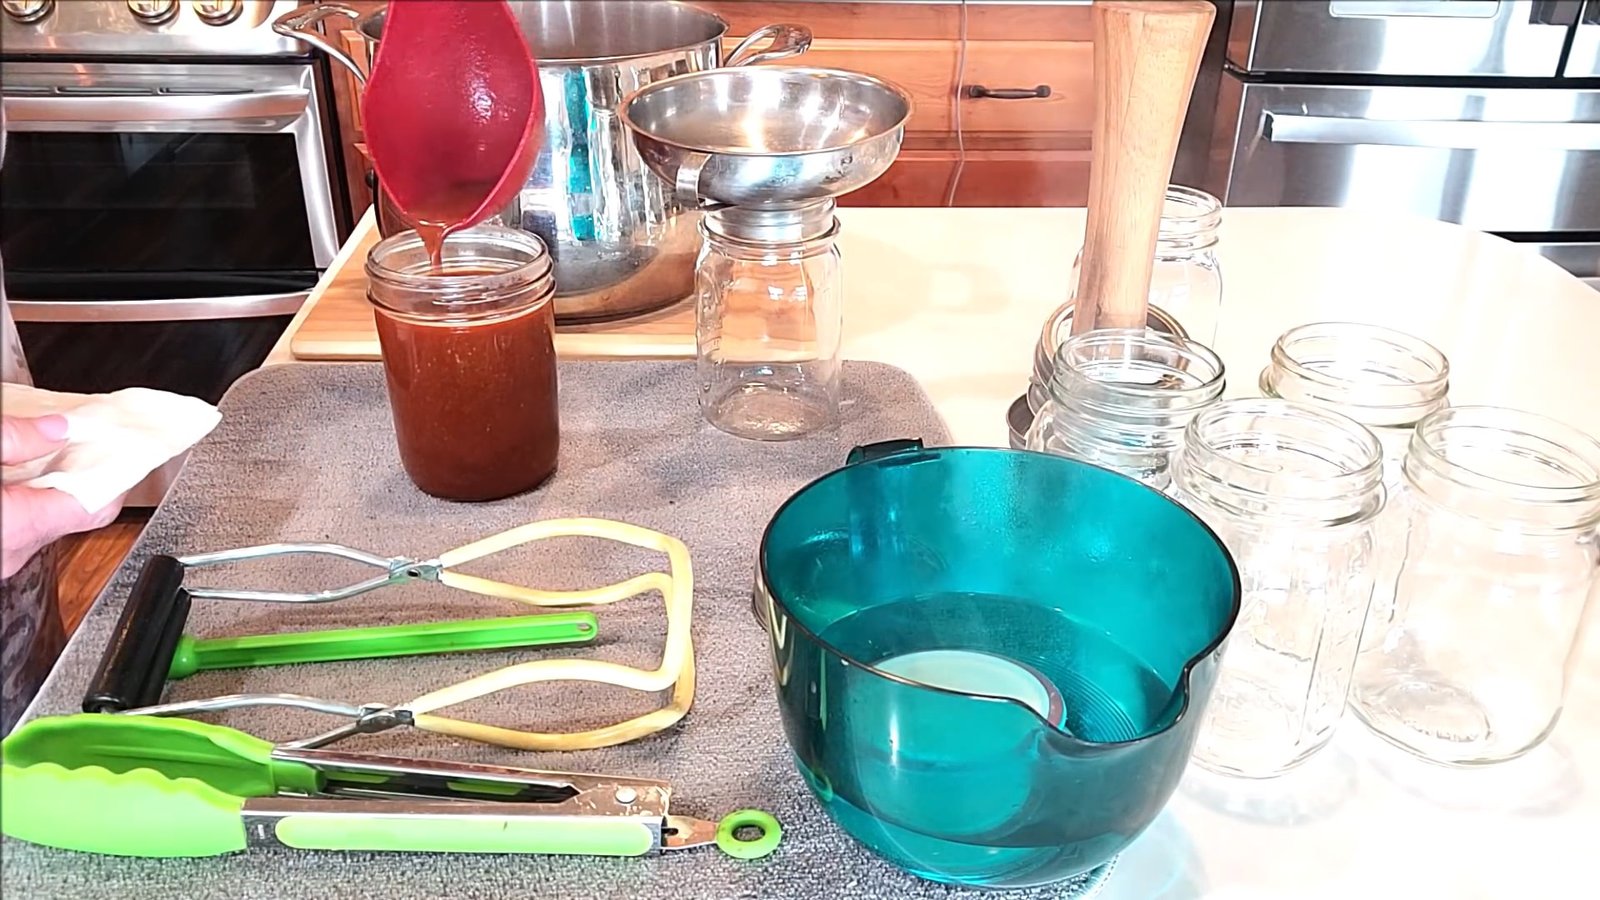
Step 4: Fill and Seal the Jars
Using a funnel, fill hot jars with enchilada sauce, leaving one inch of headspace.
Wipe the rims clean to ensure a proper seal.
Secure the lids and rings, tightening to fingertip tightness.
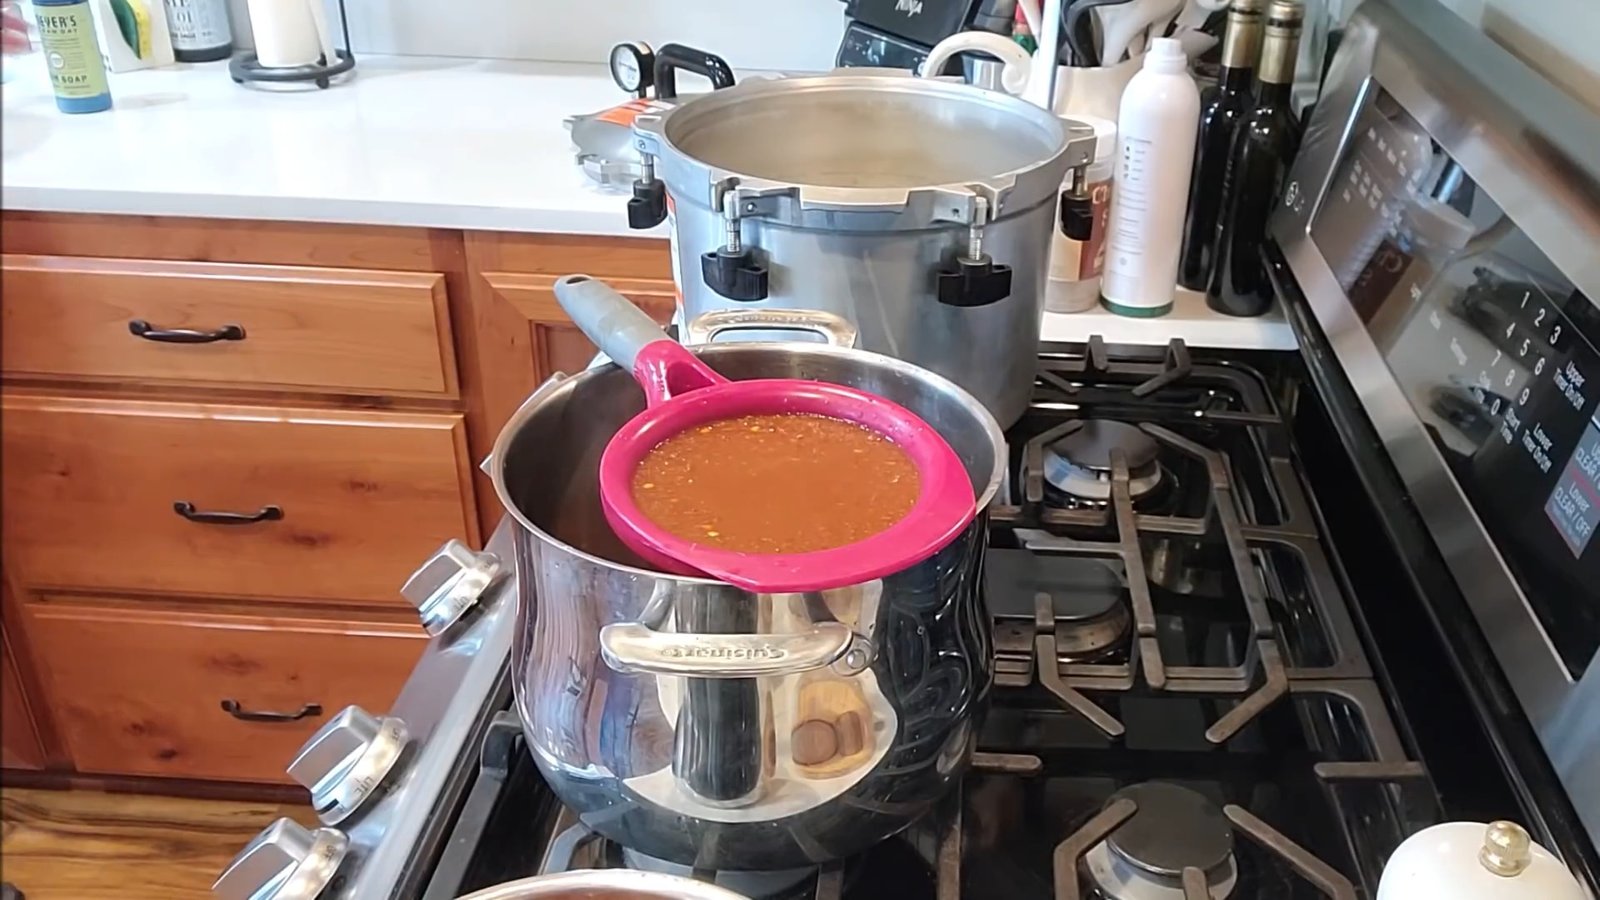
Step 5: Pressure Can the Sauce
Add about three inches of water and a tablespoon of white vinegar to the pressure canner to prevent clouding on jars.
Place the jars inside and secure the lid.
Vent steam for 10 minutes before placing the weight on the canner.
Process at 10 pounds of pressure (adjust for altitude) for 50 minutes.
")
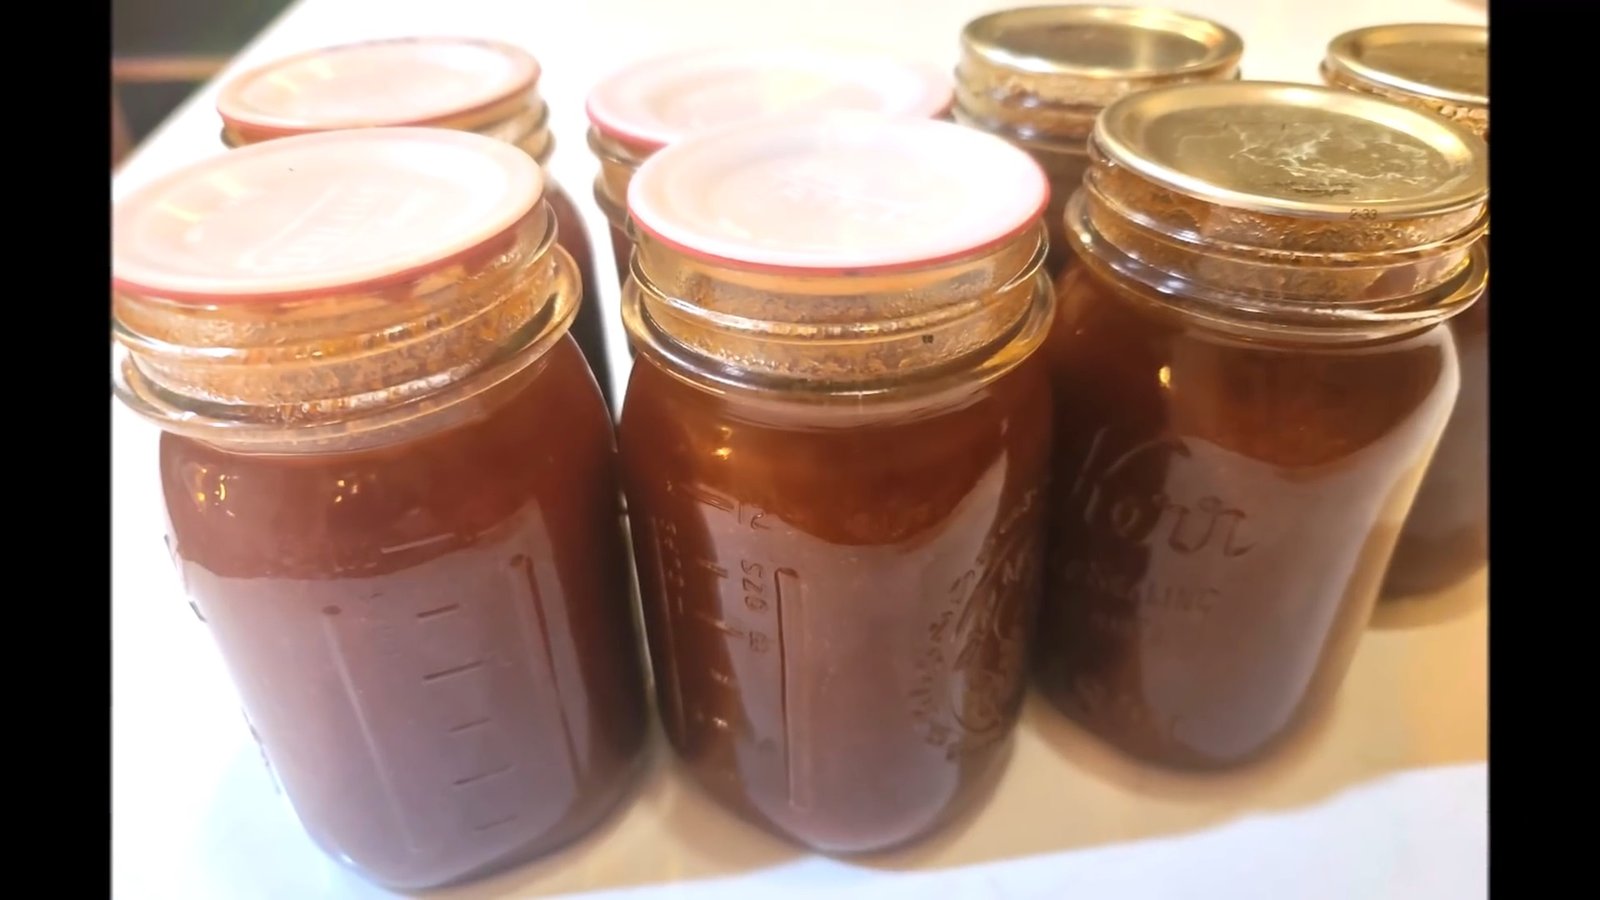
Step 6: Cooling and Storage
Allow the pressure canner to cool naturally before removing the lid.
Let the jars sit in the canner for 10 minutes before transferring them to a towel-lined counter.
Tighten Tattler lids if using and let jars sit undisturbed for at least 12-24 hours.
Check for proper seals before storing in a cool, dark place.
Ways to Use Your Homemade Enchilada Sauce
Once you have beautifully canned enchilada sauce on hand, the possibilities are endless! Use it in:
")
Traditional enchiladas
Taco soup or pozole
Chili Colorado
Refried beans for added flavor
Enchilada soup with shredded cabbage topping
Final Tips for Successful Canning
Always check your jars for nicks before canning.
Use proper pressure canning techniques to ensure food safety.
Label and date your jars for easy tracking.
Canning enchilada sauce is a rewarding process that allows you to enjoy homemade flavors year-round. Try this recipe and elevate your favorite dishes with a rich, spicy, and deeply flavorful sauce. Happy canning!
")
Canning your own enchilada sauce at home is a fantastic way to enjoy rich, homemade flavors while ensuring a shelf-stable supply for your favorite Mexican dishes. This guide will take you through the entire process, from preparing the sauce to sealing the jars for long-term storage.
Why Make Your Own Enchilada Sauce?
Homemade enchilada sauce is fresher, richer, and free from artificial preservatives. Once you try making it yourself, you'll never want to go back to store-bought versions again. Plus, it’s incredibly versatile—you can use it in enchiladas, soups, chili, and more.
Ingredients for Homemade Enchilada Sauce
To create a flavorful and well-balanced enchilada sauce, you'll need:
Dried peppers (such as ancho, guajillo, or pasilla)
Chicken bouillon or broth (for added depth)
Ground cumin (a must for authentic flavor)
Mexican oregano (a heaping tablespoon for a robust taste)
Black pepper (about a teaspoon, or to taste)
Cayenne pepper (for heat, adjust according to preference)
Salt (optional, depending on your bouillon or broth choice)
Step-by-Step Guide to Making and Canning Enchilada Sauce
Step 1: Prepare the Ingredients
Start by soaking your dried peppers in warm chicken broth or bouillon water. Let them sit and soften, absorbing all the flavorful liquid.
Add the cumin, oregano, black pepper, and cayenne to the mixture.
Allow everything to simmer for about 15 minutes, then remove from heat and let it cool slightly.
Step 2: Blend and Strain the Sauce
Use an immersion blender to puree the softened peppers and liquid until smooth.
Strain the sauce through a fine-mesh sieve to remove skins, seeds, and any unwanted pulp. This step is crucial for achieving a silky, luxurious texture.
If the sauce is too thick, thin it out with additional broth or water. Enchilada sauce should be smooth and pourable, not overly thick.
Step 3: Heat and Prepare for Canning
Pour the strained sauce back into the pot and bring it up to temperature.
Get your pressure canner, jars, and lids ready. Jars should be warm and clean, and lids should be preheated if using Tattler reusable lids.
Step 4: Fill and Seal the Jars
Using a funnel, fill hot jars with enchilada sauce, leaving one inch of headspace.
Wipe the rims clean to ensure a proper seal.
Secure the lids and rings, tightening to fingertip tightness.
Step 5: Pressure Can the Sauce
Add about three inches of water and a tablespoon of white vinegar to the pressure canner to prevent clouding on jars.
Place the jars inside and secure the lid.
Vent steam for 10 minutes before placing the weight on the canner.
Process at 10 pounds of pressure (adjust for altitude) for 50 minutes.
Step 6: Cooling and Storage
Allow the pressure canner to cool naturally before removing the lid.
Let the jars sit in the canner for 10 minutes before transferring them to a towel-lined counter.
Tighten Tattler lids if using and let jars sit undisturbed for at least 12-24 hours.
Check for proper seals before storing in a cool, dark place.
Ways to Use Your Homemade Enchilada Sauce
Once you have beautifully canned enchilada sauce on hand, the possibilities are endless! Use it in:
Traditional enchiladas
Taco soup or pozole
Chili Colorado
Refried beans for added flavor
Enchilada soup with shredded cabbage topping
Final Tips for Successful Canning
Always check your jars for nicks before canning.
Use proper pressure canning techniques to ensure food safety.
Label and date your jars for easy tracking.
Canning enchilada sauce is a rewarding process that allows you to enjoy homemade flavors year-round. Try this recipe and elevate your favorite dishes with a rich, spicy, and deeply flavorful sauce. Happy canning!
0 servings