
Nutrition Facts
0 servings

Are you looking for a practical way to preserve onions without relying on a freezer? Today’s quick canning tip from Crazy Daze shows you exactly how to pressure can both yellow and red onions—perfect for making onion gravy, soup, or adding to any dish year-round.
")
Why Can Onions?
Canning onions is an excellent way to preserve their flavor and convenience in your cooking. While freeze drying is a great method (and one we use often), pressure canning is faster and perfect for storing onions that are ready to use in hot meals without needing rehydration.
What You'll Need
Yellow or white onions
Red (purple) onions
Water
")
Salt (½ tsp per pint jar)
Wide-mouth canning jars
Pressure canner
Jar lifter and canning tools
Four Jars or Ball canning lids
Step-by-Step: How to Pressure Can Onions
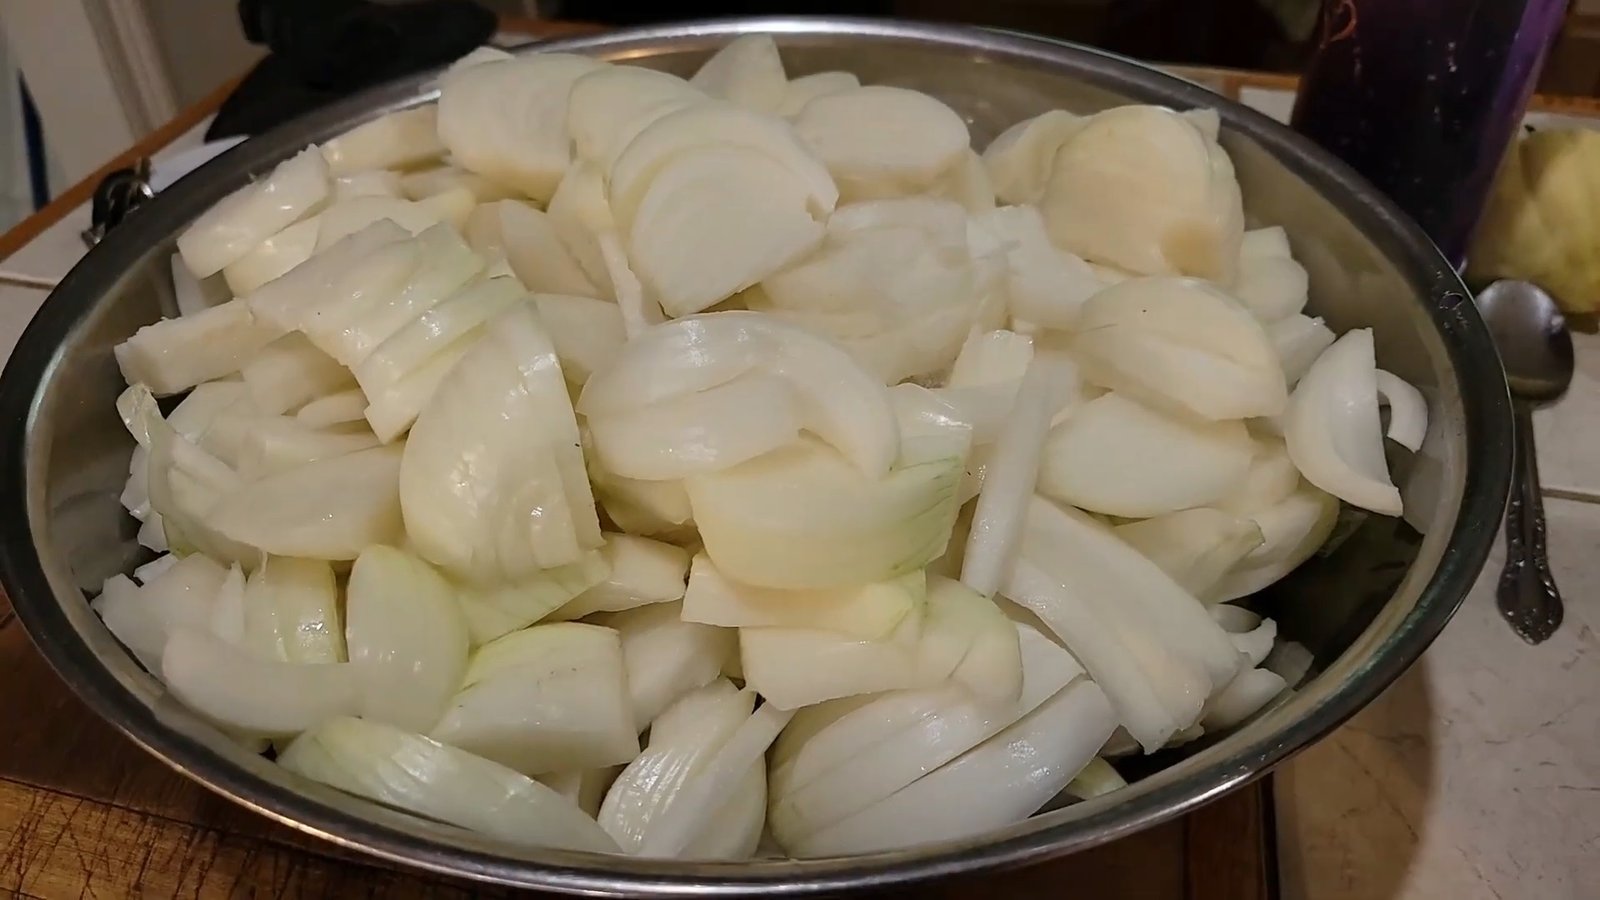
Prepare the Onions
Chop your onions and separate them by type. Fill one bowl with chopped yellow onions and another with red onions.
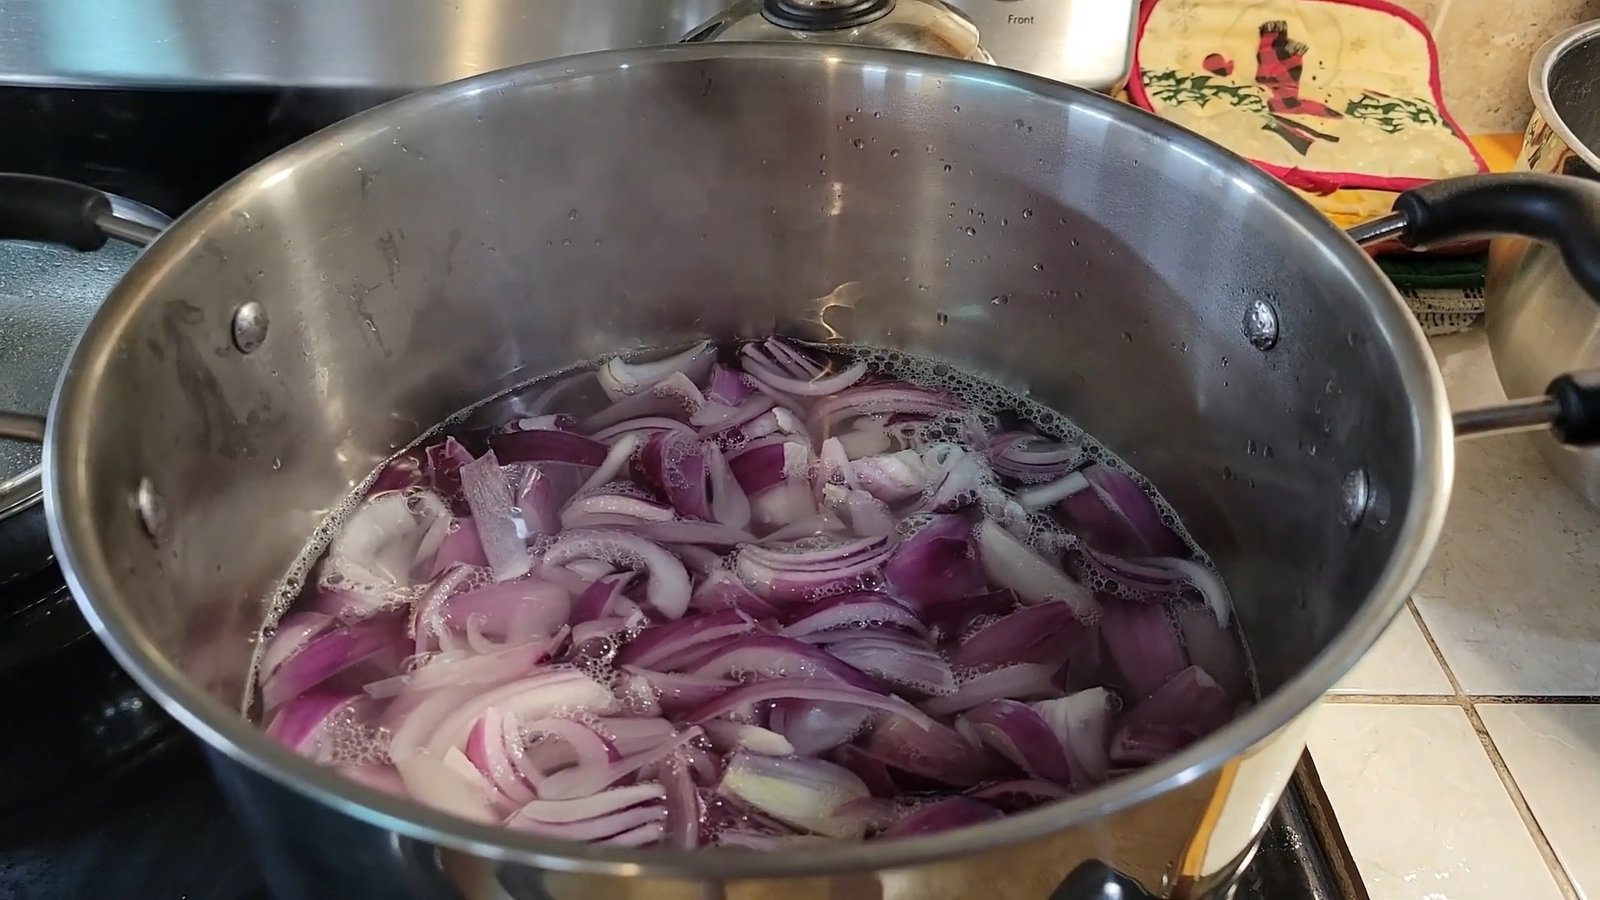
Boil the Onions
In a large pot of plain water, bring the water to a boil and add your chopped onions. Allow them to boil for five minutes. This helps soften the onions and prepares them for safe canning. You’ll notice they begin to look translucent—this is your cue that they’re ready.
Pack the Jars
Add ½ teaspoon of salt to each wide-mouth pint jar. Using a slotted spoon, fill the jars with the hot onions. Be sure to save the boiling liquid—this becomes your canning liquid.
Debubble and Fill
Pour the hot onion water over the onions in the jar, leaving appropriate headspace. Use a debubbler or a utensil to remove air pockets, topping off with more liquid as needed.
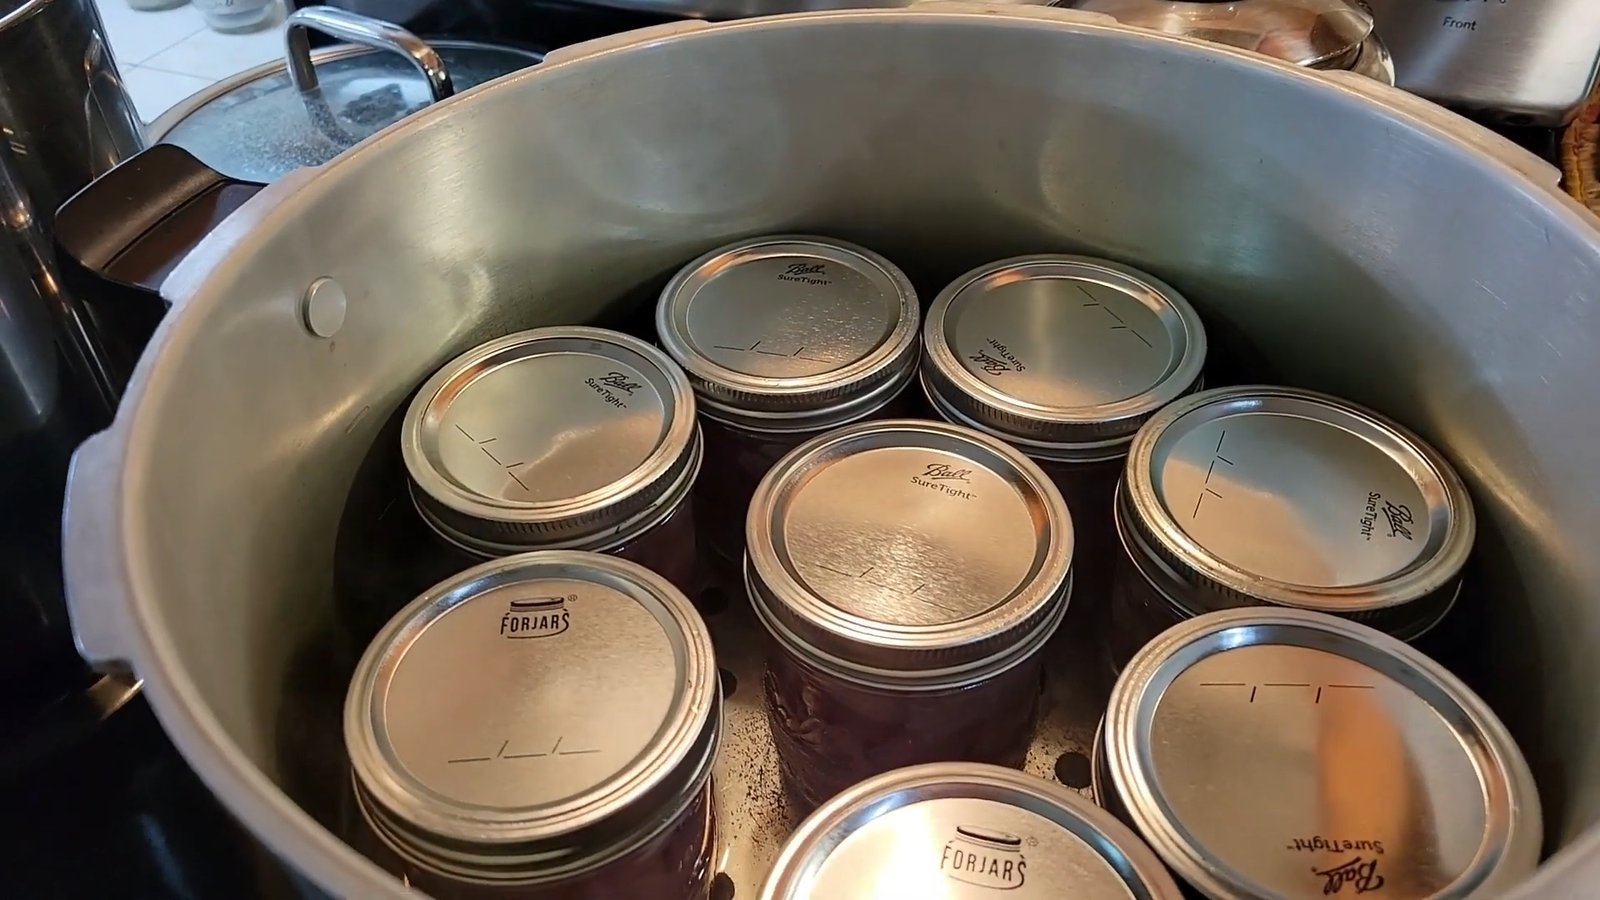
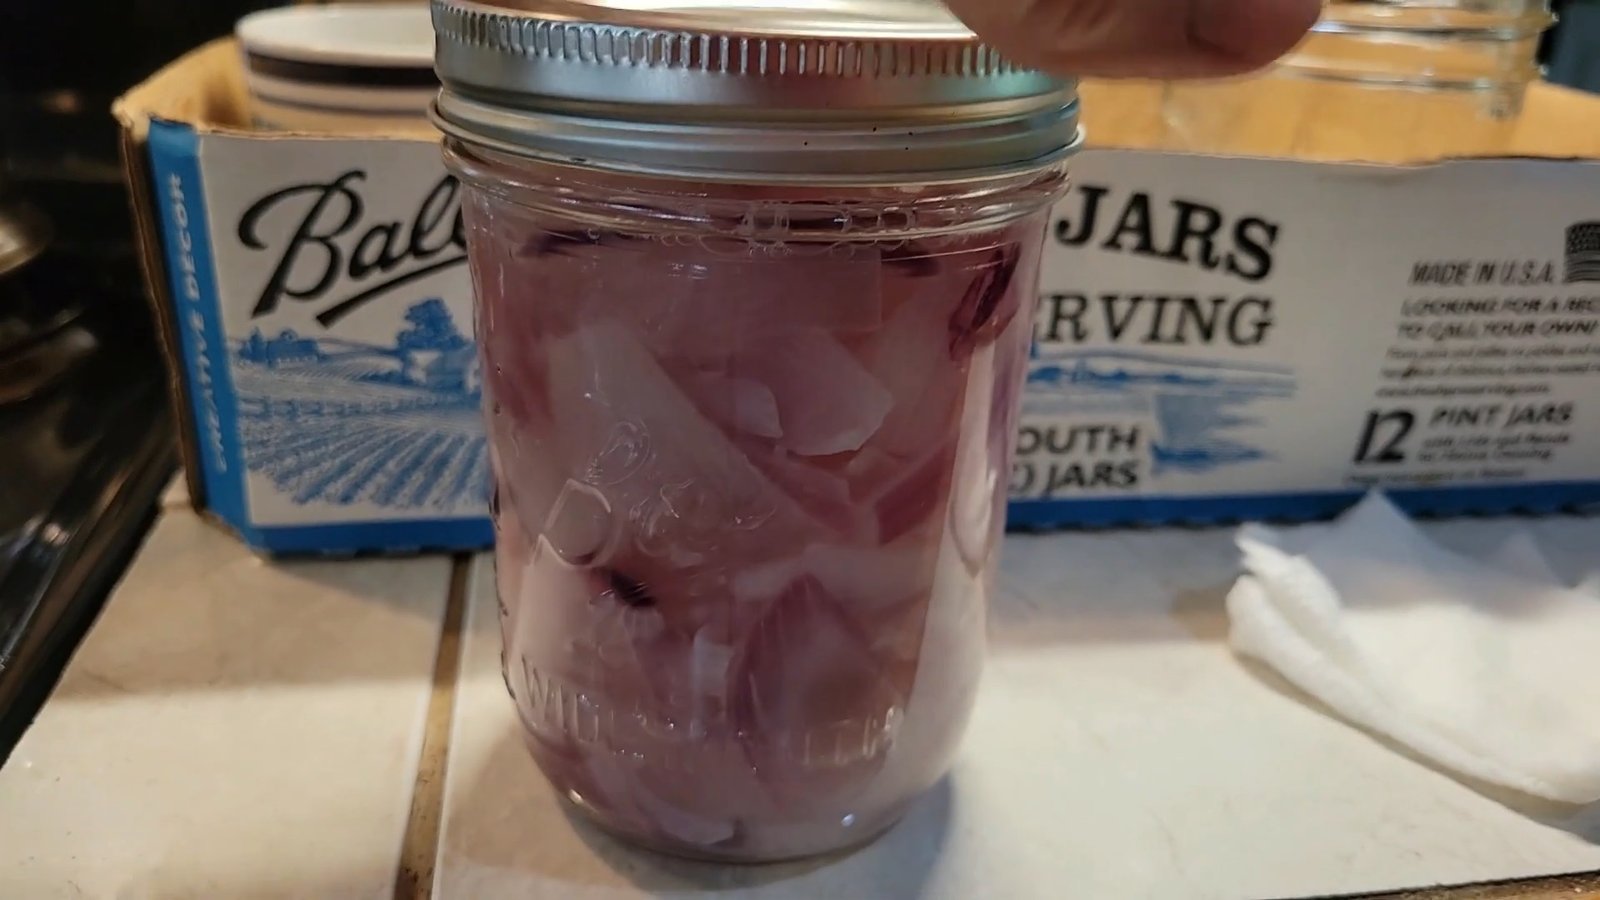
Seal and Process
Cap your jars with either Four Jars or Ball lids (both were used in this demo). Load the jars into your pressure canner. Process at 10 PSI (adjust for altitude) for 40 minutes for pint jars.
Cool and Store
Once processed, allow the canner to depressurize naturally. Carefully remove your jars and let them cool. Check seals after 24 hours. Store sealed jars in a cool, dark place.
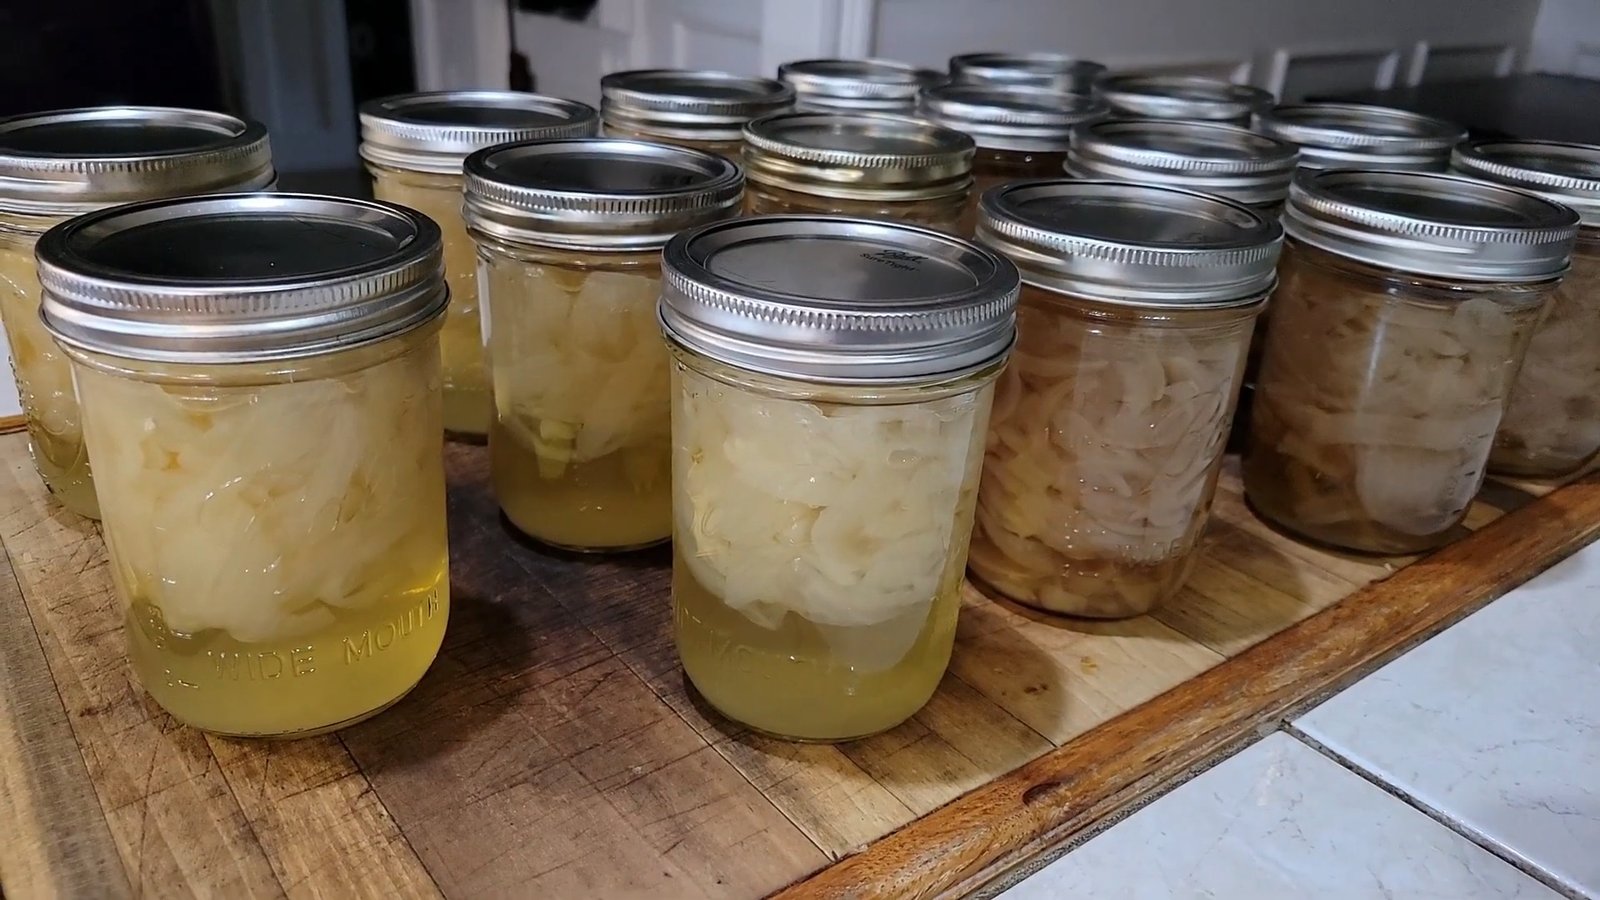
Batch Results
In this canning session, Crazy Daze preserved seven pints of yellow onions and nine pints of red onions. Every jar sealed beautifully, using both Four Jars and Ball brand lids.
")
Bonus Tip
If you’re interested in canning caramelized onions, be sure to check out Miss Lippy’s method for preserving rich, golden onions that add instant flavor to any dish. You’ll find a link to her video in the description.
Final Thoughts
")
Pressure canning onions is a straightforward and satisfying way to prepare for quick meals throughout the year. Whether you’re making a savory onion gravy or a hearty soup, home-canned onions are a time-saver and flavor booster. Thanks for tuning in to Crazy Daze—and don’t forget to explore other canning ideas while you're here!
")
Are you looking for a practical way to preserve onions without relying on a freezer? Today’s quick canning tip from Crazy Daze shows you exactly how to pressure can both yellow and red onions—perfect for making onion gravy, soup, or adding to any dish year-round.
Why Can Onions?
Canning onions is an excellent way to preserve their flavor and convenience in your cooking. While freeze drying is a great method (and one we use often), pressure canning is faster and perfect for storing onions that are ready to use in hot meals without needing rehydration.
What You'll Need
Yellow or white onions
Red (purple) onions
Water
Salt (½ tsp per pint jar)
Wide-mouth canning jars
Pressure canner
Jar lifter and canning tools
Four Jars or Ball canning lids
Step-by-Step: How to Pressure Can Onions
Prepare the Onions
Chop your onions and separate them by type. Fill one bowl with chopped yellow onions and another with red onions.
Boil the Onions
In a large pot of plain water, bring the water to a boil and add your chopped onions. Allow them to boil for five minutes. This helps soften the onions and prepares them for safe canning. You’ll notice they begin to look translucent—this is your cue that they’re ready.
Pack the Jars
Add ½ teaspoon of salt to each wide-mouth pint jar. Using a slotted spoon, fill the jars with the hot onions. Be sure to save the boiling liquid—this becomes your canning liquid.
Debubble and Fill
Pour the hot onion water over the onions in the jar, leaving appropriate headspace. Use a debubbler or a utensil to remove air pockets, topping off with more liquid as needed.
Seal and Process
Cap your jars with either Four Jars or Ball lids (both were used in this demo). Load the jars into your pressure canner. Process at 10 PSI (adjust for altitude) for 40 minutes for pint jars.
Cool and Store
Once processed, allow the canner to depressurize naturally. Carefully remove your jars and let them cool. Check seals after 24 hours. Store sealed jars in a cool, dark place.
Batch Results
In this canning session, Crazy Daze preserved seven pints of yellow onions and nine pints of red onions. Every jar sealed beautifully, using both Four Jars and Ball brand lids.
Bonus Tip
If you’re interested in canning caramelized onions, be sure to check out Miss Lippy’s method for preserving rich, golden onions that add instant flavor to any dish. You’ll find a link to her video in the description.
Final Thoughts
Pressure canning onions is a straightforward and satisfying way to prepare for quick meals throughout the year. Whether you’re making a savory onion gravy or a hearty soup, home-canned onions are a time-saver and flavor booster. Thanks for tuning in to Crazy Daze—and don’t forget to explore other canning ideas while you're here!
0 servings


