
Nutrition Facts
0 servings

If you’ve found fresh pineapples on sale or have a few ripe ones sitting on your counter, home canning is a great way to preserve them for long-term use—no freezer or pressure canner required! In this easy step-by-step tutorial, we’ll walk you through how to can pineapple using a tested water bath canning recipe. This method is beginner-friendly, safe, and perfect for anyone looking to add a tropical twist to their pantry.
Why Water Bath Can Pineapple?
Pineapple is a high-acid fruit, which means it can be safely preserved using the water bath canning method—no pressure canner required. It’s an excellent way to enjoy the sweet, tangy flavor of fresh pineapple all year long without worrying about spoilage or freezer burn.
")
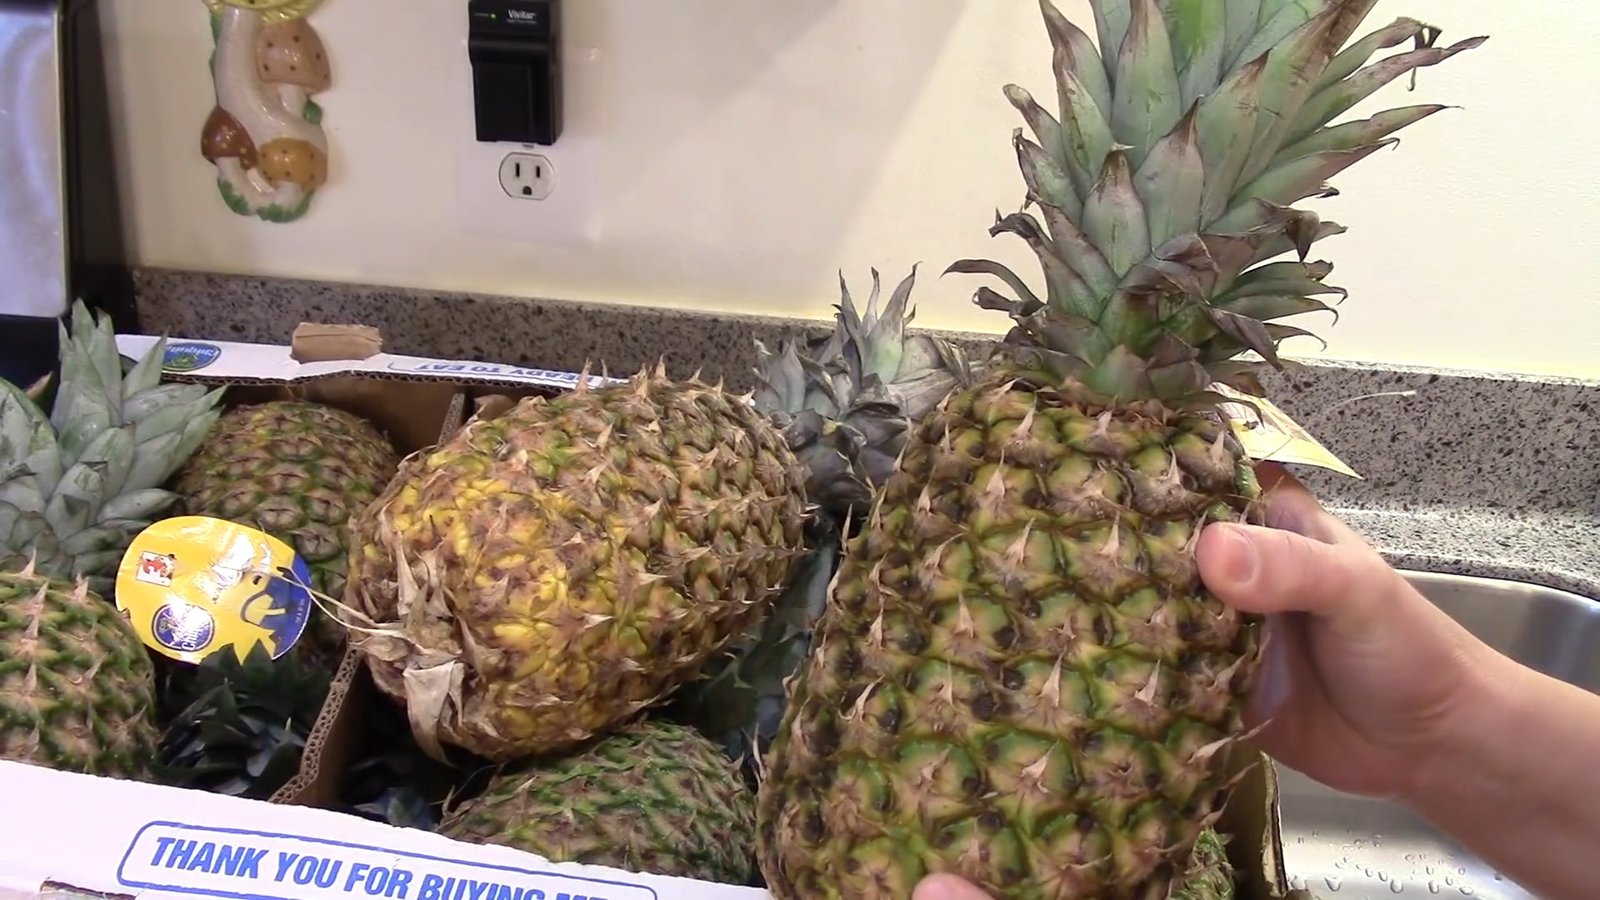
Step 1: Choose and Prepare Your Pineapple
Start with ripe, sweet-smelling pineapples. You can often find great deals at stores like Aldi or during peak pineapple season.
Pro Tip:
When bringing home tropical fruit in cardboard boxes, discard the boxes outside immediately. Tropical produce can harbor pests or insects in the packaging—especially in cardboard.
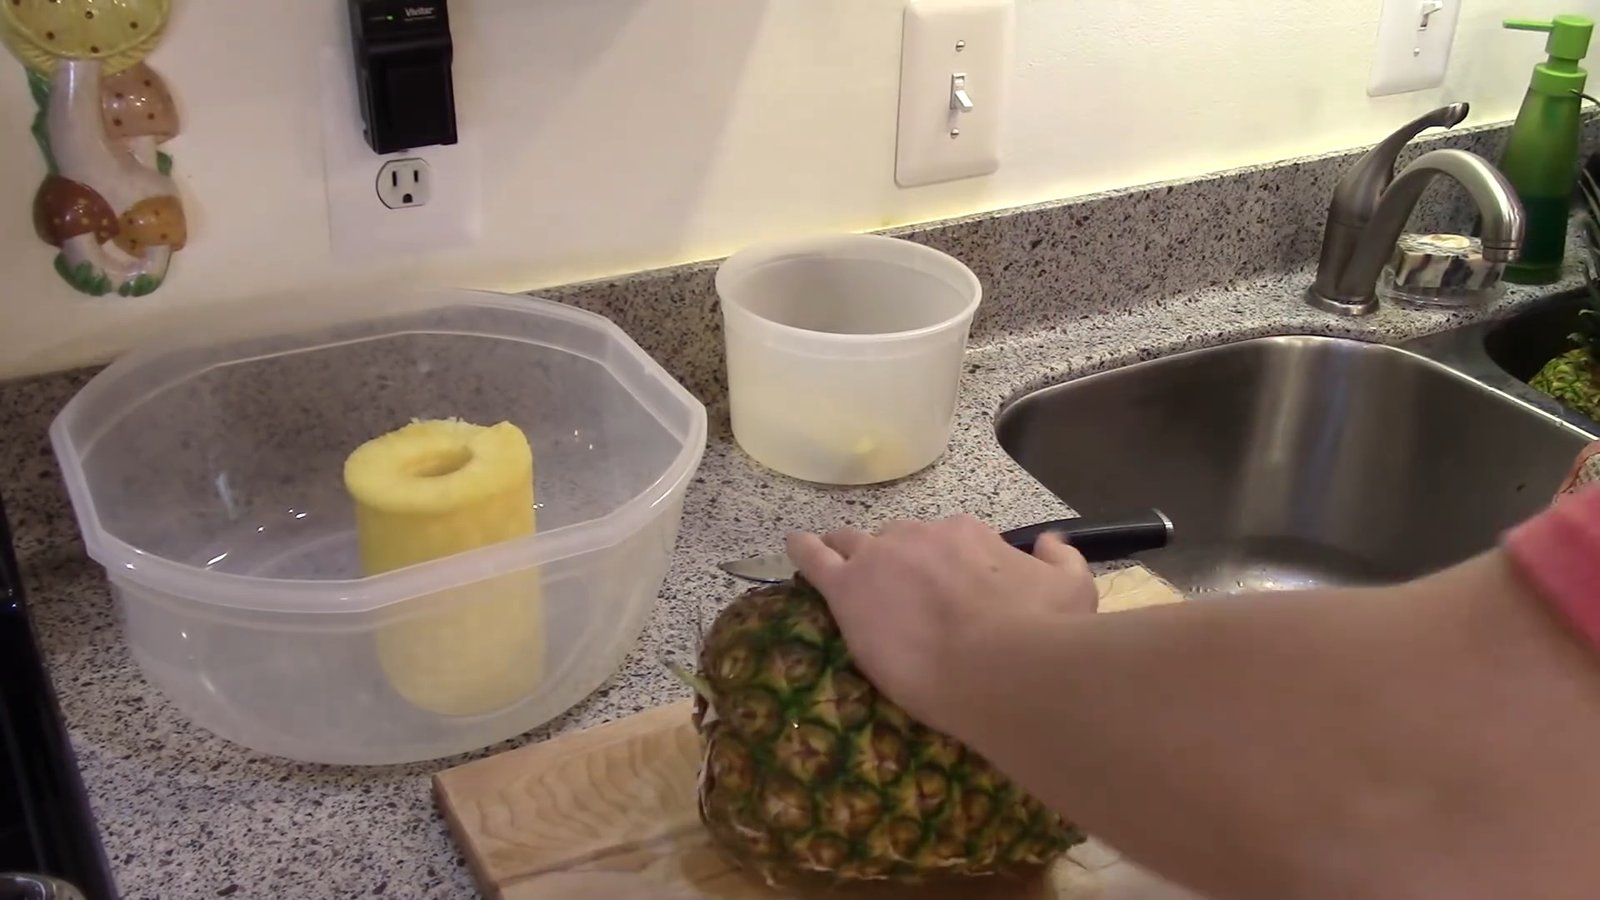
Cleaning and Cutting:
Scrub the outside of the pineapples thoroughly.
Use a pineapple corer or slicer to remove the top and extract the flesh.
Save the scraps and cores—they’re great for making pineapple jam or juicing later.
Collect the juice as you cut, and set it aside to pack your jars later.
Step 2: Juicing the Pineapple Cores (Optional but Smart)
Don’t toss those cores! Run them through a juicer to extract every last drop of sweet pineapple juice. One batch of eight pineapples can yield up to three cups of juice just from the cores. This juice can be used as your packing liquid instead of syrup or water for even more flavor.
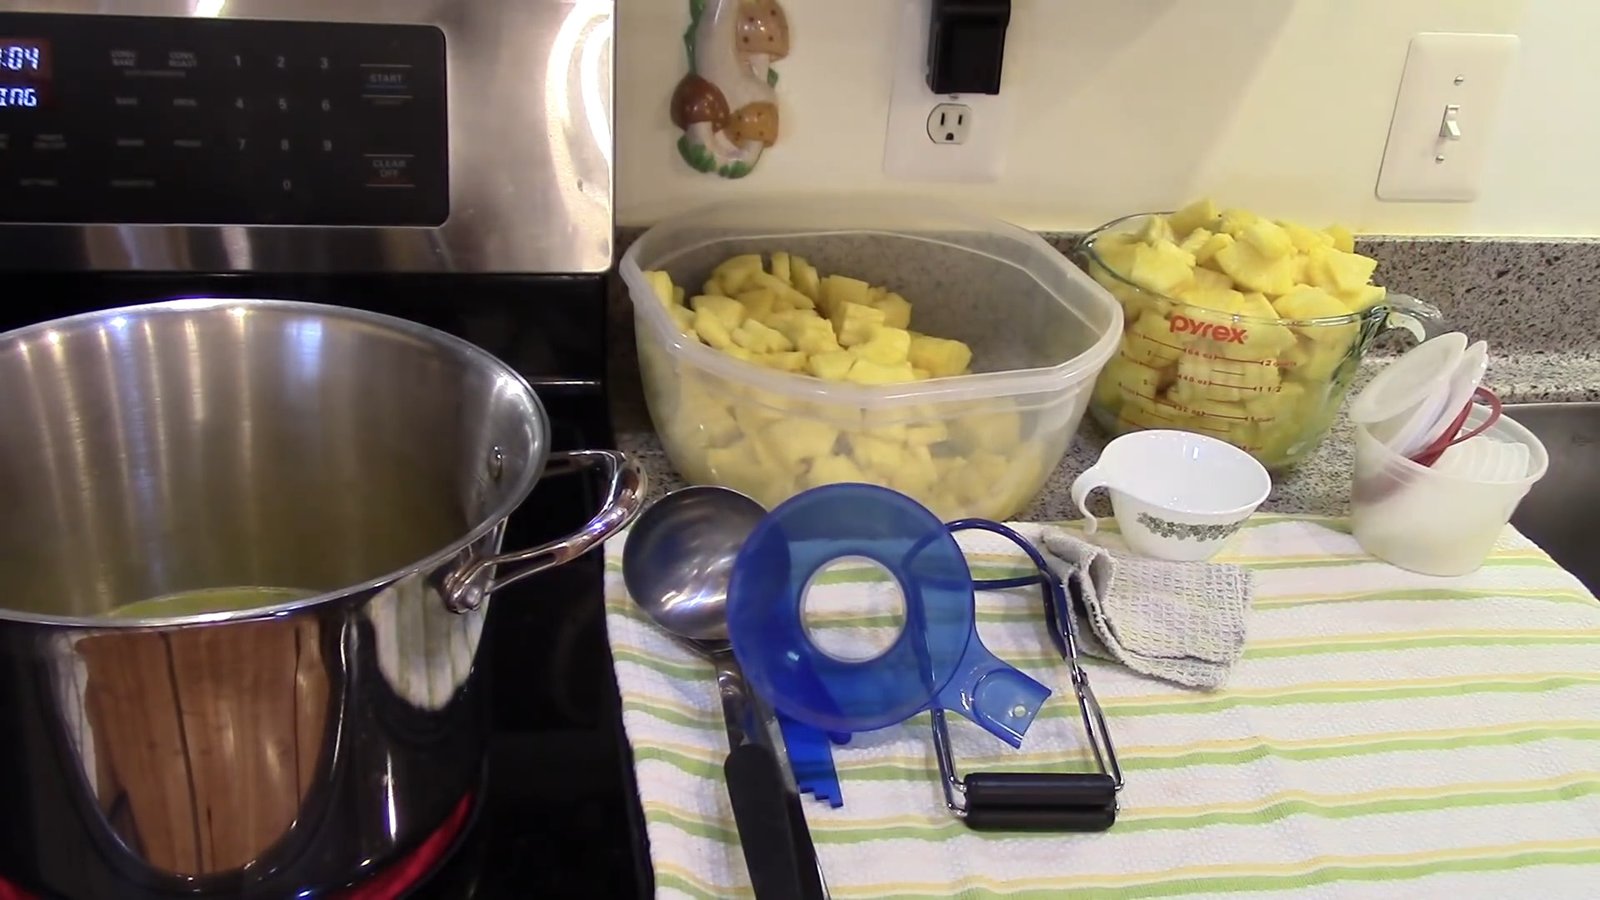
Step 3: Heat and Simmer
Place the juice and pineapple chunks into a large pan:
Simmer the pineapple for 10 minutes before packing into jars.
If there’s not quite enough liquid to cover the fruit, you can top it off with hot water.
Tip: Use an electric kettle to keep boiling water on hand for quick topping up.
Step 4: Prepare Your Canning Station
Make sure everything is clean and ready:
Sterilize your jars and keep them warm in the oven or canner.
Heat the canning lids according to manufacturer instructions.
")
Start warming your water bath canner.
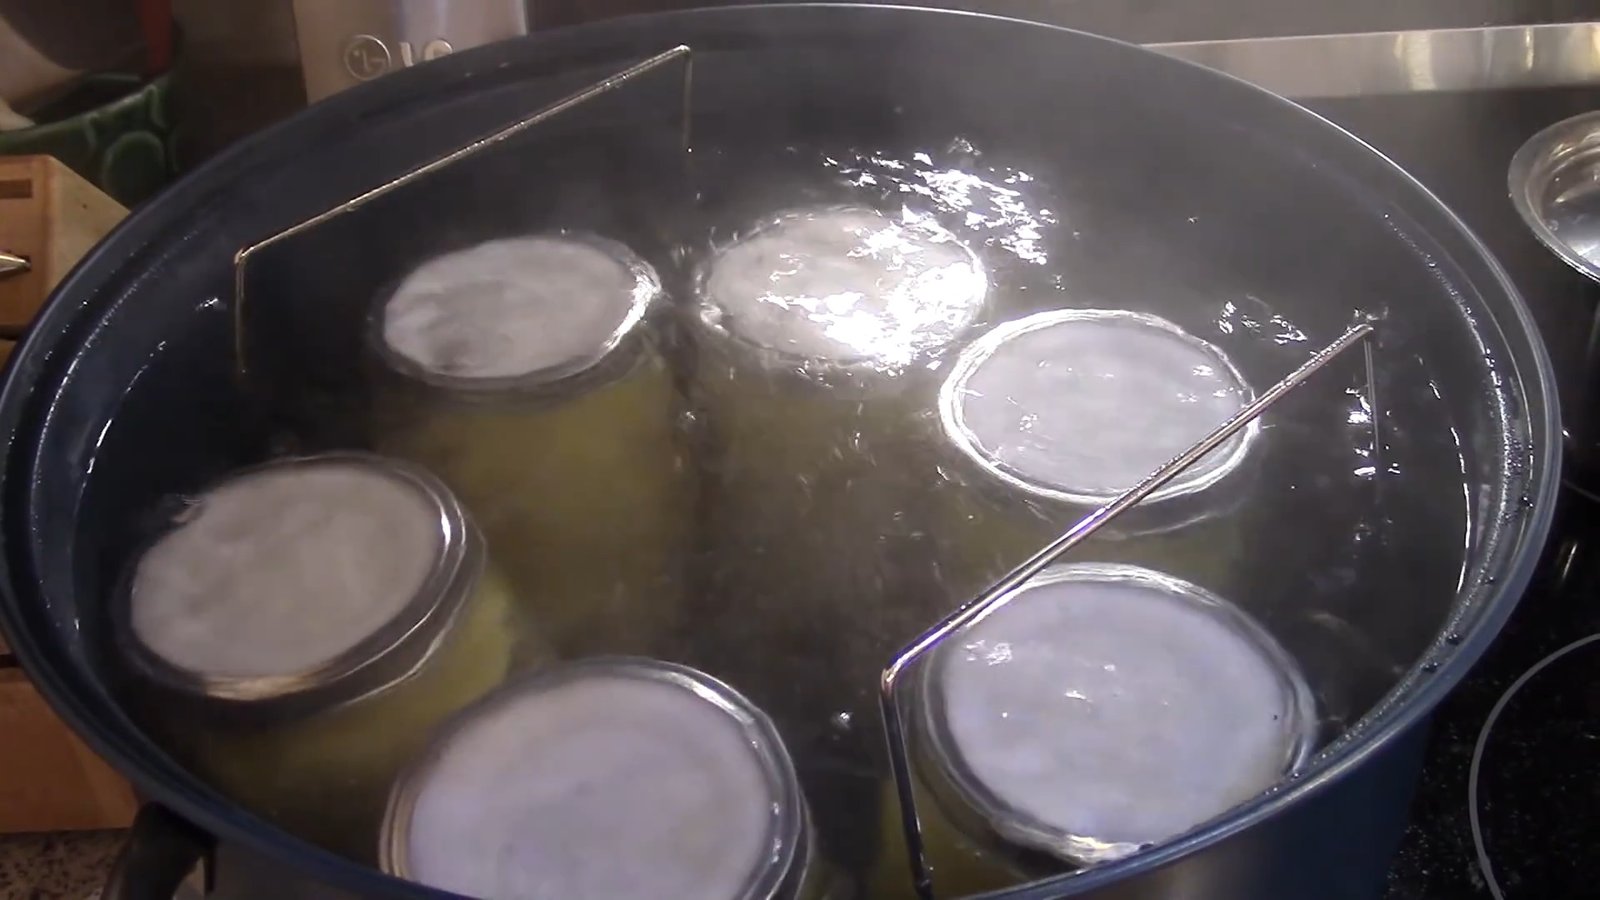
Step 5: Fill and Process the Jars
Once your pineapple has simmered:
Pack hot fruit into hot jars, leaving ½ inch of headspace.
")
Ladle hot juice (or hot water) over the pineapple, maintaining the same headspace.
Remove air bubbles and adjust liquid levels as needed.
")
Wipe the rims, apply lids and rings (finger-tight).
Process jars in a boiling water bath for the recommended time—usually 15 minutes for pints and 20 minutes for quarts, adjusting for altitude.
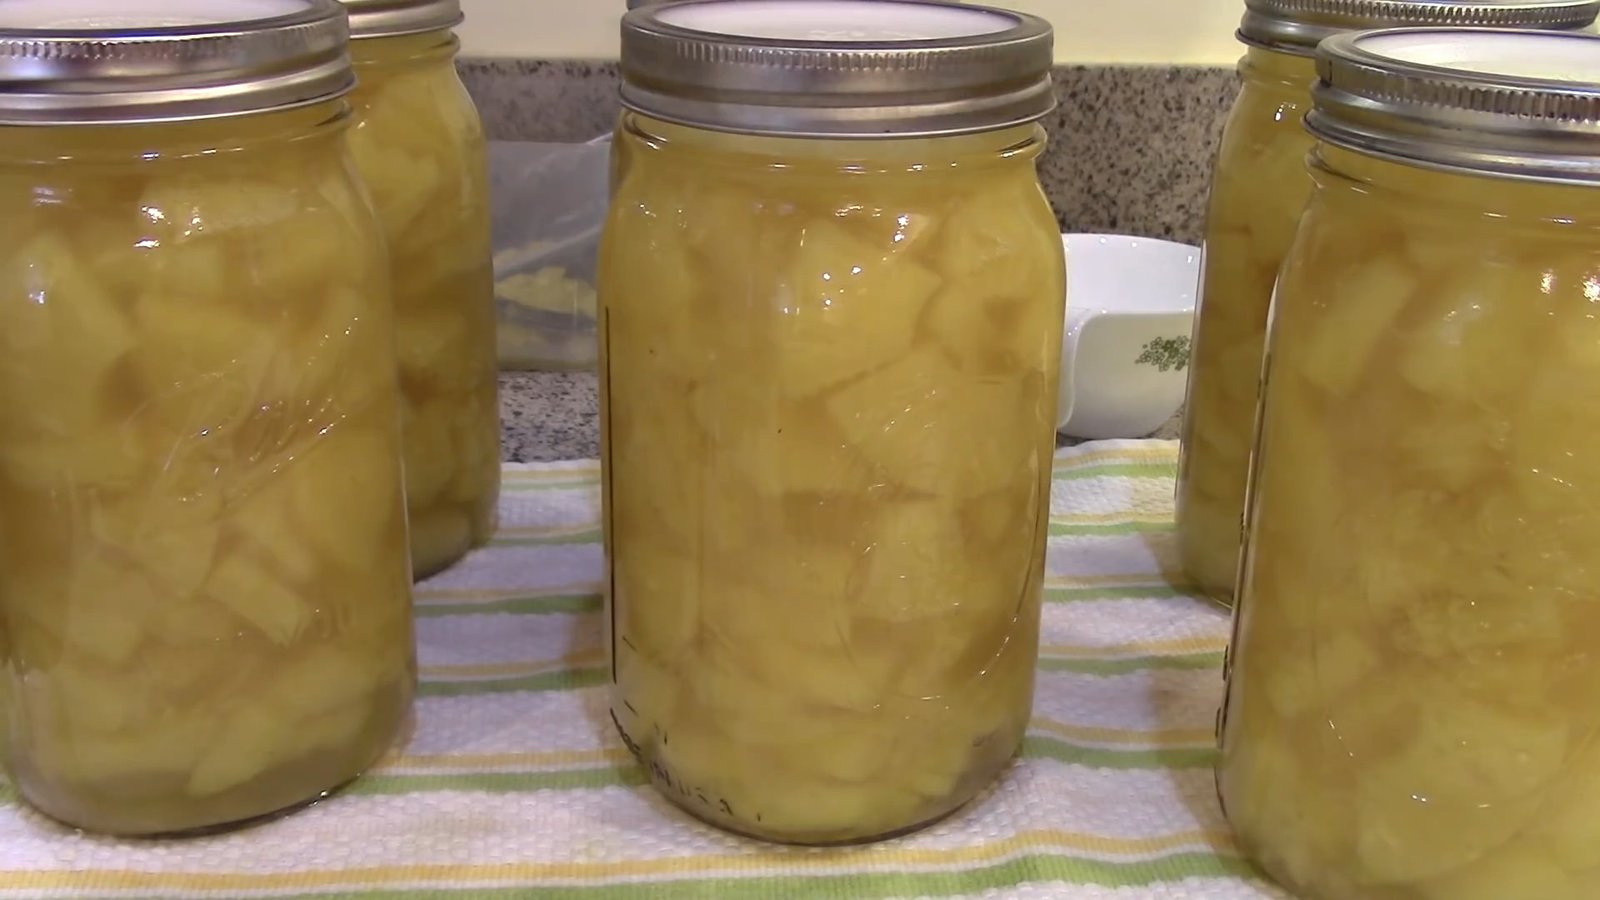
Final Results: Six Quarts of Golden Goodness
This batch yielded six quarts of beautifully canned pineapple—ready for smoothies, baking, stir-fries, or enjoying straight from the jar. Quart jars are larger than store-bought cans, so plan to use them in family-sized recipes or share with friends.
Bonus Idea: Make Pineapple Jam from the Scraps
Don’t waste the leftover pineapple flesh or tops! Use a spoon or melon baller to scrape out the remaining fruit and simmer it into a delicious pineapple jam. This not only reduces food waste but gives you a second tasty product from the same batch of fruit.
")
If you’ve found fresh pineapples on sale or have a few ripe ones sitting on your counter, home canning is a great way to preserve them for long-term use—no freezer or pressure canner required! In this easy step-by-step tutorial, we’ll walk you through how to can pineapple using a tested water bath canning recipe. This method is beginner-friendly, safe, and perfect for anyone looking to add a tropical twist to their pantry.
Why Water Bath Can Pineapple?
Pineapple is a high-acid fruit, which means it can be safely preserved using the water bath canning method—no pressure canner required. It’s an excellent way to enjoy the sweet, tangy flavor of fresh pineapple all year long without worrying about spoilage or freezer burn.
Step 1: Choose and Prepare Your Pineapple
Start with ripe, sweet-smelling pineapples. You can often find great deals at stores like Aldi or during peak pineapple season.
Pro Tip:
When bringing home tropical fruit in cardboard boxes, discard the boxes outside immediately. Tropical produce can harbor pests or insects in the packaging—especially in cardboard.
Cleaning and Cutting:
Scrub the outside of the pineapples thoroughly.
Use a pineapple corer or slicer to remove the top and extract the flesh.
Save the scraps and cores—they’re great for making pineapple jam or juicing later.
Collect the juice as you cut, and set it aside to pack your jars later.
Step 2: Juicing the Pineapple Cores (Optional but Smart)
Don’t toss those cores! Run them through a juicer to extract every last drop of sweet pineapple juice. One batch of eight pineapples can yield up to three cups of juice just from the cores. This juice can be used as your packing liquid instead of syrup or water for even more flavor.
Step 3: Heat and Simmer
Place the juice and pineapple chunks into a large pan:
Simmer the pineapple for 10 minutes before packing into jars.
If there’s not quite enough liquid to cover the fruit, you can top it off with hot water.
Tip: Use an electric kettle to keep boiling water on hand for quick topping up.
Step 4: Prepare Your Canning Station
Make sure everything is clean and ready:
Sterilize your jars and keep them warm in the oven or canner.
Heat the canning lids according to manufacturer instructions.
Start warming your water bath canner.
Step 5: Fill and Process the Jars
Once your pineapple has simmered:
Pack hot fruit into hot jars, leaving ½ inch of headspace.
Ladle hot juice (or hot water) over the pineapple, maintaining the same headspace.
Remove air bubbles and adjust liquid levels as needed.
Wipe the rims, apply lids and rings (finger-tight).
Process jars in a boiling water bath for the recommended time—usually 15 minutes for pints and 20 minutes for quarts, adjusting for altitude.
Final Results: Six Quarts of Golden Goodness
This batch yielded six quarts of beautifully canned pineapple—ready for smoothies, baking, stir-fries, or enjoying straight from the jar. Quart jars are larger than store-bought cans, so plan to use them in family-sized recipes or share with friends.
Bonus Idea: Make Pineapple Jam from the Scraps
Don’t waste the leftover pineapple flesh or tops! Use a spoon or melon baller to scrape out the remaining fruit and simmer it into a delicious pineapple jam. This not only reduces food waste but gives you a second tasty product from the same batch of fruit.
0 servings


