Canning your own pineapple juice at home is a great way to preserve fresh flavors for later use. Whether you're an experienced home canner or just starting out, this guide will walk you through the process of making and canning pineapple juice using fresh pineapples.
")
Why Can Pineapple Juice?
Pineapple juice is a delicious, tropical beverage that can be used in a variety of recipes, from cocktails to marinades. Canning it at home allows you to control the quality and ingredients while saving money compared to store-bought versions.
What You’ll Need
")
Fresh pineapples (about five for a good batch)
A large pot
Water
Blender or food processor
Fine-mesh strainer or cheesecloth
Clean pint jars with lids and rings
White vinegar
Water bath canner or large pot with a rack
Step 1: Prepare the Pineapples
Start by peeling the pineapples and removing any bad spots. Chop them into small chunks and place them in a large pot. Depending on how concentrated you want your juice, cover the pineapple pieces with water.
Step 2: Cook the Pineapple
Bring the pot to a simmer and cover with a lid. Let the pineapple cook for about 20 minutes. If you prefer a clearer juice, let it cook longer to extract more liquid.
Step 3: Blend and Strain
Once the pineapple is softened, transfer the chunks to a blender, filling it about three-quarters of the way. Add a ladle of hot juice from the pot to help with blending. Blend until smooth, then strain the mixture through a fine-mesh strainer or cheesecloth to remove excess pulp. If you like a bit of pulp in your juice, you can strain less thoroughly.
Step 4: Prepare Jars for Canning
Wash your pint jars thoroughly with hot water. Make sure your lids and rings are also clean. You don’t need to boil the jars, but they should be sanitized. Pour the fresh pineapple juice into the jars, leaving about ½ inch of headspace.
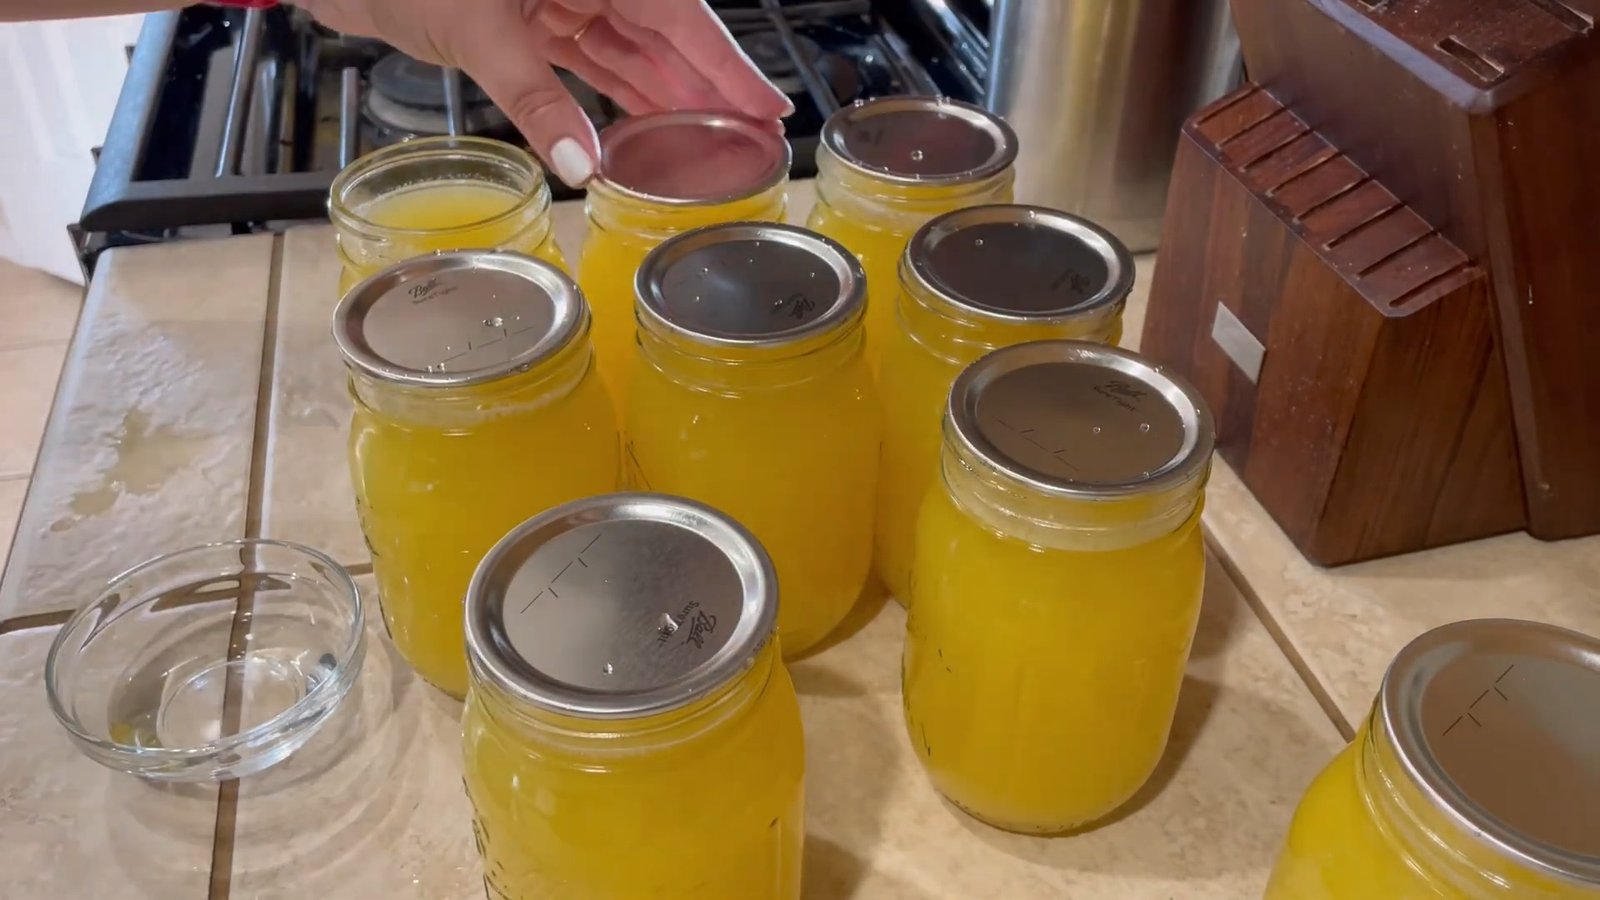
Step 5: Clean the Rims and Seal the Jars
Use white vinegar to clean the rims of the jars. This step is crucial since pineapple juice is sticky, and any residue can prevent proper sealing. Place the lids on the jars and tighten the rings until they are just fingertip-tight.
Step 6: Process in a Water Bath
Place the jars in a water bath canner or a large pot with a rack at the bottom. Fill the pot with warm water, covering the jars by at least one inch. Bring the water to a boil and process the jars for 15 minutes.
Step 7: Cool and Store
After processing, carefully remove the jars and let them cool completely on a towel or cooling rack. You should hear a popping sound as the lids seal. Once cooled, check the seals and store your canned pineapple juice in a cool, dark place. If a jar didn’t seal properly, refrigerate it and use it within a few days.
Alternative Storage Method
If you don’t want to can the juice, you can freeze it instead. Simply pour the juice into freezer-safe containers, leaving space for expansion, and freeze for later use.
Final Thoughts
Canning your own pineapple juice is an easy and rewarding process. It allows you to enjoy fresh, homemade juice year-round, without preservatives or added sugars. Give it a try and enjoy the taste of homemade pineapple juice anytime!
")
Fresh pineapples (about five for a good batch)
A large pot
Water
Blender or food processor
Fine-mesh strainer or cheesecloth
Clean pint jars with lids and rings
White vinegar
Water bath canner or large pot with a rack
Step 1: Prepare the Pineapples
Start by peeling the pineapples and removing any bad spots. Chop them into small chunks and place them in a large pot. Depending on how concentrated you want your juice, cover the pineapple pieces with water.
Step 2: Cook the Pineapple
Bring the pot to a simmer and cover with a lid. Let the pineapple cook for about 20 minutes. If you prefer a clearer juice, let it cook longer to extract more liquid.
")
Step 3: Blend and Strain
Once the pineapple is softened, transfer the chunks to a blender, filling it about three-quarters of the way. Add a ladle of hot juice from the pot to help with blending. Blend until smooth, then strain the mixture through a fine-mesh strainer or cheesecloth to remove excess pulp. If you like a bit of pulp in your juice, you can strain less thoroughly.
")
Step 4: Prepare Jars for Canning
Wash your pint jars thoroughly with hot water. Make sure your lids and rings are also clean. You don’t need to boil the jars, but they should be sanitized. Pour the fresh pineapple juice into the jars, leaving about ½ inch of headspace.
Step 5: Clean the Rims and Seal the Jars
Use white vinegar to clean the rims of the jars. This step is crucial since pineapple juice is sticky, and any residue can prevent proper sealing. Place the lids on the jars and tighten the rings until they are just fingertip-tight.
Step 6: Process in a Water Bath
Place the jars in a water bath canner or a large pot with a rack at the bottom. Fill the pot with warm water, covering the jars by at least one inch. Bring the water to a boil and process the jars for 15 minutes.
Step 7: Cool and Store
After processing, carefully remove the jars and let them cool completely on a towel or cooling rack. You should hear a popping sound as the lids seal. Once cooled, check the seals and store your canned pineapple juice in a cool, dark place. If a jar didn’t seal properly, refrigerate it and use it within a few days.
")
Alternative Storage Method
If you don’t want to can the juice, you can freeze it instead. Simply pour the juice into freezer-safe containers, leaving space for expansion, and freeze for later use.
Final Thoughts
Canning your own pineapple juice is an easy and rewarding process. It allows you to enjoy fresh, homemade juice year-round, without preservatives or added sugars. Give it a try and enjoy the taste of homemade pineapple juice anytime!
")
0 servings