
Nutrition Facts
0 servings

Welcome back to Locally Raised! Today, we’re walking you through the full process of how to make and can your own apple butter — enough to last your family a full year. Whether you’re starting from fresh apples or cutting some corners with store-bought applesauce, this homemade apple butter recipe is cozy, customizable, and can be made in bulk for shelf-stable goodness all year long.
Apple Butter: From Apples to Jars
This year, we kicked off apple butter season with a big batch — half for my family and half for my parents, who helped with the process. It’s a bit of a labor of love, but when you see all those jars lined up and hear the lids pop, it’s so worth it!
Step 1: Gather Your Apples (or Applesauce)
We started with two 20-pound bags of local apples from a grocery store that sells bulk produce in the fall. One bag was Golden Delicious, and the other was Cortland — our favorite for applesauce and apple butter because of their sweet, mellow flavor. All in, it was about $20 for a full bushel of apples.
?? Shortcut Option: You can use store-bought unsweetened applesauce instead of starting from fresh apples! Just skip to the apple butter steps if you go this route.
Step 2: Turn Apples into Applesauce
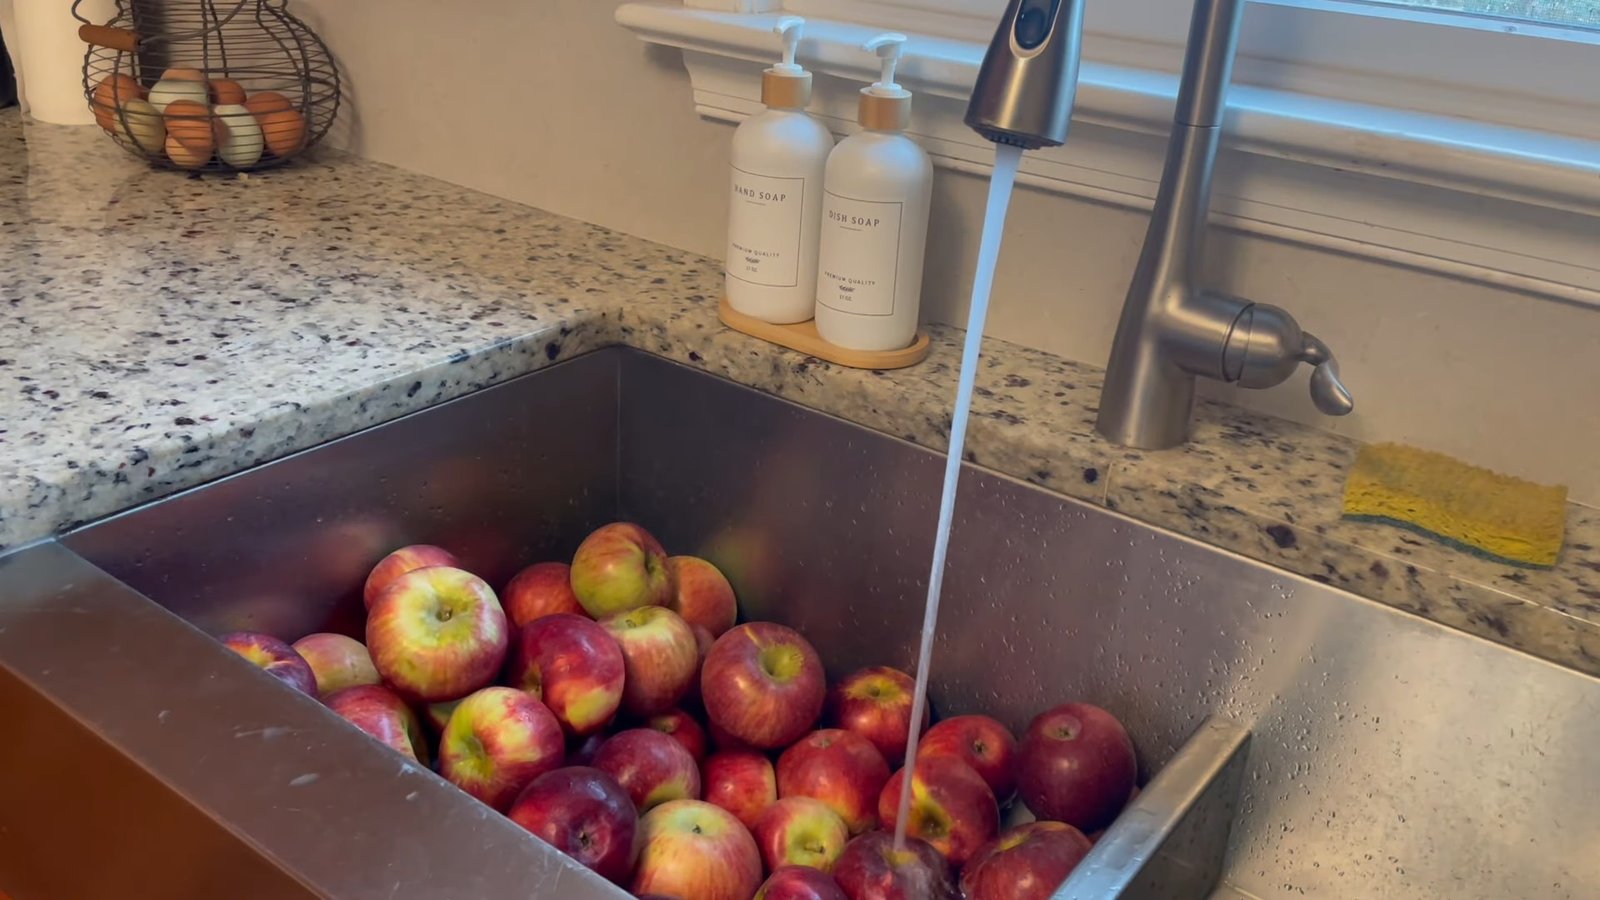
After washing, we used a tomato corer to remove the tops and bottoms, then quartered the apples. Even my son helped with this part using a kid-safe knife — it's a great family project!
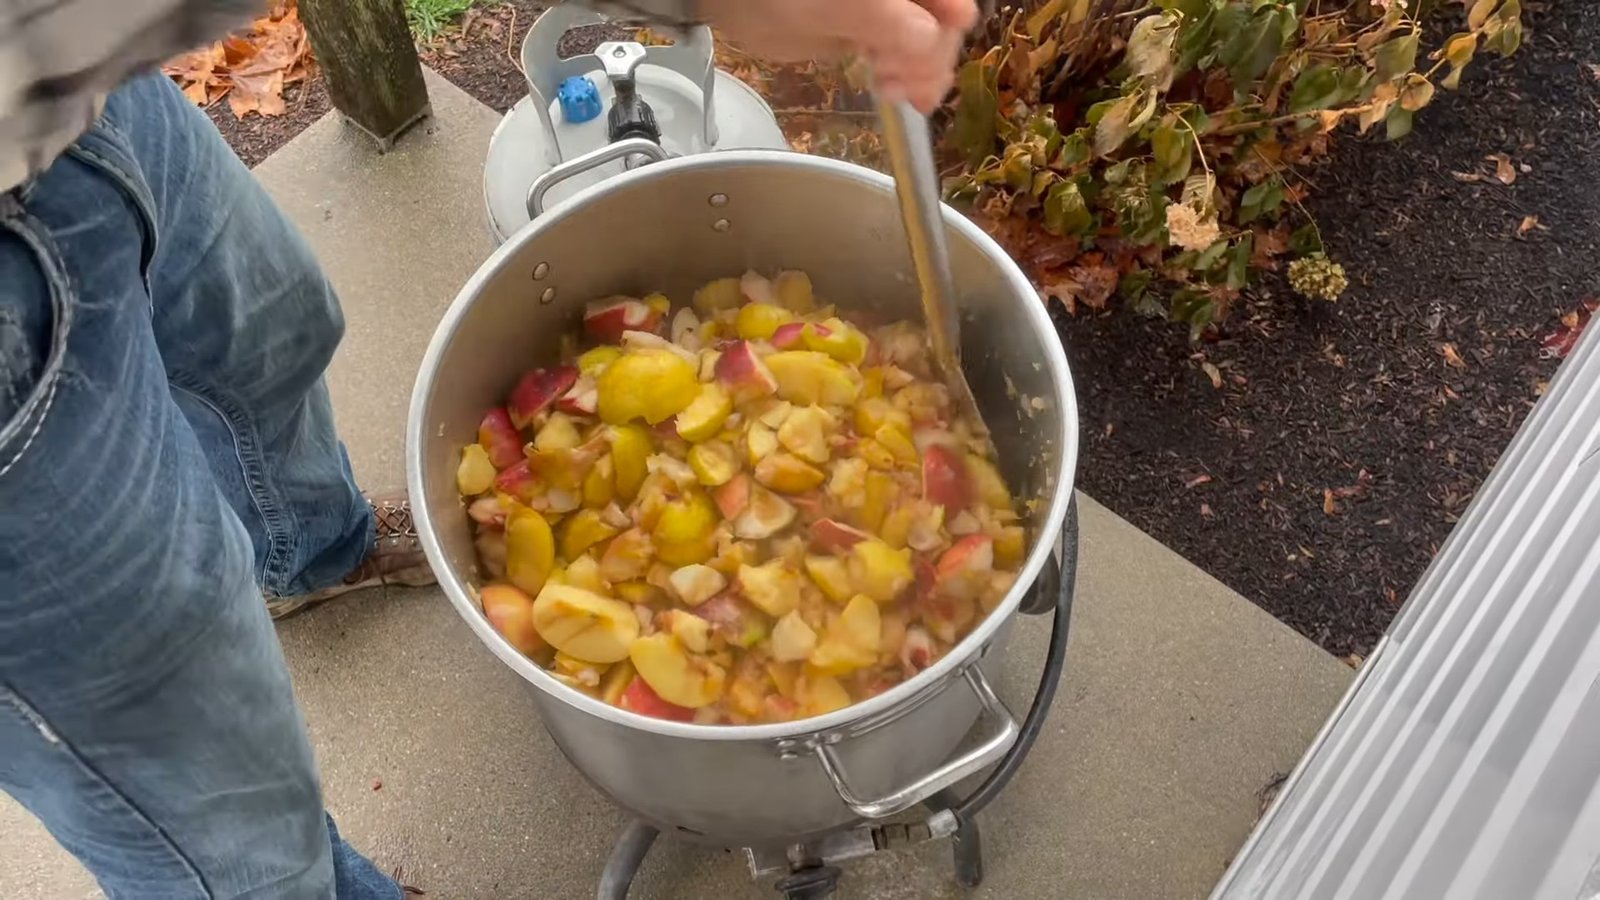
We cooked the apples down in large pots with a splash of apple juice to prevent sticking. Because the weather wasn’t great, we ended up moving the cooking process outside using a big burner. It made stirring and managing the large volume much easier.
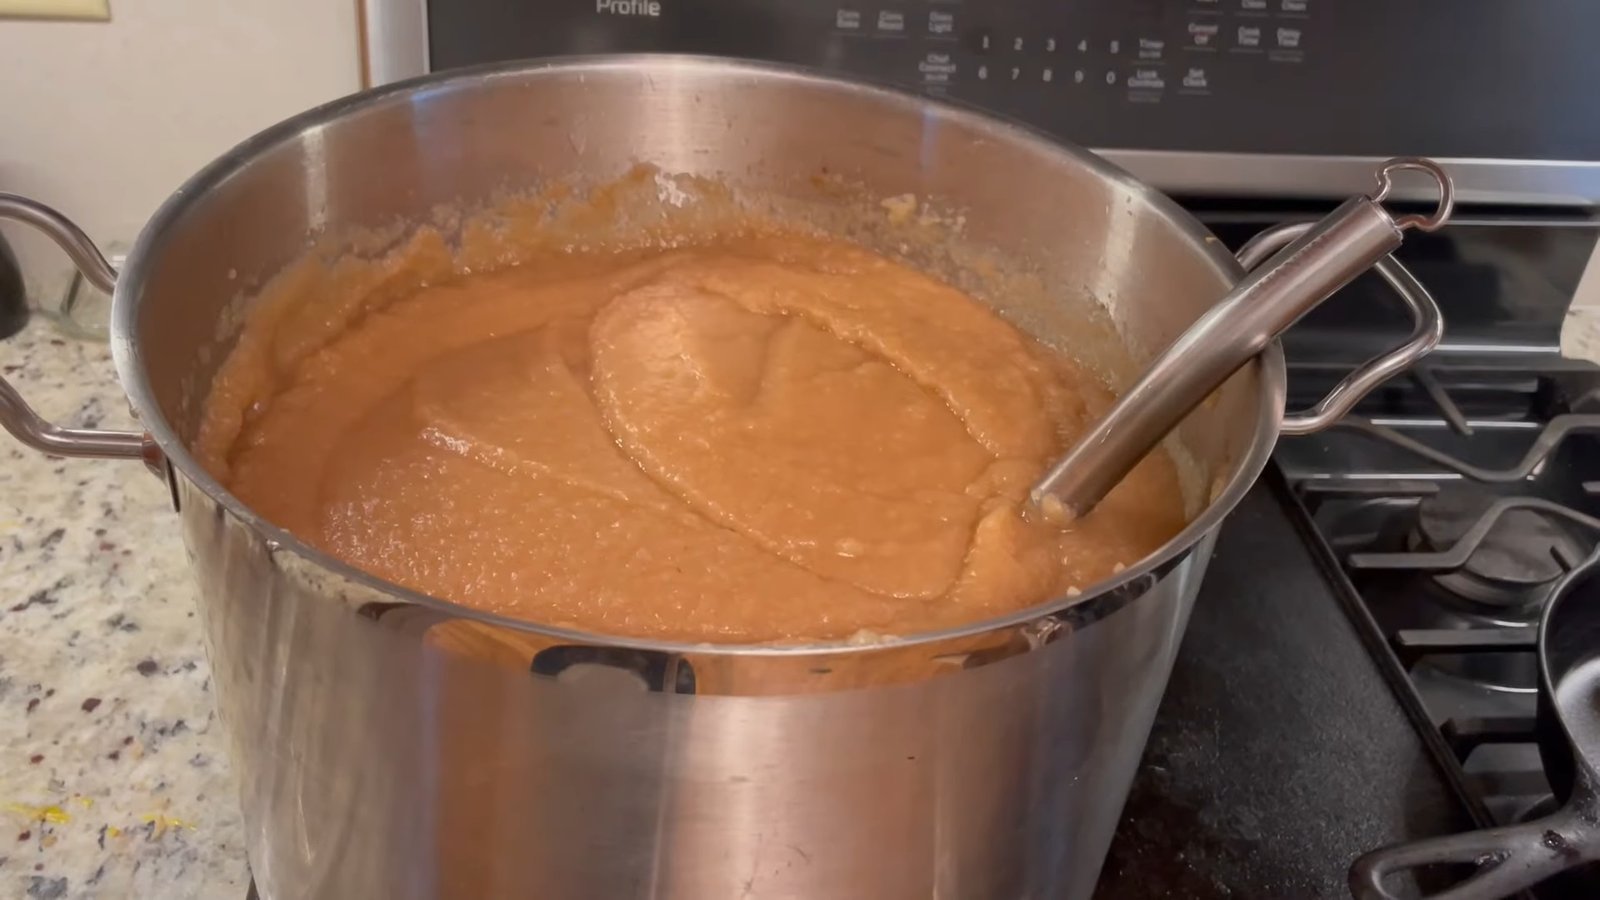
Once the apples looked like a chunky stew (about 40 minutes of cooking), we ran them through a food mill to create a smooth applesauce. From one bushel, we ended up with about 16 quarts!
Step 3: Transform Applesauce into Apple Butter
Here’s the simplest part: just add spices!
Cinnamon: 1 teaspoon per quart of applesauce
Cloves: ¼ teaspoon per quart of applesauce
")
These two are all you need to give apple butter its signature warm flavor. Optional but recommended: use an immersion blender to smooth it out even more.
")
We then transferred the spiced applesauce to slow cookers and let it cook on low with the lid partially off for several hours (ours took about 8.5 hours) until it thickened to a rich, spoonable consistency.
?? Tip: It’s done when it holds its shape in the spoon or when a finger drawn through it leaves a track that doesn’t immediately refill.
Step 4: Sweeten (Optional)
While I loved the taste unsweetened, I wanted to experiment with honey this year. I ended up adding a full pint of honey to one pot — and the result was beautifully balanced. The apple flavor still shines, but with a subtle added sweetness.
Step 5: Can Your Apple Butter
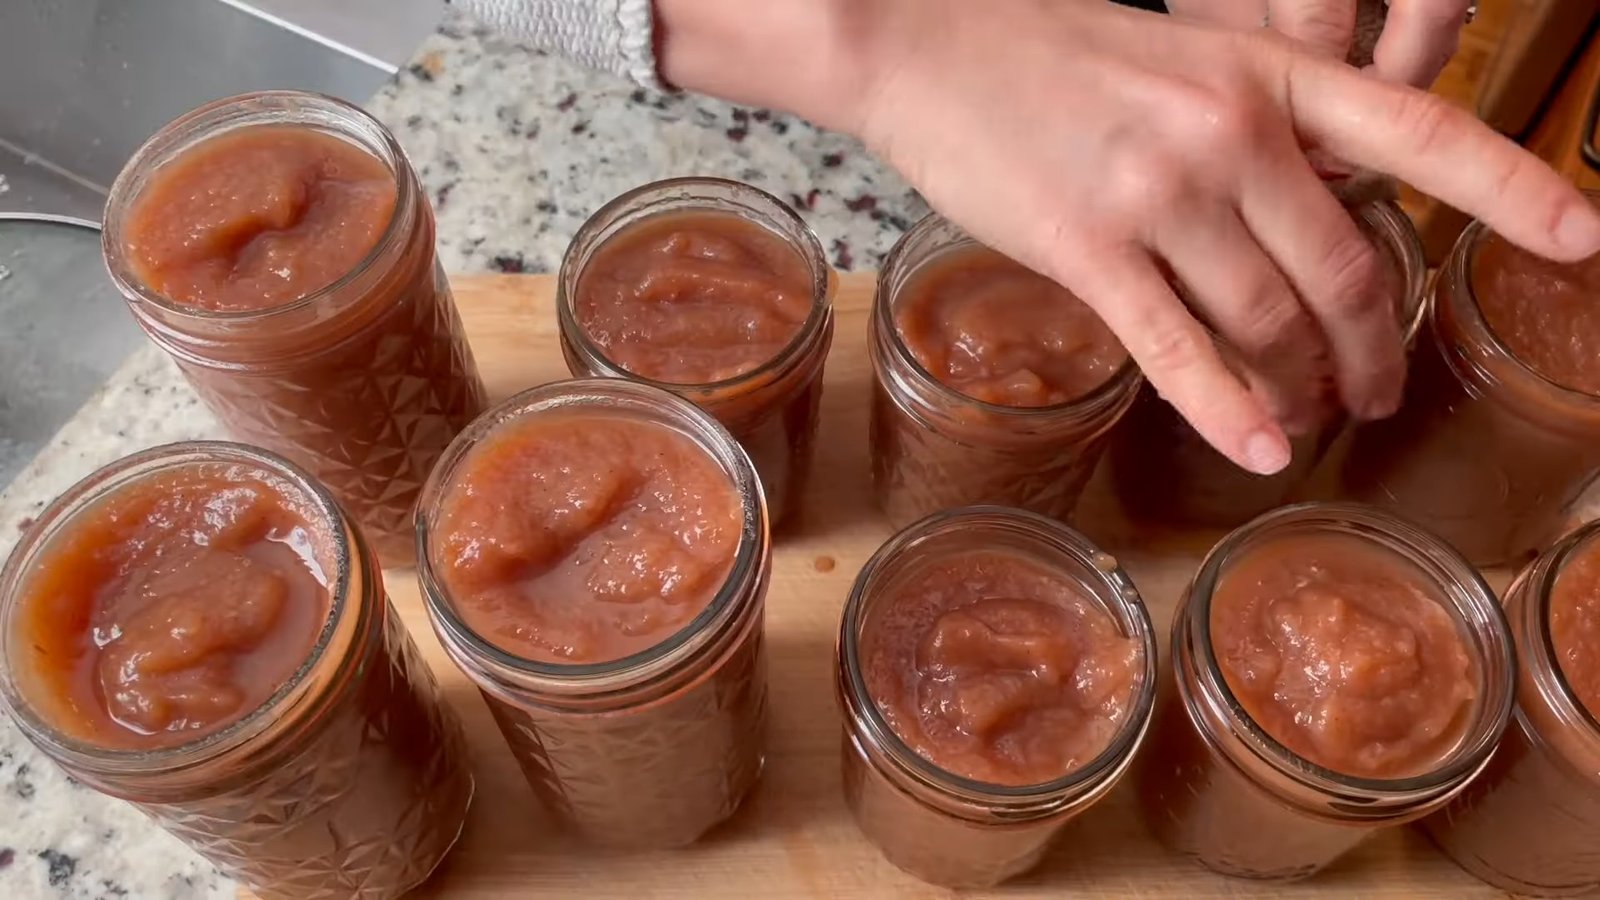
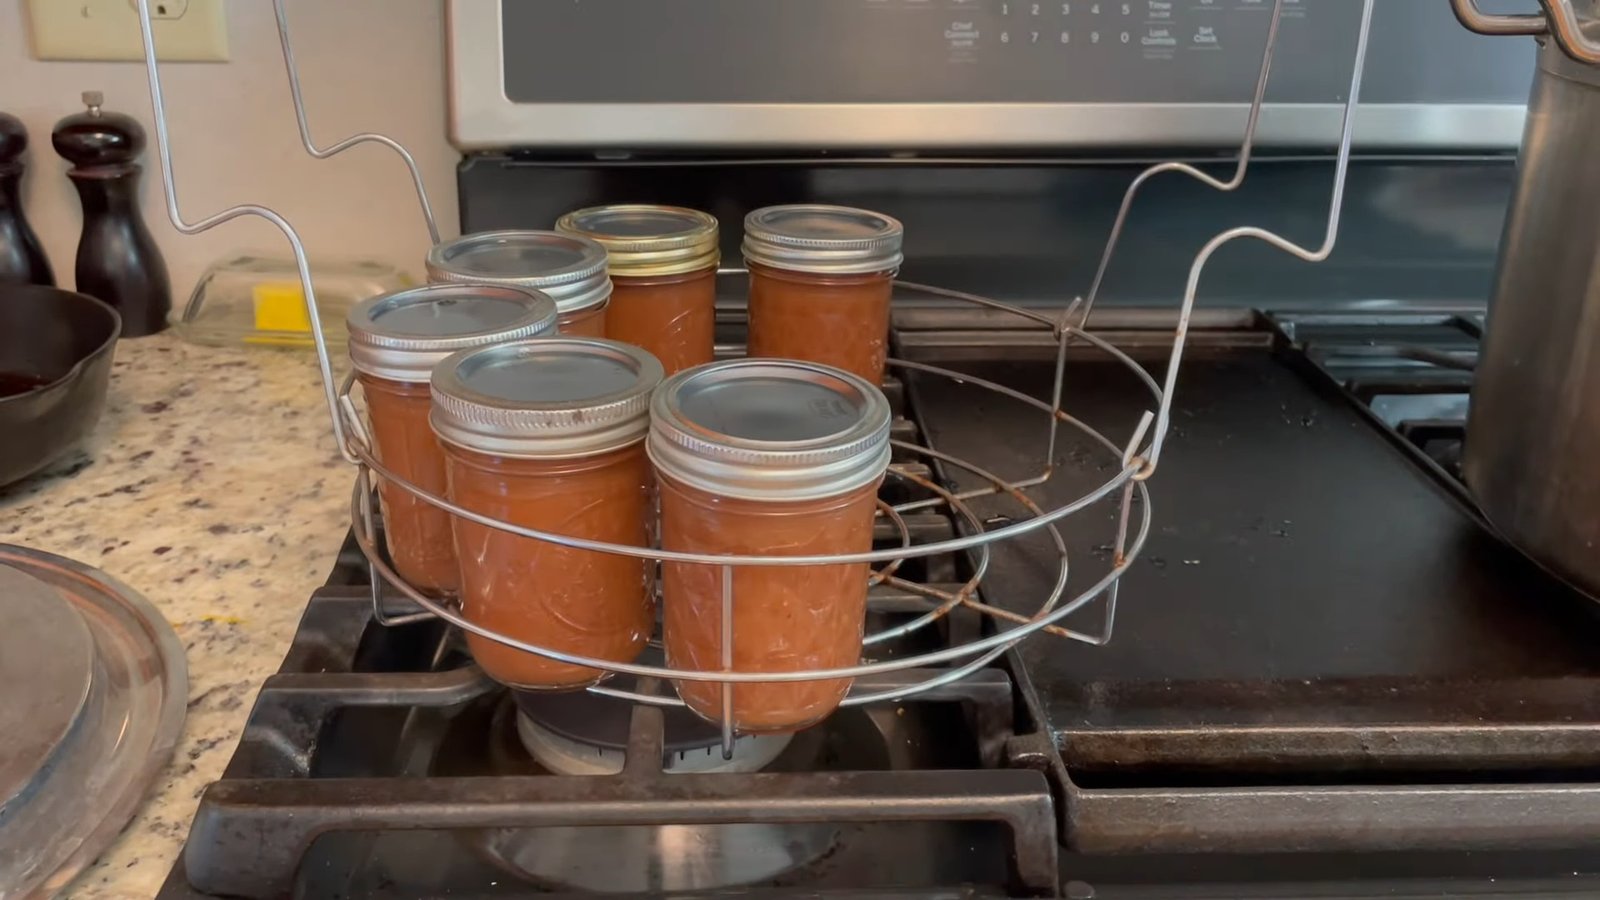
We ladled the finished apple butter into jars (half-pint, 12 oz, and pint sizes), leaving ¼-inch headspace. Then we wiped the rims with vinegar water, applied the lids and bands, and processed the jars in a water bath canner for 15 minutes.
")
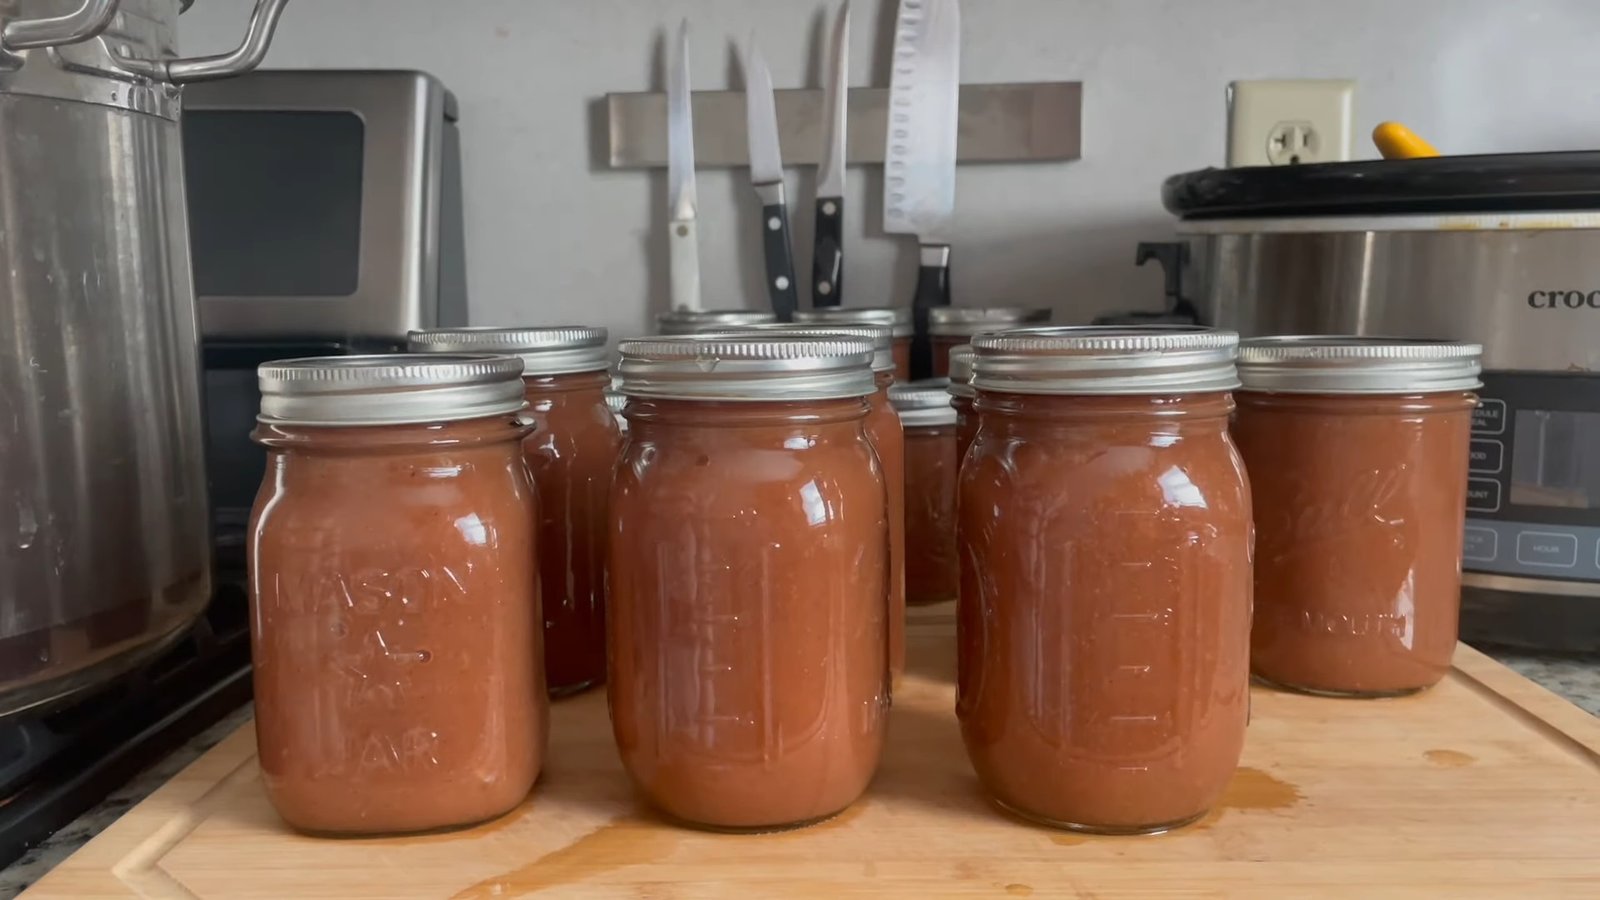
Even though I had to leave for the school run, my husband stepped in for the final step — and I’m happy to report that every jar sealed!
")
Final Yield and Serving Ideas
We ended up with a beautiful, shelf-stable stash of apple butter to last the year. I love it with cottage cheese or yogurt for breakfast, or paired with brie and crackers for a snack.
")
Final Thoughts
Preserving food doesn’t have to be isolating. I’m so glad I got to make this year’s batch with my parents — and I hope you’ll find someone to can with too. Whether you’re doing a solo batch or gathering your community, this apple butter recipe is the perfect way to preserve the flavors of fall.
Happy canning
")
Welcome back to Locally Raised! Today, we’re walking you through the full process of how to make and can your own apple butter — enough to last your family a full year. Whether you’re starting from fresh apples or cutting some corners with store-bought applesauce, this homemade apple butter recipe is cozy, customizable, and can be made in bulk for shelf-stable goodness all year long.
Apple Butter: From Apples to Jars
This year, we kicked off apple butter season with a big batch — half for my family and half for my parents, who helped with the process. It’s a bit of a labor of love, but when you see all those jars lined up and hear the lids pop, it’s so worth it!
Step 1: Gather Your Apples (or Applesauce)
We started with two 20-pound bags of local apples from a grocery store that sells bulk produce in the fall. One bag was Golden Delicious, and the other was Cortland — our favorite for applesauce and apple butter because of their sweet, mellow flavor. All in, it was about $20 for a full bushel of apples.
?? Shortcut Option: You can use store-bought unsweetened applesauce instead of starting from fresh apples! Just skip to the apple butter steps if you go this route.
Step 2: Turn Apples into Applesauce
After washing, we used a tomato corer to remove the tops and bottoms, then quartered the apples. Even my son helped with this part using a kid-safe knife — it's a great family project!
We cooked the apples down in large pots with a splash of apple juice to prevent sticking. Because the weather wasn’t great, we ended up moving the cooking process outside using a big burner. It made stirring and managing the large volume much easier.
Once the apples looked like a chunky stew (about 40 minutes of cooking), we ran them through a food mill to create a smooth applesauce. From one bushel, we ended up with about 16 quarts!
Step 3: Transform Applesauce into Apple Butter
Here’s the simplest part: just add spices!
Cinnamon: 1 teaspoon per quart of applesauce
Cloves: ¼ teaspoon per quart of applesauce
These two are all you need to give apple butter its signature warm flavor. Optional but recommended: use an immersion blender to smooth it out even more.
We then transferred the spiced applesauce to slow cookers and let it cook on low with the lid partially off for several hours (ours took about 8.5 hours) until it thickened to a rich, spoonable consistency.
?? Tip: It’s done when it holds its shape in the spoon or when a finger drawn through it leaves a track that doesn’t immediately refill.
Step 4: Sweeten (Optional)
While I loved the taste unsweetened, I wanted to experiment with honey this year. I ended up adding a full pint of honey to one pot — and the result was beautifully balanced. The apple flavor still shines, but with a subtle added sweetness.
Step 5: Can Your Apple Butter
We ladled the finished apple butter into jars (half-pint, 12 oz, and pint sizes), leaving ¼-inch headspace. Then we wiped the rims with vinegar water, applied the lids and bands, and processed the jars in a water bath canner for 15 minutes.
Even though I had to leave for the school run, my husband stepped in for the final step — and I’m happy to report that every jar sealed!
Final Yield and Serving Ideas
We ended up with a beautiful, shelf-stable stash of apple butter to last the year. I love it with cottage cheese or yogurt for breakfast, or paired with brie and crackers for a snack.
Final Thoughts
Preserving food doesn’t have to be isolating. I’m so glad I got to make this year’s batch with my parents — and I hope you’ll find someone to can with too. Whether you’re doing a solo batch or gathering your community, this apple butter recipe is the perfect way to preserve the flavors of fall.
Happy canning
0 servings