
Nutrition Facts
0 servings


If you love salsa as much as we do, then making and canning your own at home is a must! Whether you enjoy it with tacos, burritos, nachos, or as a simple snack with tortilla chips, homemade salsa is a delicious staple that you can enjoy all year round. Today, we're diving into an easy canned red salsa recipe using fresh ingredients and safe canning techniques.
Why Make Your Own Canned Salsa?
Fresh and Flavorful: Homemade salsa is packed with the freshest ingredients, allowing you to control the flavors and spice levels.
Preservative-Free: No artificial preservatives or additives—just natural ingredients.
Long Shelf Life: Canned salsa can last for up to a year, making it a perfect addition to your food storage.
Cost-Effective: Buying fresh tomatoes in bulk or using homegrown produce saves money in the long run.
Ingredients for Homemade Canned Salsa
To make a large batch of salsa, you’ll need:
8 pounds of fresh tomatoes (previously frozen is fine, just be sure to drain excess water)
4 medium onions, finely chopped
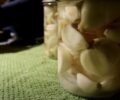
8 cloves of garlic, minced
8 tablespoons of diced jalapeños (adjust for spice preference)
60ml (about ¼ cup) chopped fresh cilantro per batch
4 teaspoons pickling salt (avoid iodized salt, as it can discolor the salsa)
2 teaspoons black pepper
2 cups fresh lime juice (acts as a natural preservative)
Step-by-Step Instructions for Canning Salsa

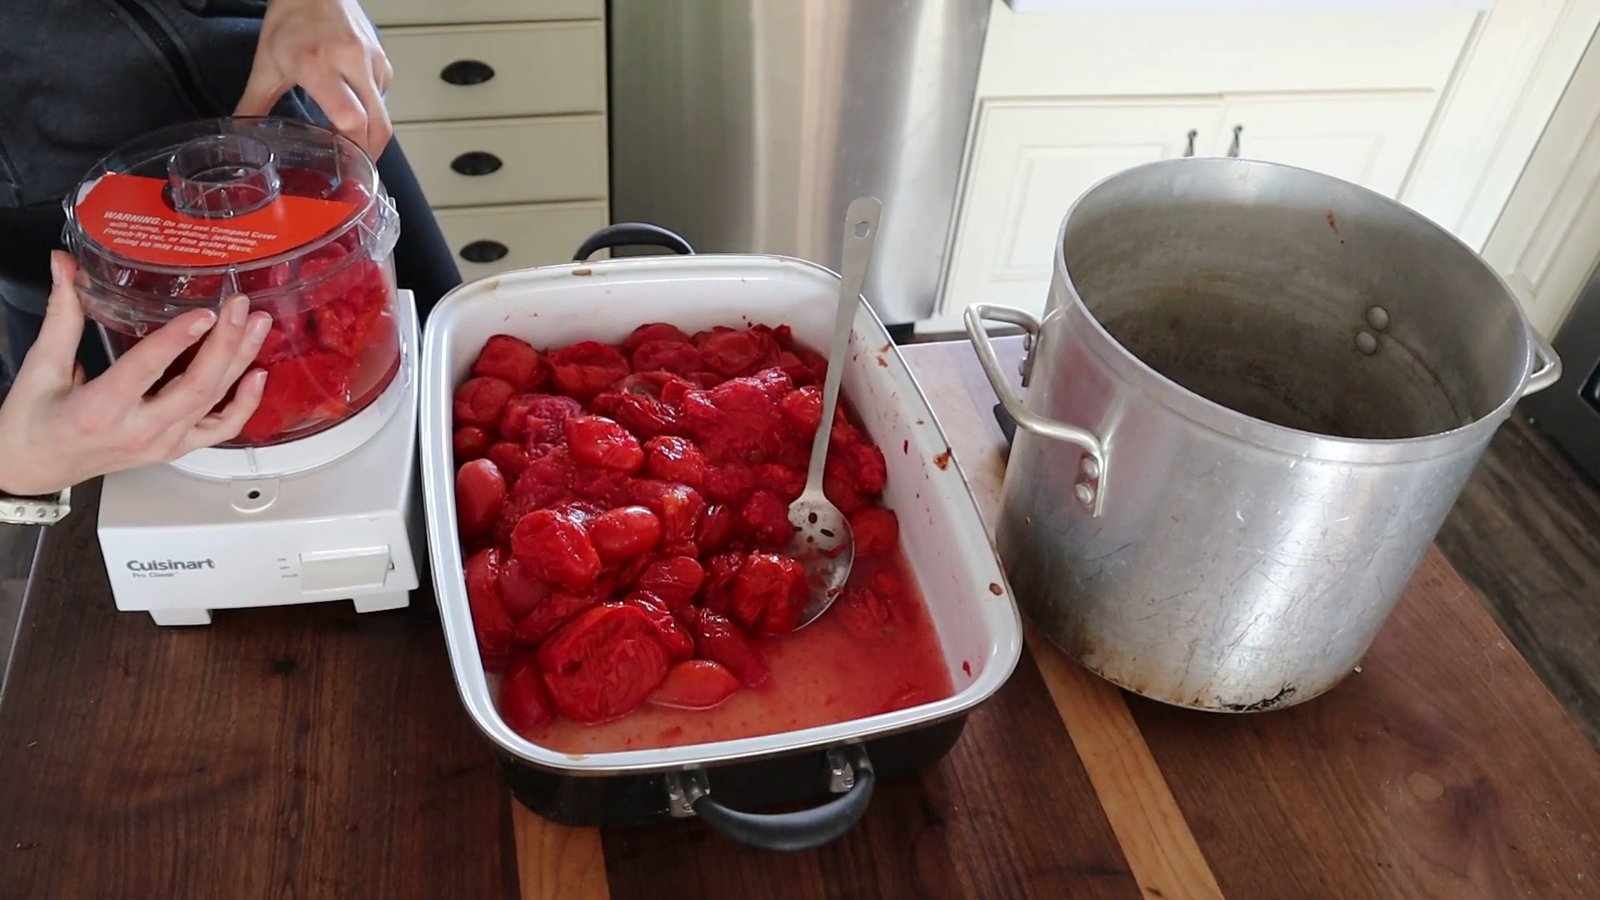
1. Prepare the Tomatoes
If using fresh tomatoes, remove the cores and blanch them for easy peeling. If using previously frozen tomatoes, thaw and drain excess liquid. Use a food processor to blend to your preferred consistency—whether smooth or chunky.
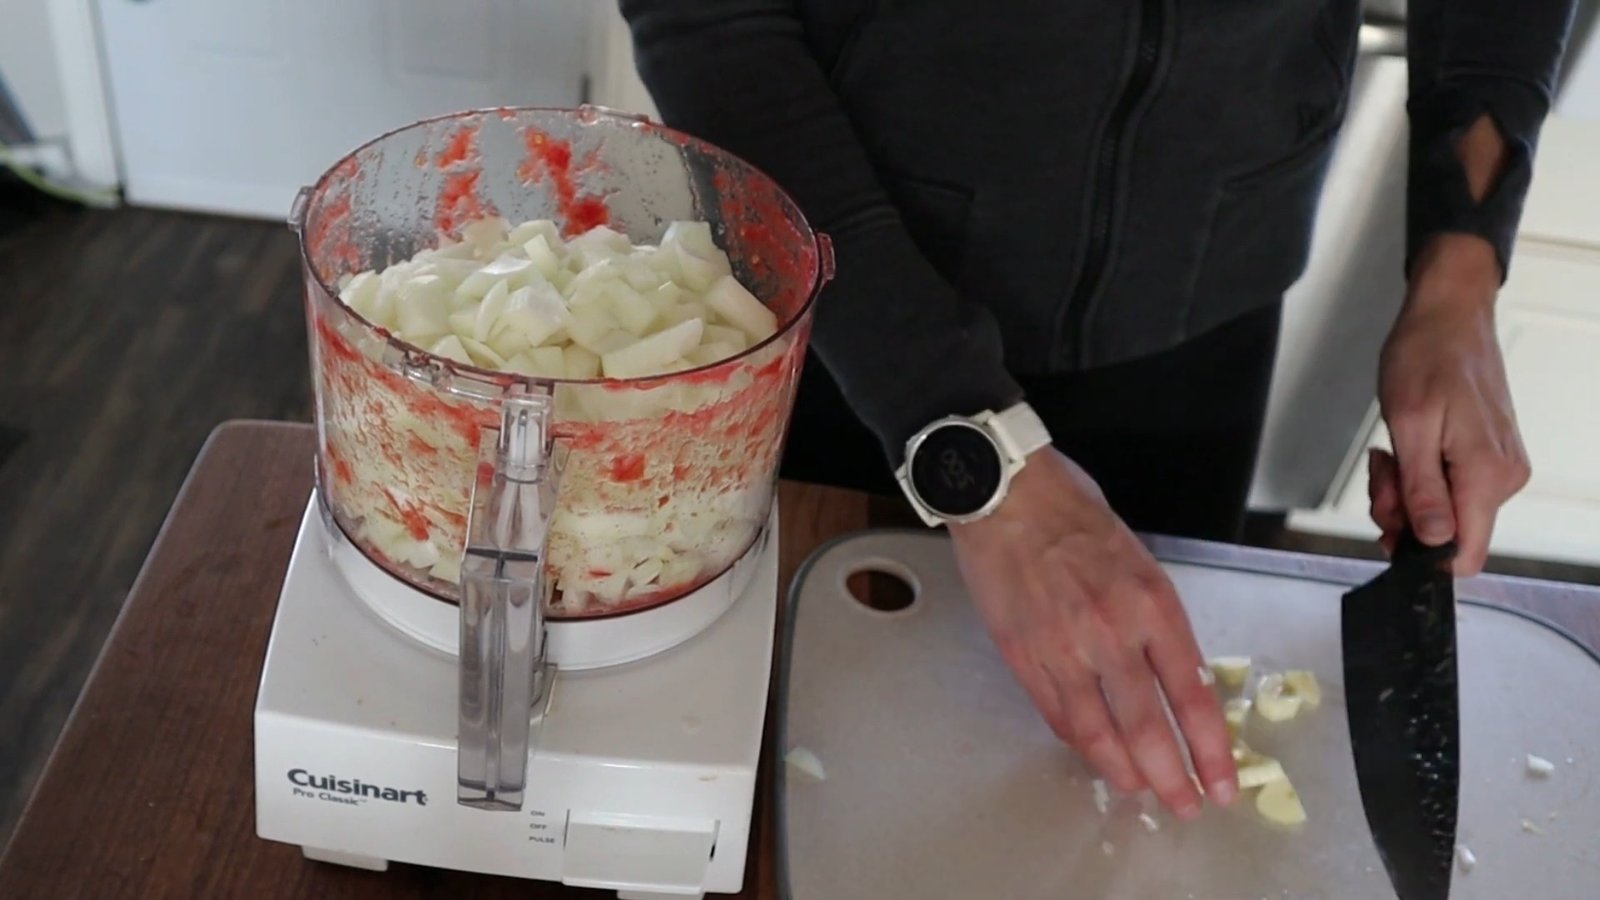
2. Chop and Prepare Ingredients
Dice onions, garlic, and jalapeños (wear gloves when handling peppers to avoid irritation).
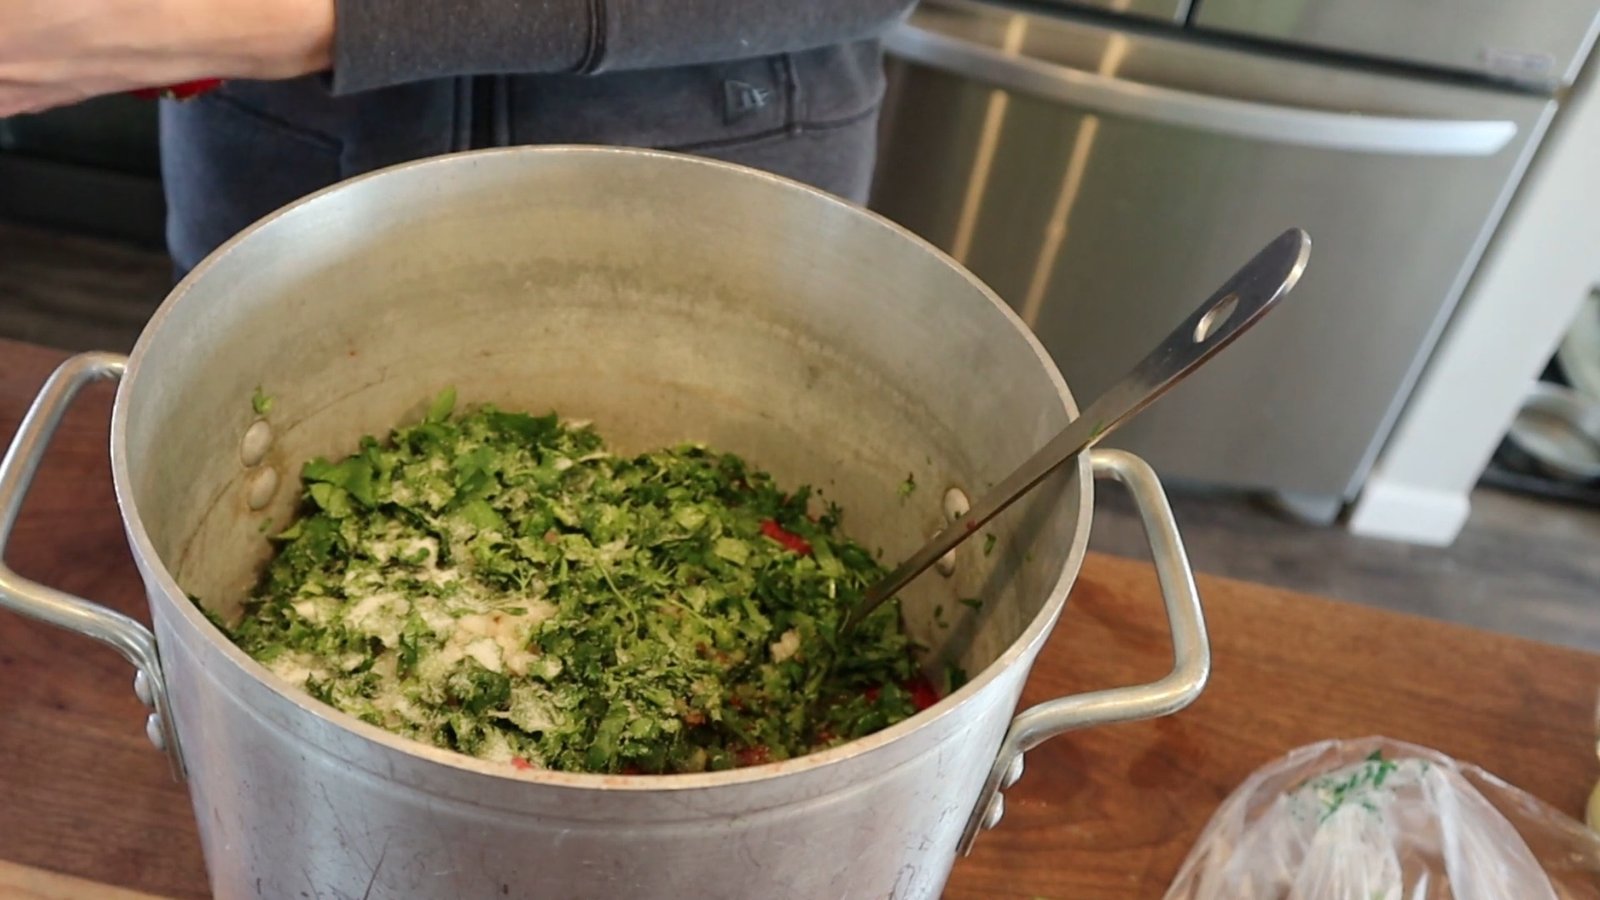
Chop fresh cilantro.
Measure out salt, pepper, and lime juice.
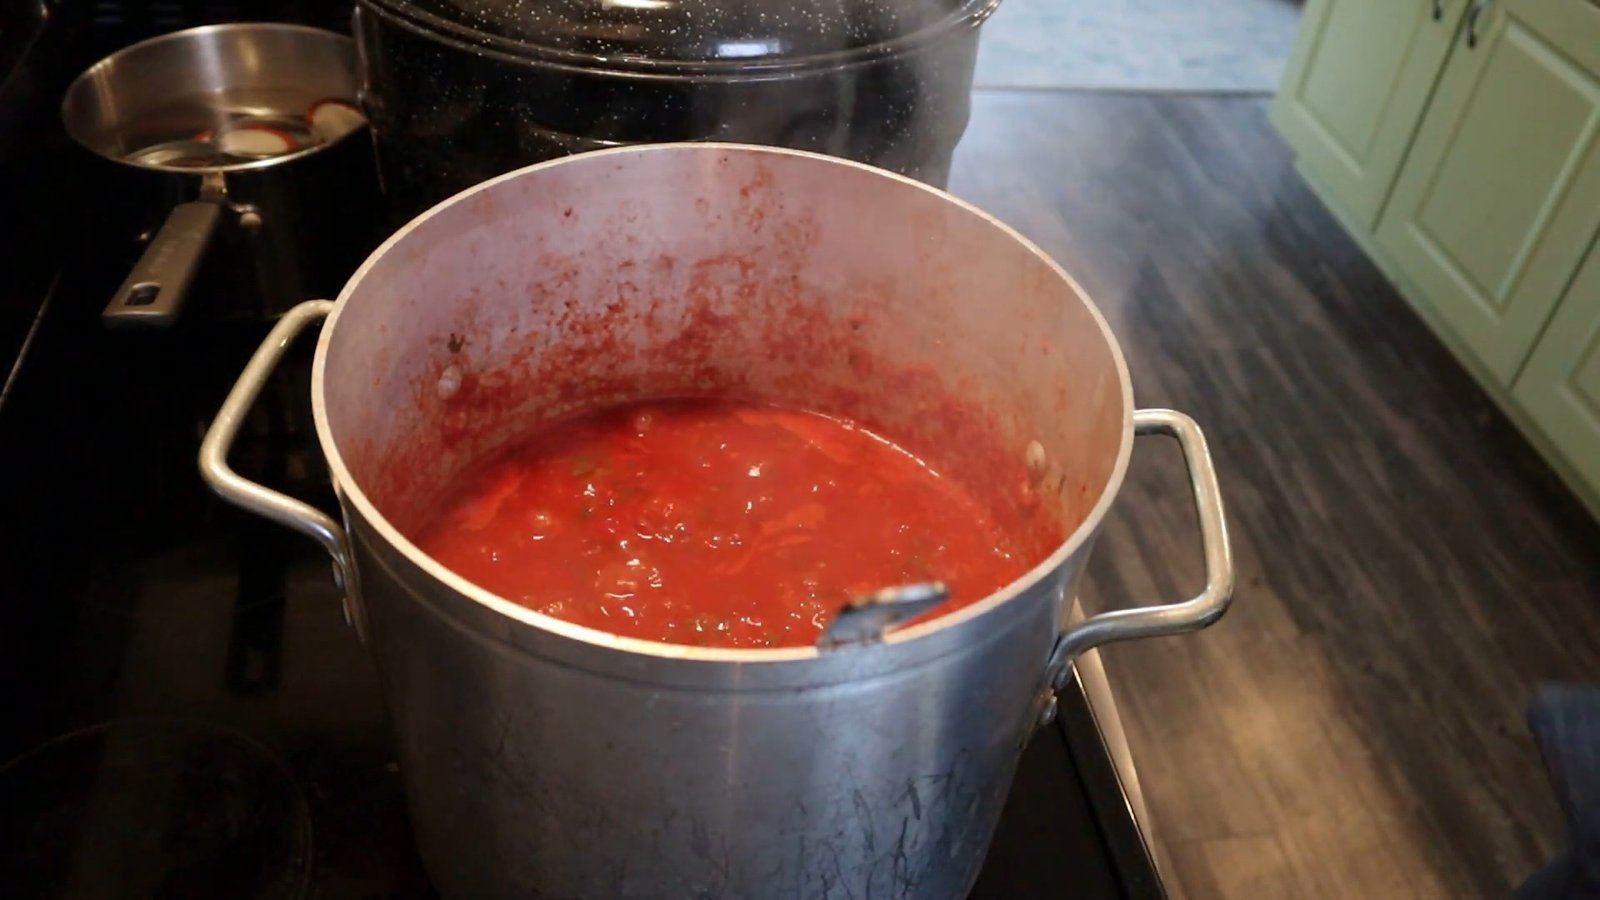
3. Combine and Cook the Salsa
In a large stockpot, combine all ingredients. Bring the mixture to a rolling boil, then reduce heat and let it simmer for five minutes, stirring occasionally.
4. Sterilize Jars and Prepare for Canning
While the salsa is simmering, sterilize your jars in boiling water.
Remove jars carefully and set them on a clean towel.

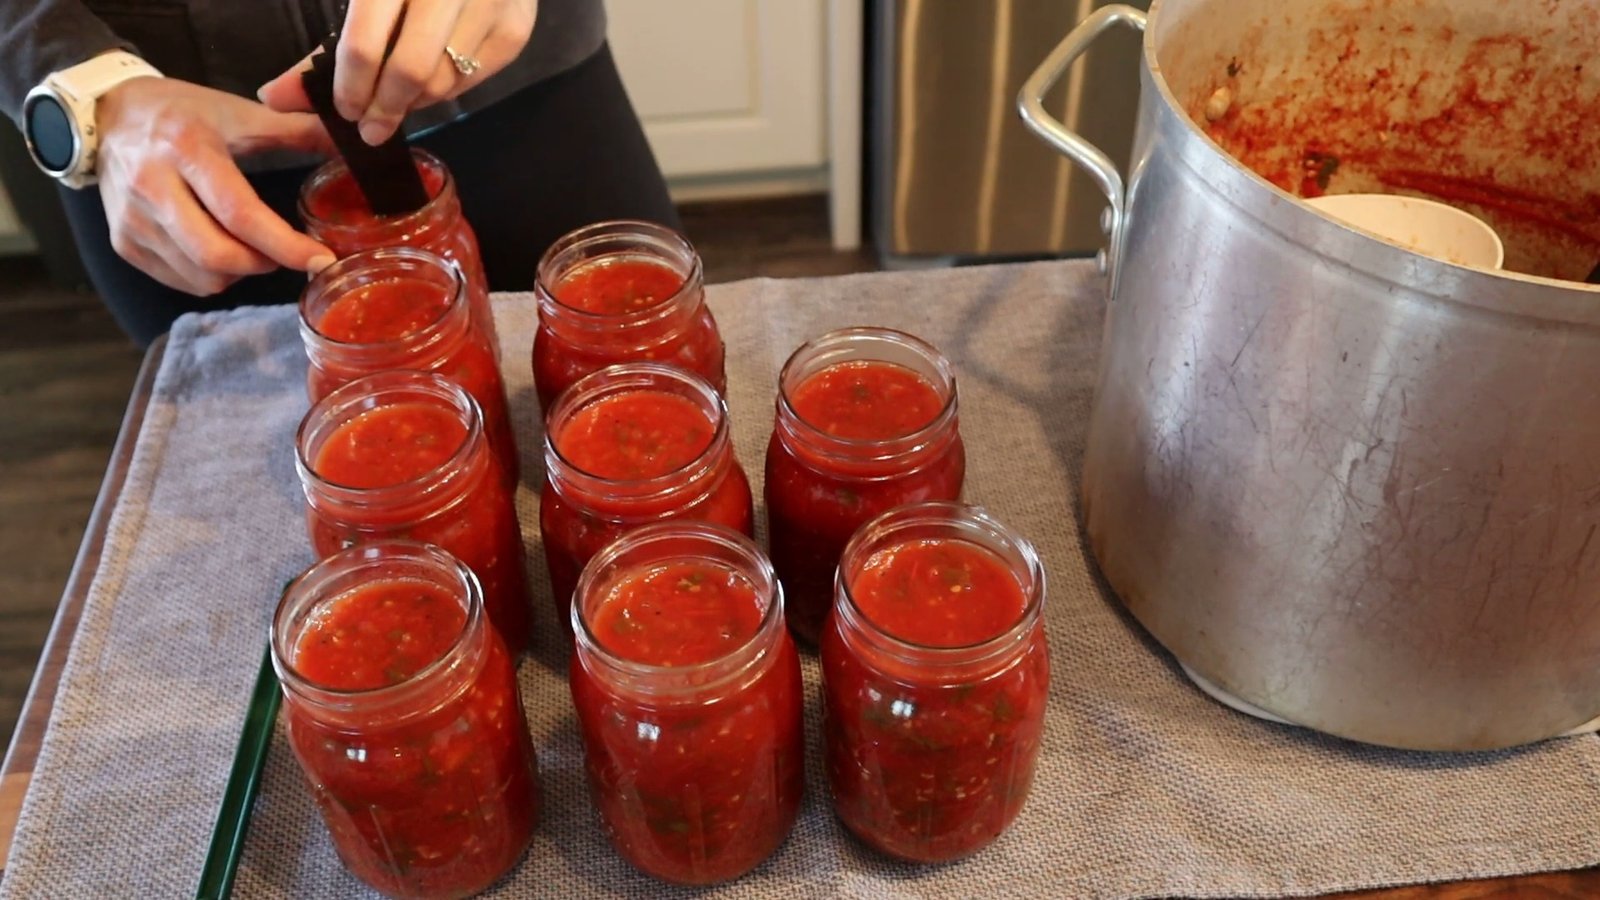
5. Fill the Jars
Ladle hot salsa into sterilized jars, leaving ½ inch of headspace.
Remove air bubbles by running a knife or bubble remover tool along the inside of the jar.
Wipe the rims clean with vinegar to ensure a proper seal.
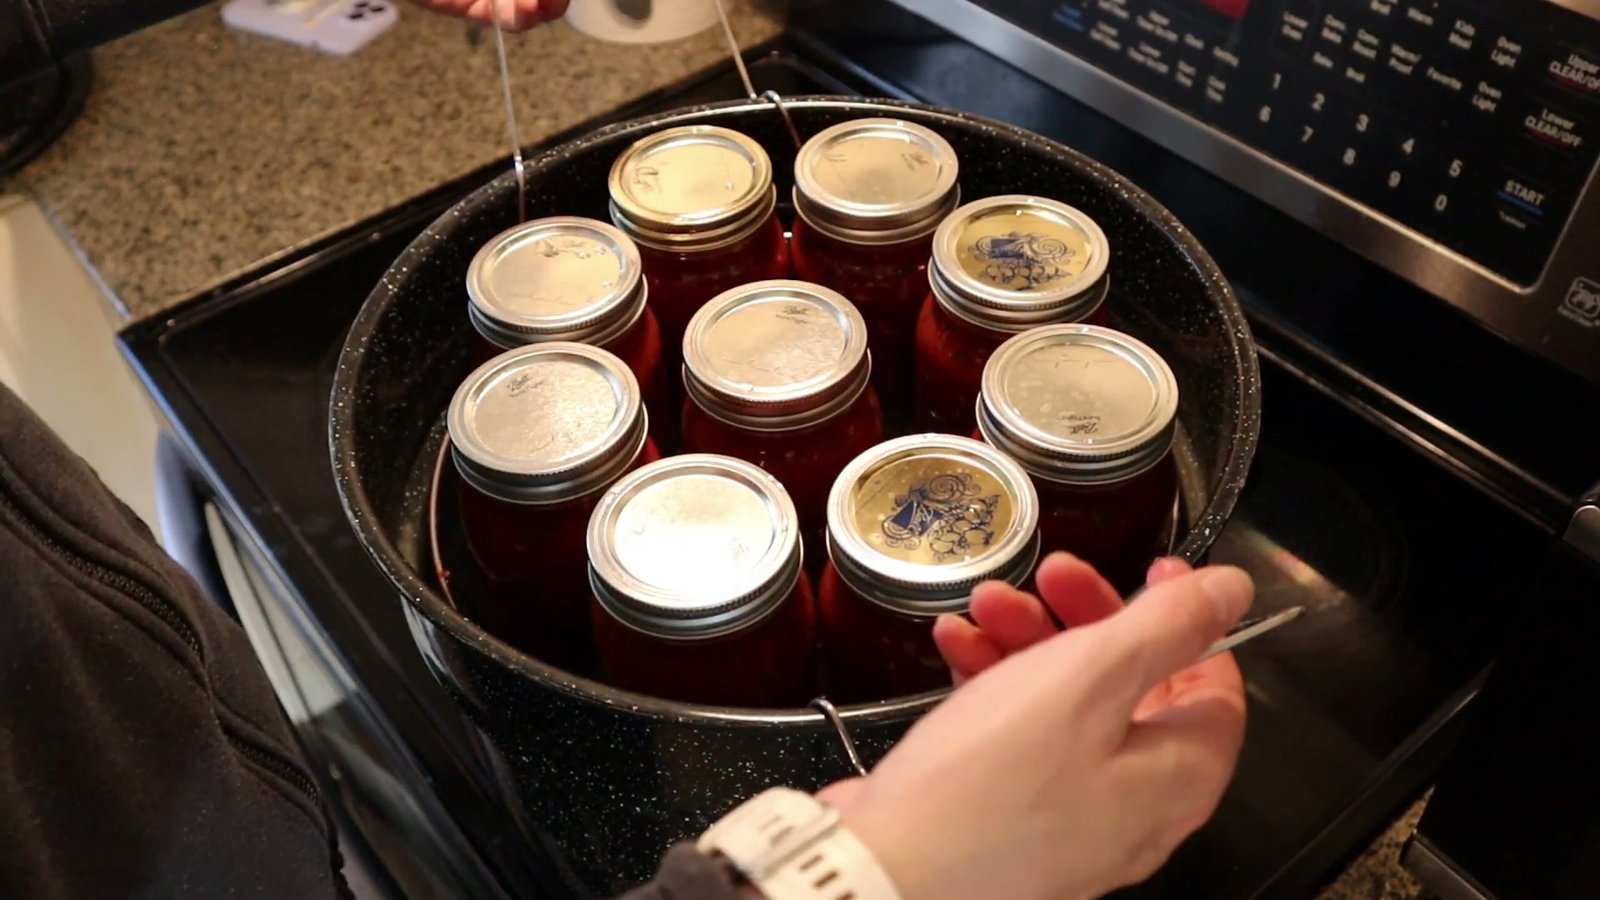
6. Process in a Water Bath
Secure lids and rings on jars, tightening to fingertip tightness.
Place jars in a boiling water bath.
Process for 15 minutes at low altitude or 25 minutes at high altitude.

7. Cool and Store
Remove jars from the water bath and let them sit for 24 hours.
Check that lids have sealed properly by pressing the center—if it doesn’t pop, your seal is good!

Remove rings before storing to prevent moisture buildup.
Store in a cool, dark place for up to one year.

Enjoy Your Homemade Canned Salsa!
Congratulations! You now have delicious, homemade salsa ready to enjoy any time.

Whether you're using it as a dip, a topping, or a cooking ingredient, this fresh and tangy salsa will enhance any meal.

If you love salsa as much as we do, then making and canning your own at home is a must! Whether you enjoy it with tacos, burritos, nachos, or as a simple snack with tortilla chips, homemade salsa is a delicious staple that you can enjoy all year round. Today, we're diving into an easy canned red salsa recipe using fresh ingredients and safe canning techniques.
Why Make Your Own Canned Salsa?
Fresh and Flavorful: Homemade salsa is packed with the freshest ingredients, allowing you to control the flavors and spice levels.
Preservative-Free: No artificial preservatives or additives—just natural ingredients.
Long Shelf Life: Canned salsa can last for up to a year, making it a perfect addition to your food storage.
Cost-Effective: Buying fresh tomatoes in bulk or using homegrown produce saves money in the long run.
Ingredients for Homemade Canned Salsa
To make a large batch of salsa, you’ll need:
8 pounds of fresh tomatoes (previously frozen is fine, just be sure to drain excess water)
4 medium onions, finely chopped
8 cloves of garlic, minced
8 tablespoons of diced jalapeños (adjust for spice preference)
60ml (about ¼ cup) chopped fresh cilantro per batch
4 teaspoons pickling salt (avoid iodized salt, as it can discolor the salsa)
2 teaspoons black pepper
2 cups fresh lime juice (acts as a natural preservative)
Step-by-Step Instructions for Canning Salsa
1. Prepare the Tomatoes
If using fresh tomatoes, remove the cores and blanch them for easy peeling. If using previously frozen tomatoes, thaw and drain excess liquid. Use a food processor to blend to your preferred consistency—whether smooth or chunky.
2. Chop and Prepare Ingredients
Dice onions, garlic, and jalapeños (wear gloves when handling peppers to avoid irritation).
Chop fresh cilantro.
Measure out salt, pepper, and lime juice.
3. Combine and Cook the Salsa
In a large stockpot, combine all ingredients. Bring the mixture to a rolling boil, then reduce heat and let it simmer for five minutes, stirring occasionally.
4. Sterilize Jars and Prepare for Canning
While the salsa is simmering, sterilize your jars in boiling water.
Remove jars carefully and set them on a clean towel.
5. Fill the Jars
Ladle hot salsa into sterilized jars, leaving ½ inch of headspace.
Remove air bubbles by running a knife or bubble remover tool along the inside of the jar.
Wipe the rims clean with vinegar to ensure a proper seal.
6. Process in a Water Bath
Secure lids and rings on jars, tightening to fingertip tightness.
Place jars in a boiling water bath.
Process for 15 minutes at low altitude or 25 minutes at high altitude.
7. Cool and Store
Remove jars from the water bath and let them sit for 24 hours.
Check that lids have sealed properly by pressing the center—if it doesn’t pop, your seal is good!
Remove rings before storing to prevent moisture buildup.
Store in a cool, dark place for up to one year.
Enjoy Your Homemade Canned Salsa!
Congratulations! You now have delicious, homemade salsa ready to enjoy any time.
Whether you're using it as a dip, a topping, or a cooking ingredient, this fresh and tangy salsa will enhance any meal.
0 servings