Nutrition Facts
0 servings


Welcome back to My Modern Homestead! I'm Janet, and today we're diving into one of my favorite no-waste canning projects—homemade apple scrap jelly. If you've been following along with my recent videos, you know we’ve been busy with applesauce, and now it’s time to put all those scraps to good use.
Why Apple Scrap Jelly?
Apple scrap jelly is a simple, satisfying way to reduce kitchen waste while creating a delicious, beautiful jelly. This recipe uses the leftover peels and cores from applesauce making, and with a little time and a lot of sugar, it turns into something truly magical.
")
Step-by-Step: Making Apple Scrap Jelly
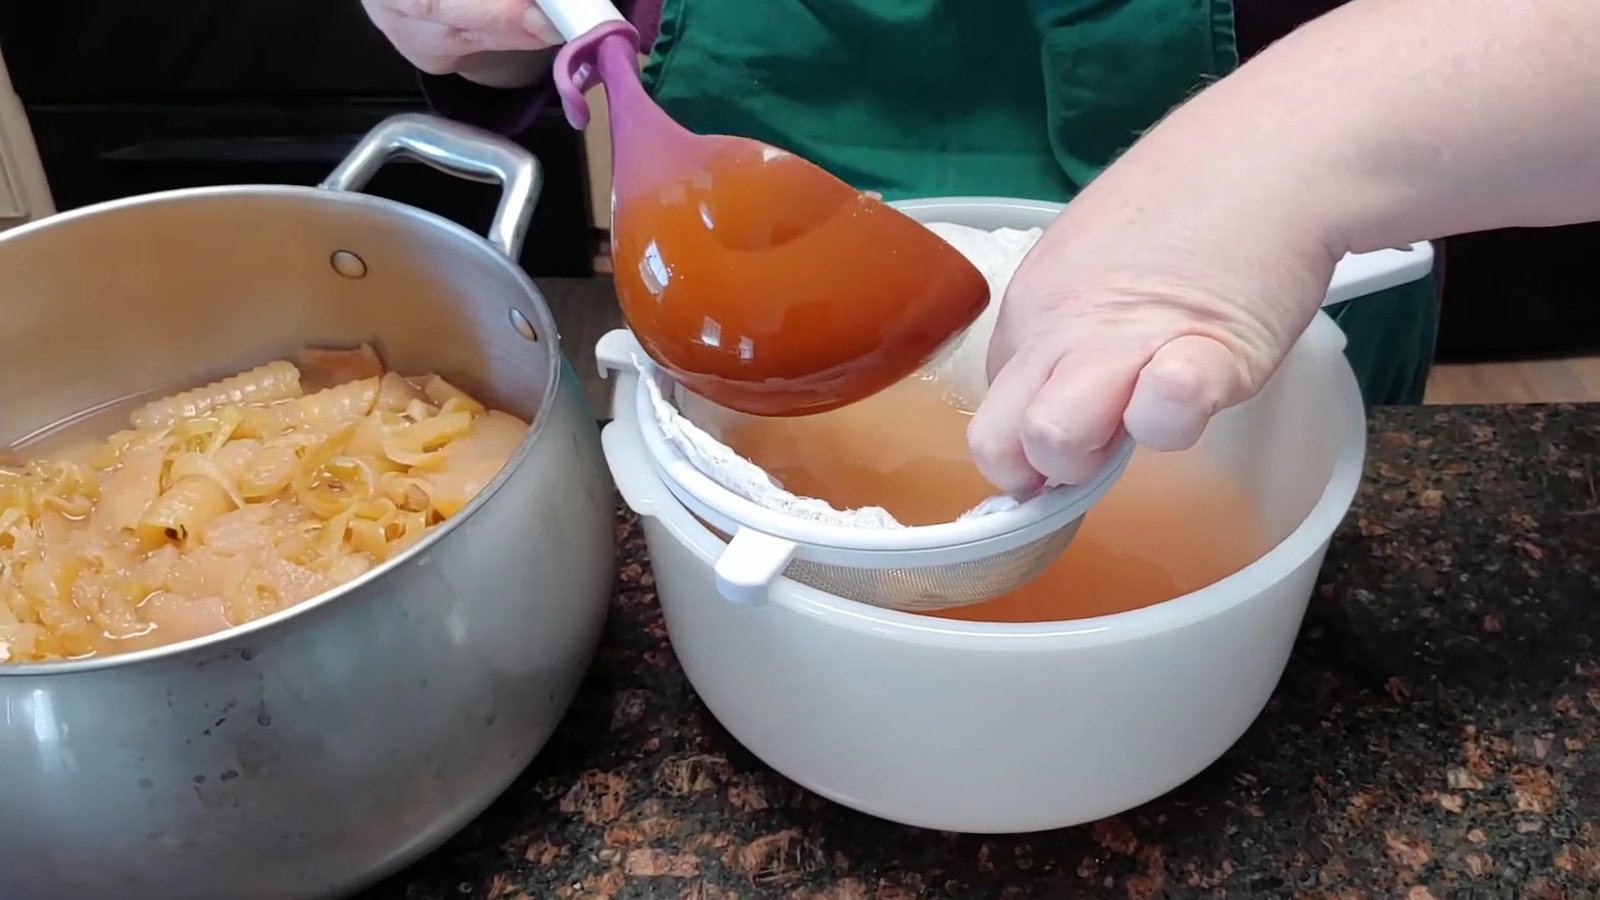
1. Prepare the Apple Scrap Juice
If you saved your apple scraps from making applesauce, you’re halfway there. Just cover the scraps with water, boil for about 10 minutes, and let it cool completely. I left mine in the refrigerator until I was ready to use them.
Once cooled, strain the liquid through cheesecloth into a large bowl. You’ll want about 6 to 7 cups of juice total. If you're a little short, you can top it off with water.
Pro tip: The color can vary—this batch came out pink instead of the usual honey tone!
2. Get Your Supplies Ready
Before you start cooking, sterilize your jars and set up your canning tools. You’ll need:
Jars, lids, and rings
A funnel, ladle, and jar lifter
A pot big enough to hold boiling liquid
A strainer lined with cheesecloth
A bowl and spoon for skimming foam
3. Combine the Ingredients
Here’s what you’ll need for the jelly:
")
7 cups apple scrap juice
9 cups sugar
1 packet powdered pectin
2 tablespoons lemon juice
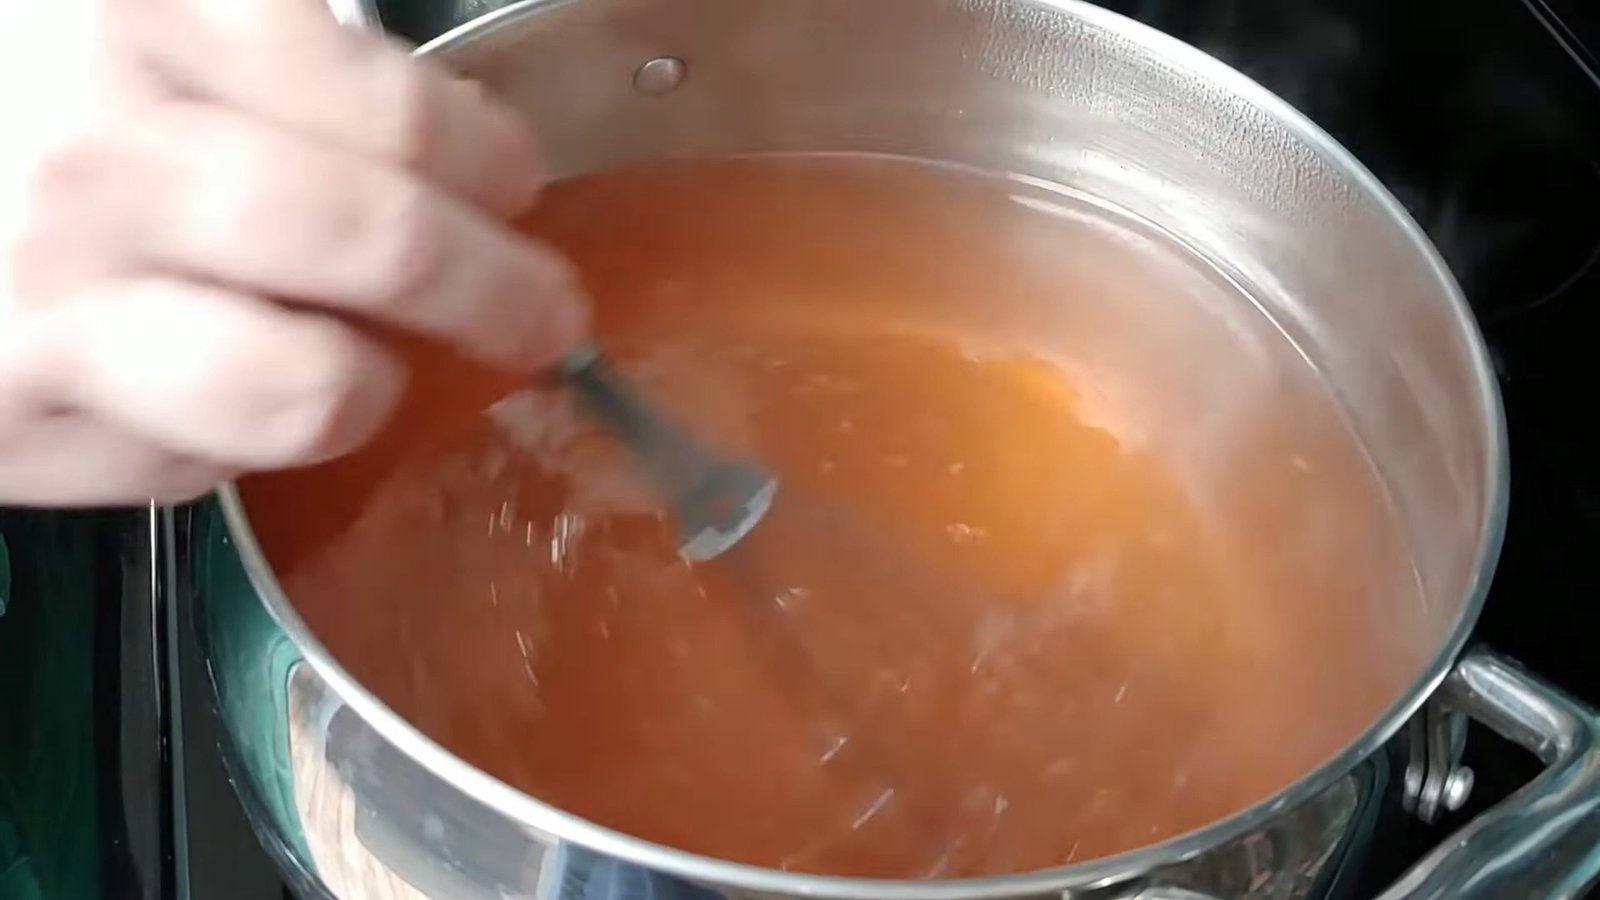
Pour the juice and lemon juice into your pot and slowly whisk in the pectin. Heat the mixture over medium-high, stirring often, until it comes to a full rolling boil.
4. Add the Sugar
Once boiling, add the sugar all at once. Stir constantly and bring it back to a full rolling boil—one that you can’t stir down—for exactly 1 minute.
Watch carefully! This can boil over quickly if you’re not careful.
5. Skim the Foam
After boiling, remove the pot from heat. Let it sit for a minute to reduce foam. Skim off any remaining foam with a spoon and set it aside. (Don’t toss it—this “cook’s candy” is a sweet little treat!)
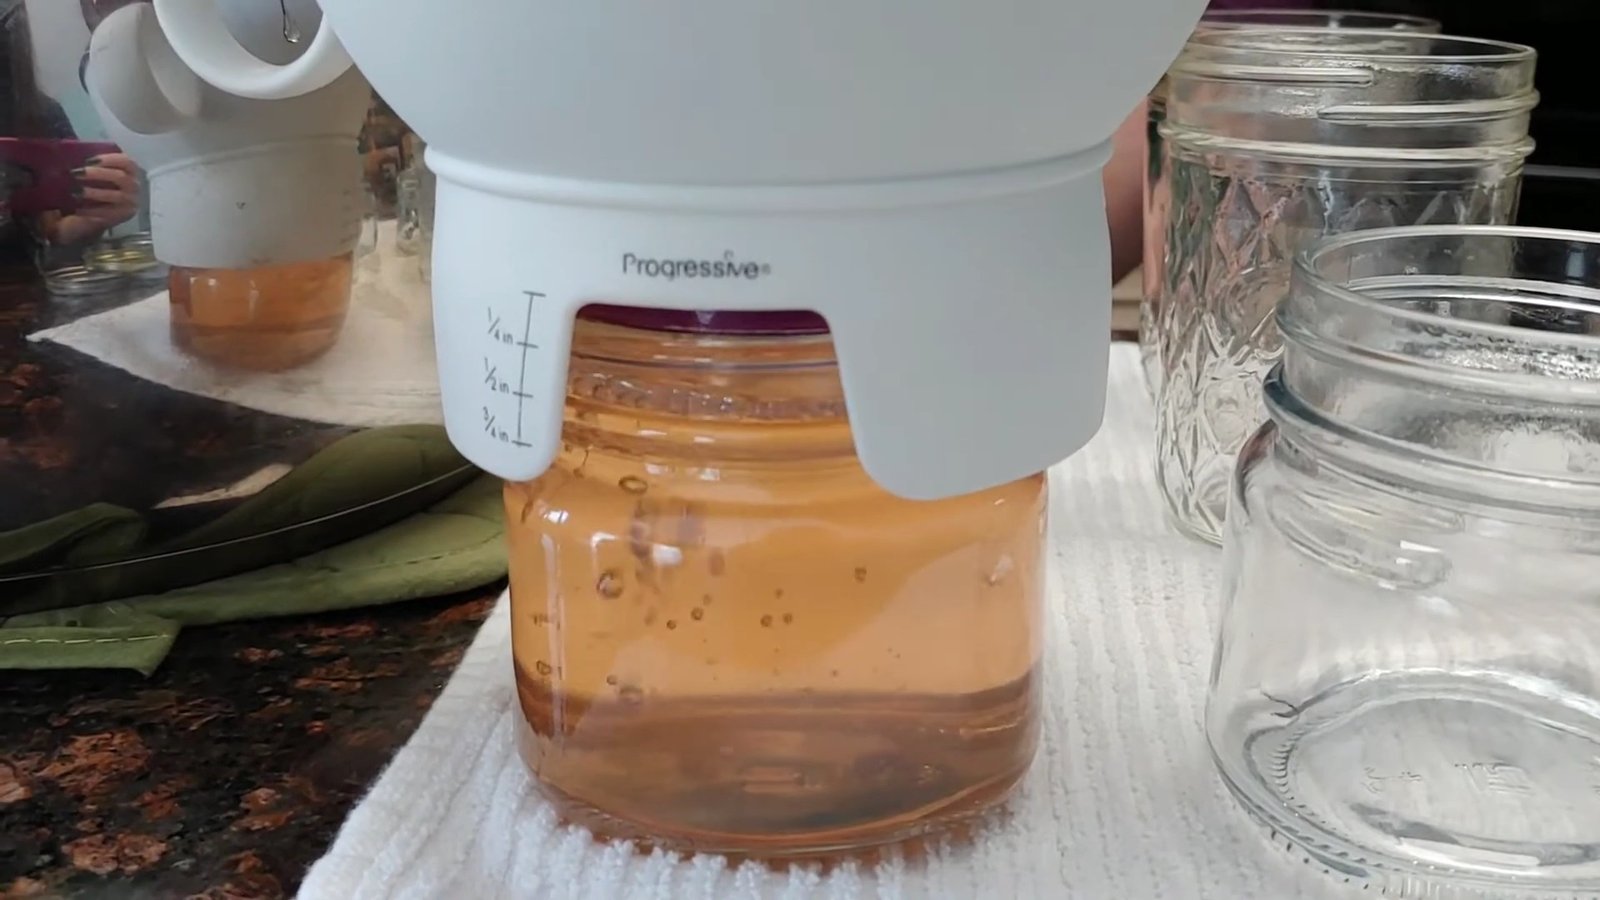
6. Jar It Up
Ladle the hot jelly into sterilized jars, leaving appropriate headspace. Wipe the rims clean, apply lids and rings, and tighten to finger-tight.
")
If you have more jelly than jars, just refrigerate the extra for immediate use.
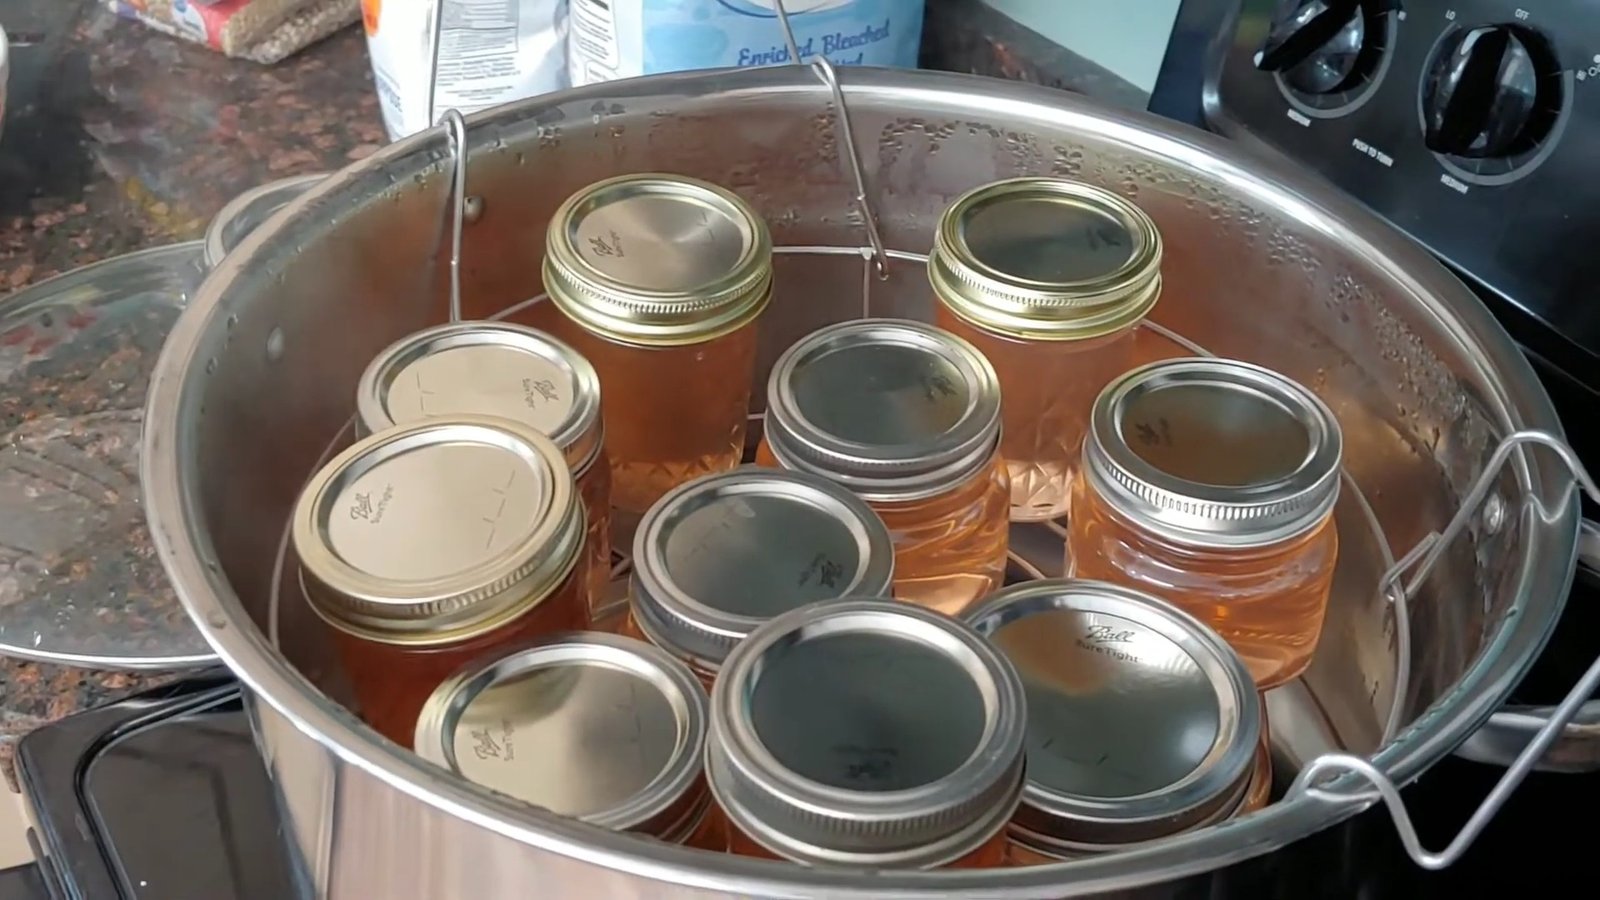
7. Process in a Water Bath
Place jars in a water bath canner. Make sure the jars are fully submerged and process at a rolling boil for 5 minutes. After boiling, turn off the heat but leave the jars in the water for another 5 to 10 minutes before removing them to cool.
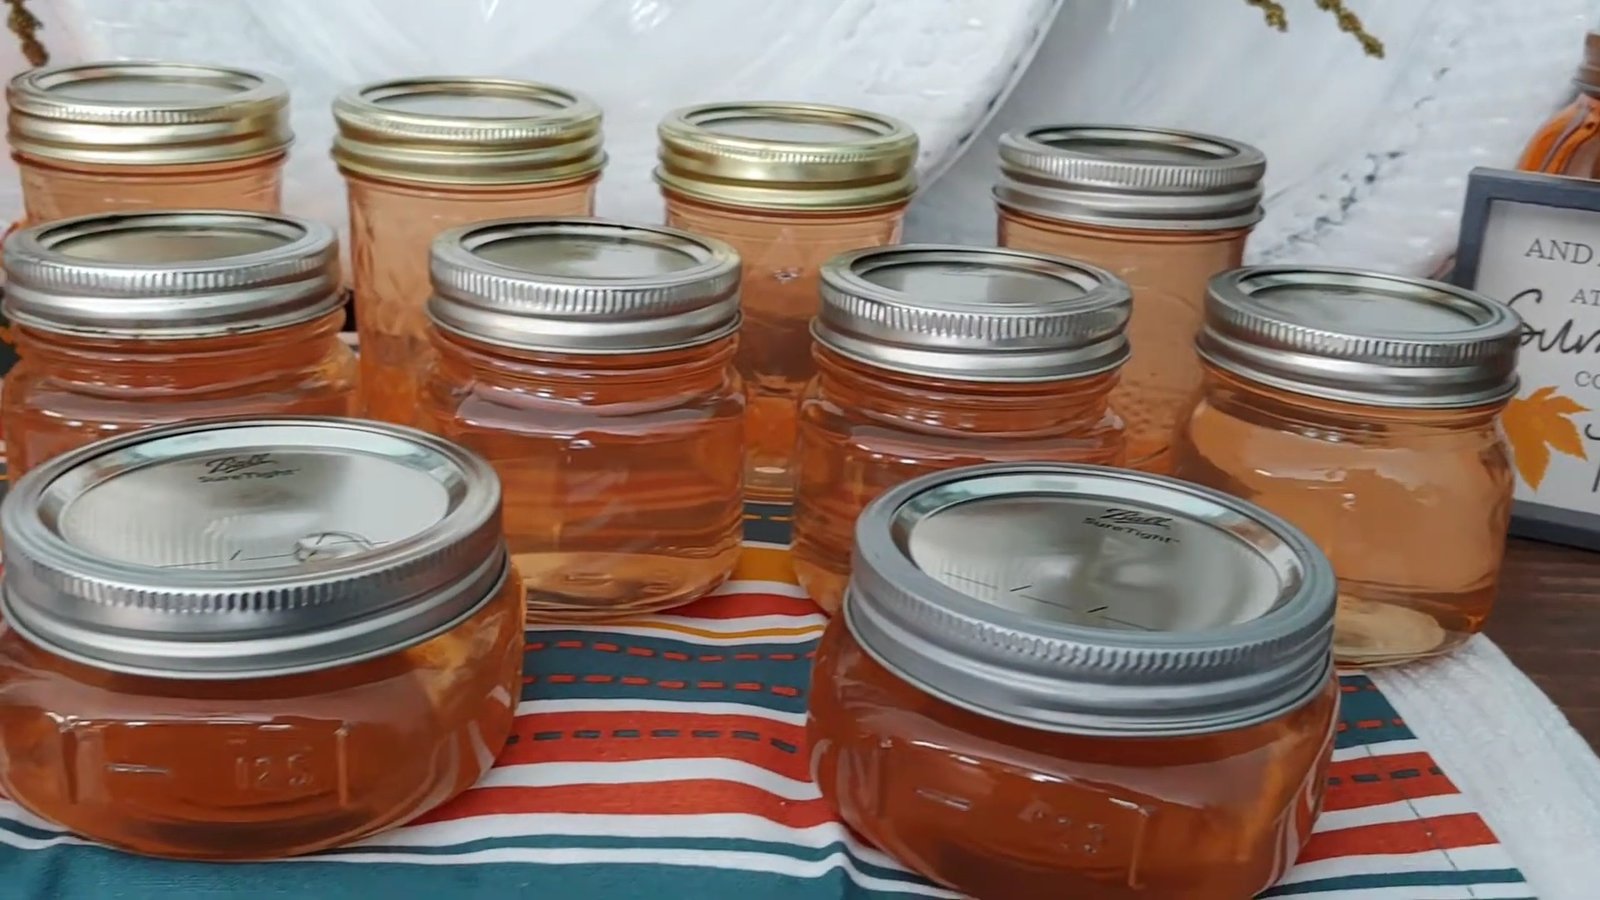
Final Thoughts
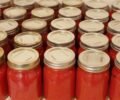
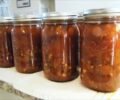
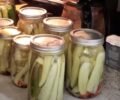
Once your jars are sealed and cooled, you’ll be left with beautiful jars of apple scrap jelly—a perfect fall project that reduces waste and adds sweetness to your pantry.
")
Whether you're canning for winter, gifting to friends, or entering into a fair (just check their approved recipes!), this jelly is a wonderful way to celebrate the harvest season.
")
Welcome back to My Modern Homestead! I'm Janet, and today we're diving into one of my favorite no-waste canning projects—homemade apple scrap jelly. If you've been following along with my recent videos, you know we’ve been busy with applesauce, and now it’s time to put all those scraps to good use.
Why Apple Scrap Jelly?
Apple scrap jelly is a simple, satisfying way to reduce kitchen waste while creating a delicious, beautiful jelly. This recipe uses the leftover peels and cores from applesauce making, and with a little time and a lot of sugar, it turns into something truly magical.
Step-by-Step: Making Apple Scrap Jelly
1. Prepare the Apple Scrap Juice
If you saved your apple scraps from making applesauce, you’re halfway there. Just cover the scraps with water, boil for about 10 minutes, and let it cool completely. I left mine in the refrigerator until I was ready to use them.
Once cooled, strain the liquid through cheesecloth into a large bowl. You’ll want about 6 to 7 cups of juice total. If you're a little short, you can top it off with water.
Pro tip: The color can vary—this batch came out pink instead of the usual honey tone!
2. Get Your Supplies Ready
Before you start cooking, sterilize your jars and set up your canning tools. You’ll need:
Jars, lids, and rings
A funnel, ladle, and jar lifter
A pot big enough to hold boiling liquid
A strainer lined with cheesecloth
A bowl and spoon for skimming foam
3. Combine the Ingredients
Here’s what you’ll need for the jelly:
7 cups apple scrap juice
9 cups sugar
1 packet powdered pectin
2 tablespoons lemon juice
Pour the juice and lemon juice into your pot and slowly whisk in the pectin. Heat the mixture over medium-high, stirring often, until it comes to a full rolling boil.
4. Add the Sugar
Once boiling, add the sugar all at once. Stir constantly and bring it back to a full rolling boil—one that you can’t stir down—for exactly 1 minute.
Watch carefully! This can boil over quickly if you’re not careful.
5. Skim the Foam
After boiling, remove the pot from heat. Let it sit for a minute to reduce foam. Skim off any remaining foam with a spoon and set it aside. (Don’t toss it—this “cook’s candy” is a sweet little treat!)
6. Jar It Up
Ladle the hot jelly into sterilized jars, leaving appropriate headspace. Wipe the rims clean, apply lids and rings, and tighten to finger-tight.
If you have more jelly than jars, just refrigerate the extra for immediate use.
7. Process in a Water Bath
Place jars in a water bath canner. Make sure the jars are fully submerged and process at a rolling boil for 5 minutes. After boiling, turn off the heat but leave the jars in the water for another 5 to 10 minutes before removing them to cool.
Final Thoughts
Once your jars are sealed and cooled, you’ll be left with beautiful jars of apple scrap jelly—a perfect fall project that reduces waste and adds sweetness to your pantry.
Whether you're canning for winter, gifting to friends, or entering into a fair (just check their approved recipes!), this jelly is a wonderful way to celebrate the harvest season.
0 servings