
Nutrition Facts
0 servings

If you've ever dreamed of preserving your garden's harvest or making your own jam without high fructose corn syrup and preservatives, you're in for a treat. Today, we're diving into how to make homemade strawberry jam using fresh (or even frozen) berries, a bit of pectin, and plenty of love from your kitchen.
Whether you're new to canning or just looking for a tried-and-true strawberry jam recipe, this guide will walk you through the process step-by-step, with helpful tips and tricks to make it foolproof.
Why Make Your Own Strawberry Jam?
Homemade jam is one of the easiest and most rewarding ways to preserve fruit. It’s a great way to use up a bumper crop from your garden or take advantage of seasonal sales at the grocery store. Even frozen berries work wonderfully!
Here are a few reasons to make your own strawberry jam:
Avoid preservatives like high fructose corn syrup
Save money compared to store-bought, natural jams
Control ingredients and customize flavor
Preserve your harvest or use frozen berries anytime
Ingredients You’ll Need
To make a classic batch of strawberry jam, you’ll need:
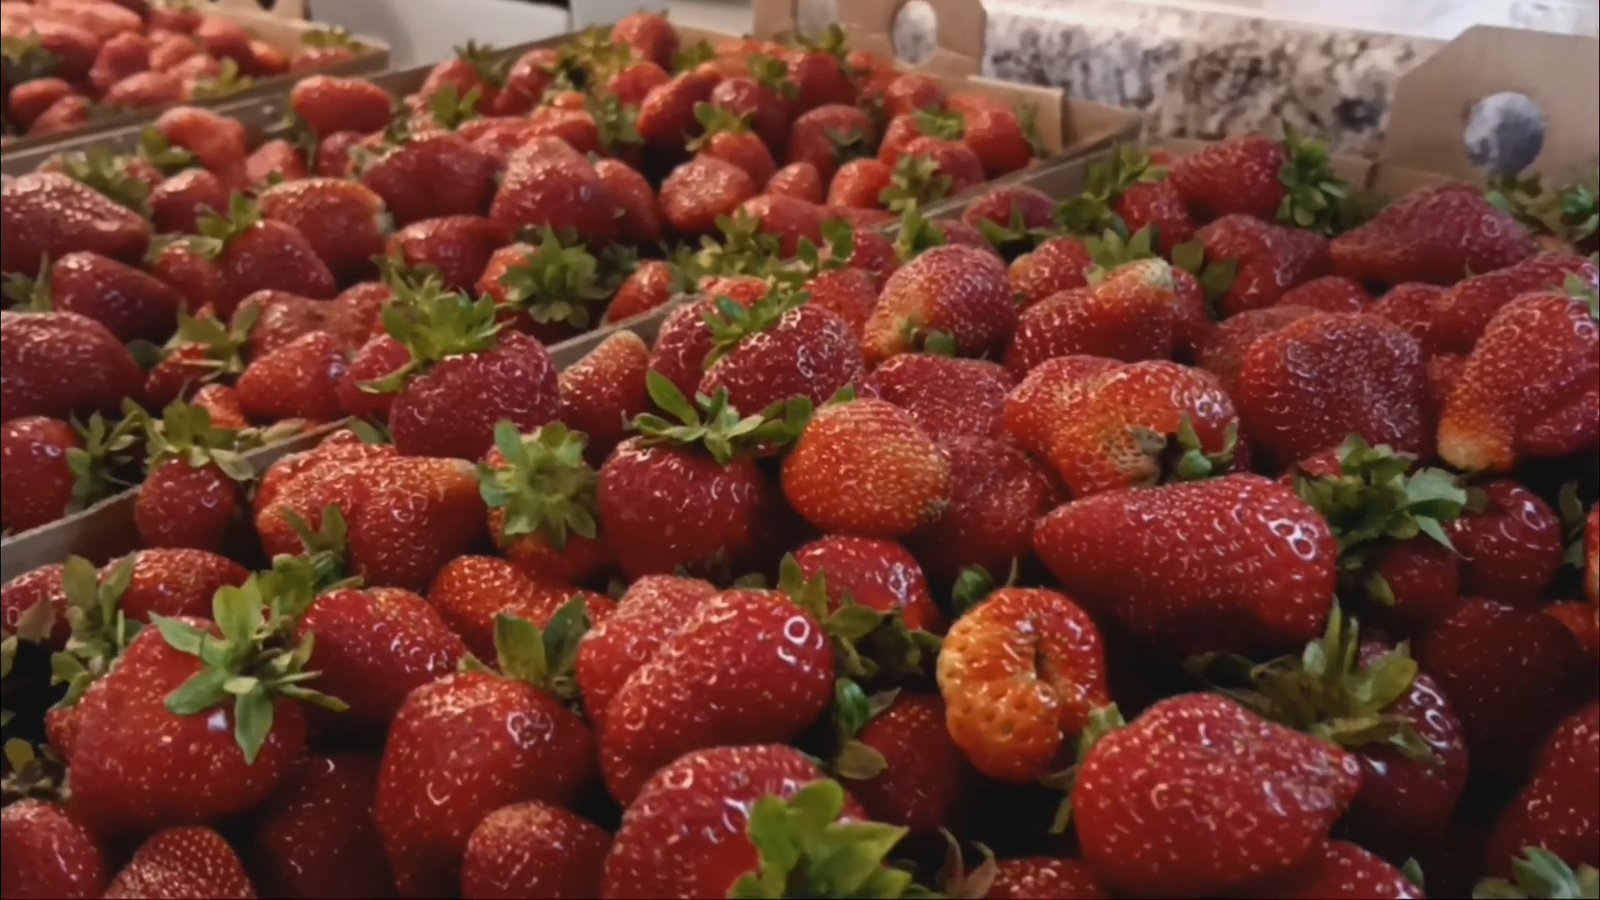
5 cups of crushed strawberries (fresh or thawed frozen berries)
7 cups of sugar
6 tablespoons of pectin (or 1 box of Sure-Jell)
¼ cup bottled lemon juice
Optional: 1–2 split vanilla beans
Optional: 1 teaspoon of butter (to reduce foam)
Tools & Supplies
Water bath canner
Clean canning jars with lids and rings
Jar funnel, ladle, and jar lifter
Large pot
Potato masher or similar tool
Step-by-Step Instructions
1. Prep Your Strawberries
Start by hulling your strawberries and removing any bad spots. Use a masher to crush them into a measuring cup. You’ll need 5 full cups of mashed berries.
Tip: If using frozen berries, let them thaw first and drain any excess liquid into your jam for better flavor.
2. Add Vanilla and Lemon Juice
For added depth of flavor, toss in a split vanilla bean or two. Add ¼ cup of lemon juice to brighten the jam and help with safe preservation.
")
3. Get Your Canner and Jars Ready
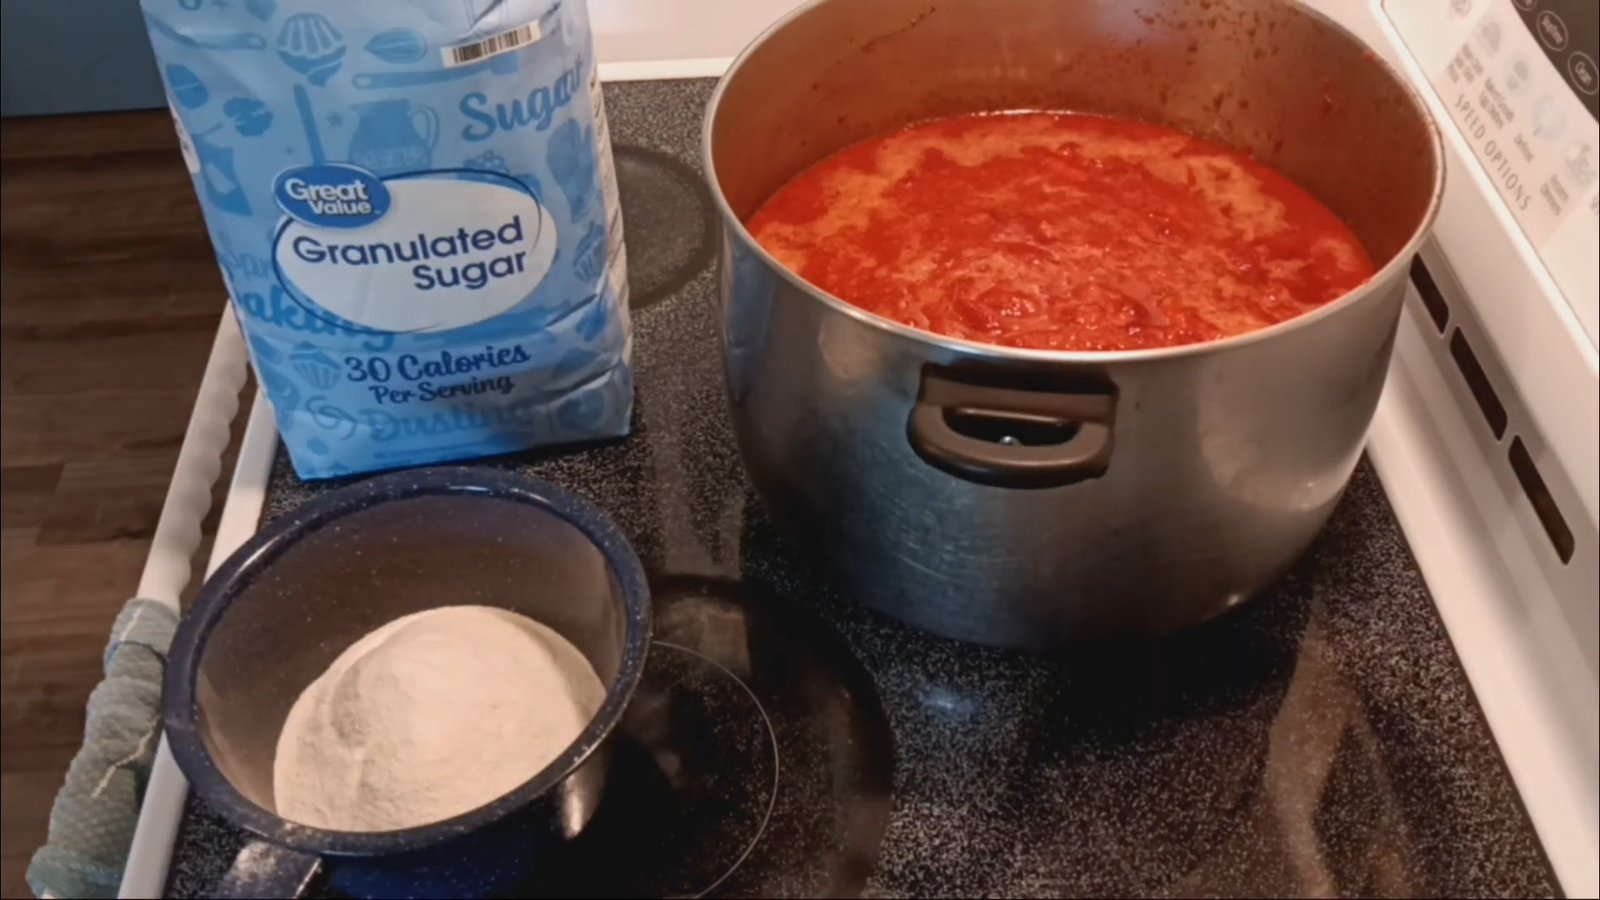
Start heating your water bath canner. Make sure your jars are washed and warm. Measure out your 7 cups of sugar and have it ready—jam moves fast!
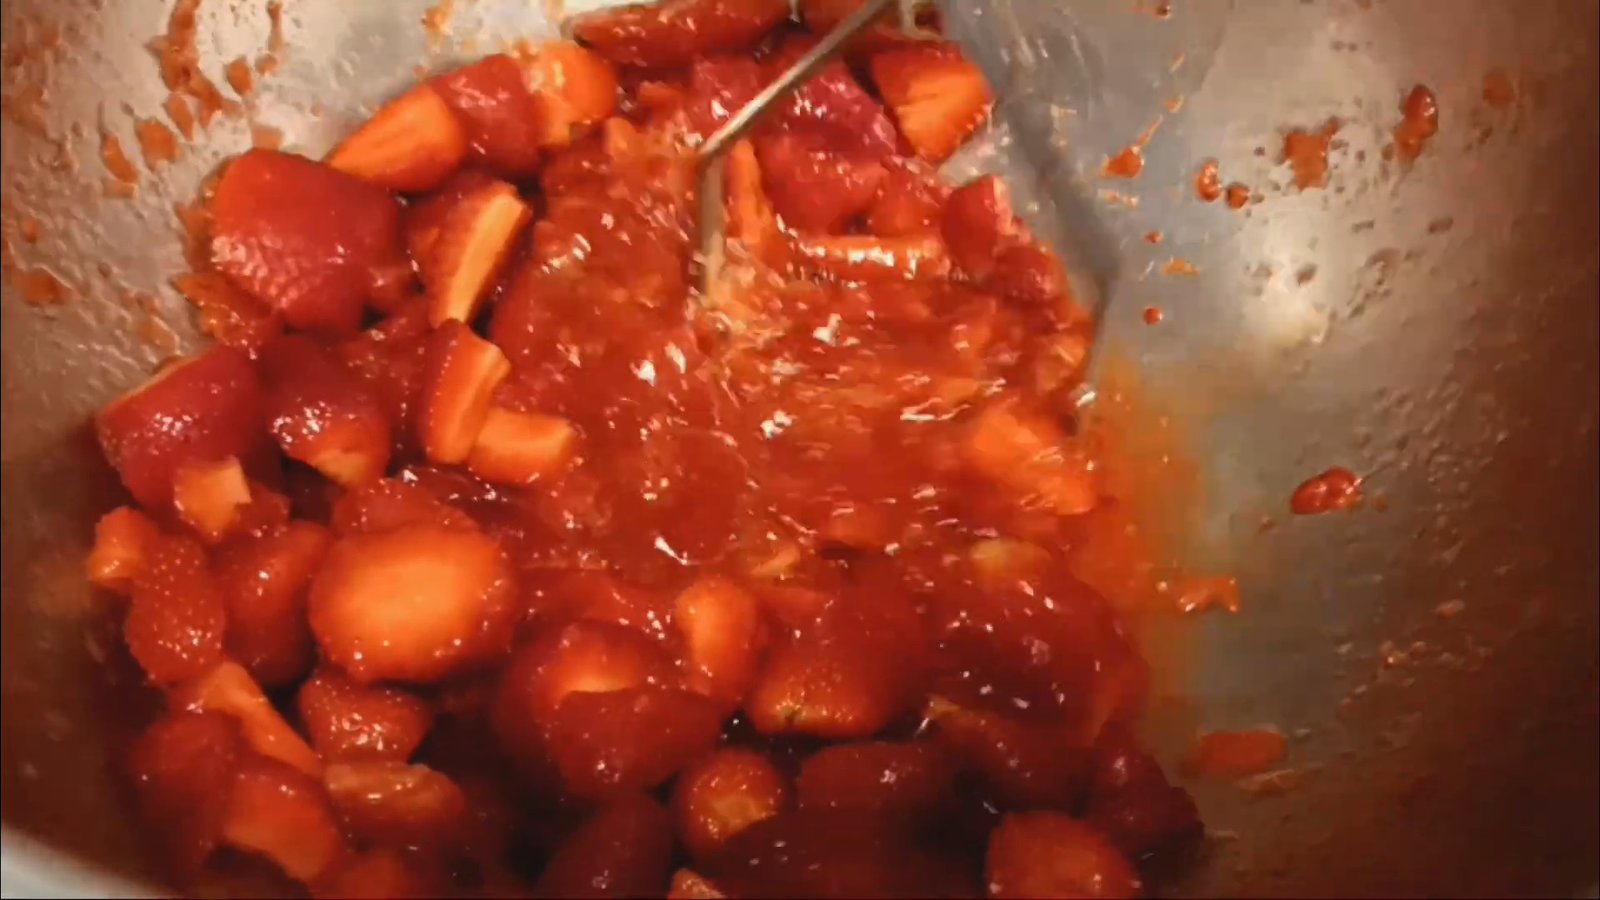
4. Cook the Jam
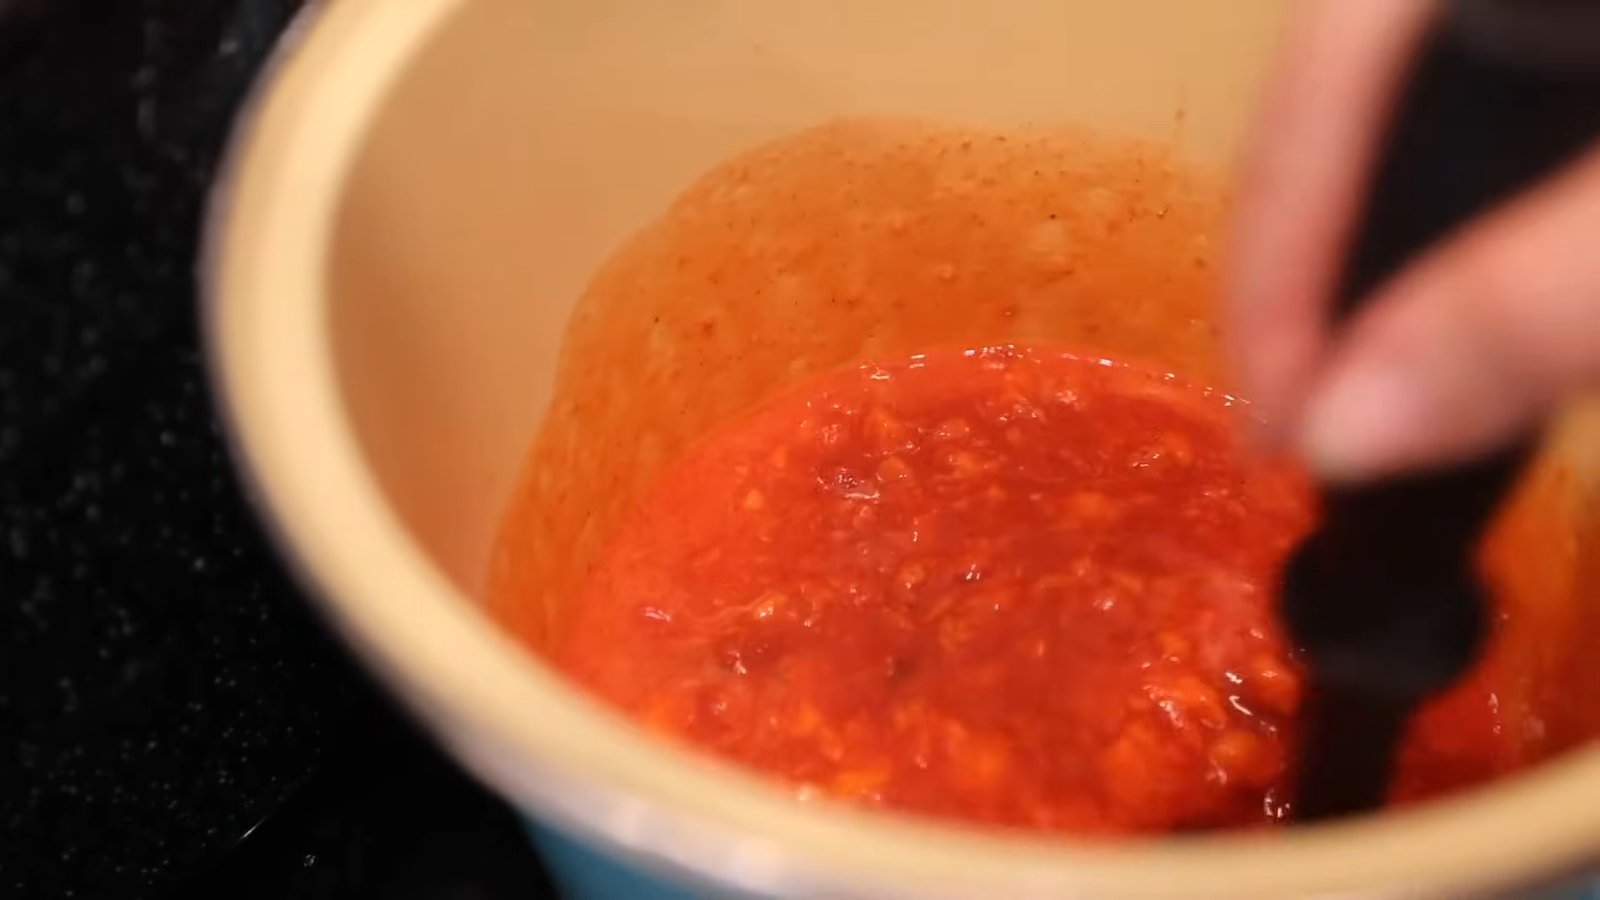
Add your pectin to the mashed berries and bring to a boil over medium-high heat. Stir constantly and don’t walk away!
Once boiling, stir in the sugar all at once. Add the butter now if you’re using it (this helps reduce foaming). Keep stirring until the mixture returns to a rolling boil—one that continues even while stirring. Boil for 1 full minute, then remove from heat.
Important: Undercooking is the #1 reason jam doesn’t set. Be sure to hit a full rolling boil and time it properly!
5. Fill and Seal Jars
Use a funnel to fill your jars, leaving ¼ to ½ inch of headspace. Remove the vanilla beans if used, wipe the rims clean, and apply lids and rings.
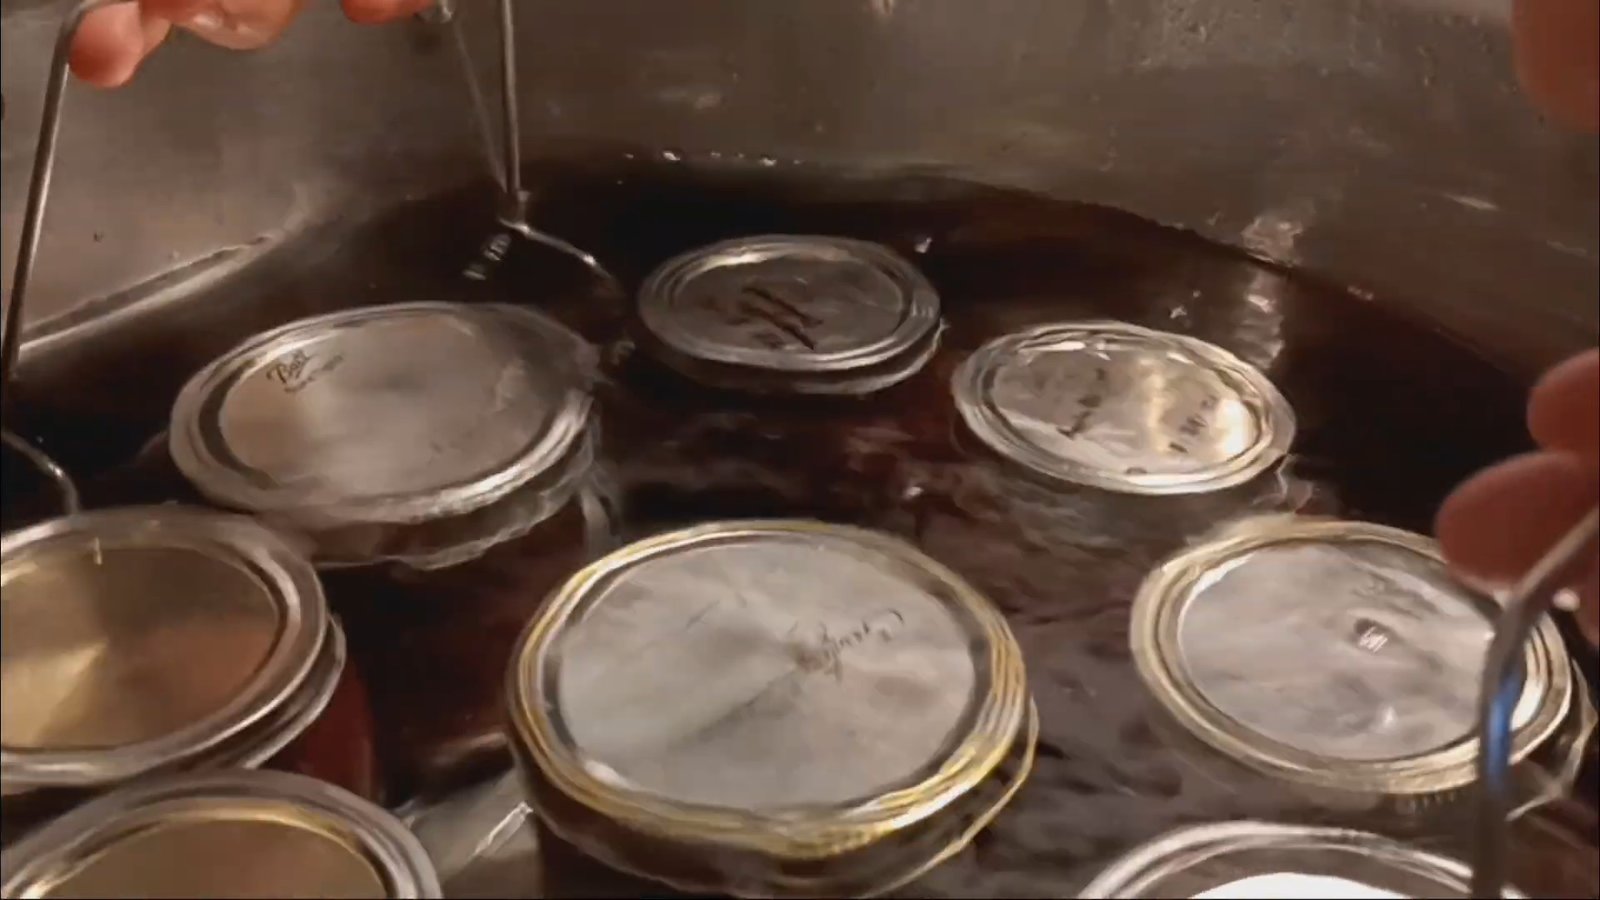
6. Water Bath Can Your Jam
Process your jars in a boiling water bath for:
5 minutes if jars were sterilized beforehand
10 minutes if they were just clean and warm
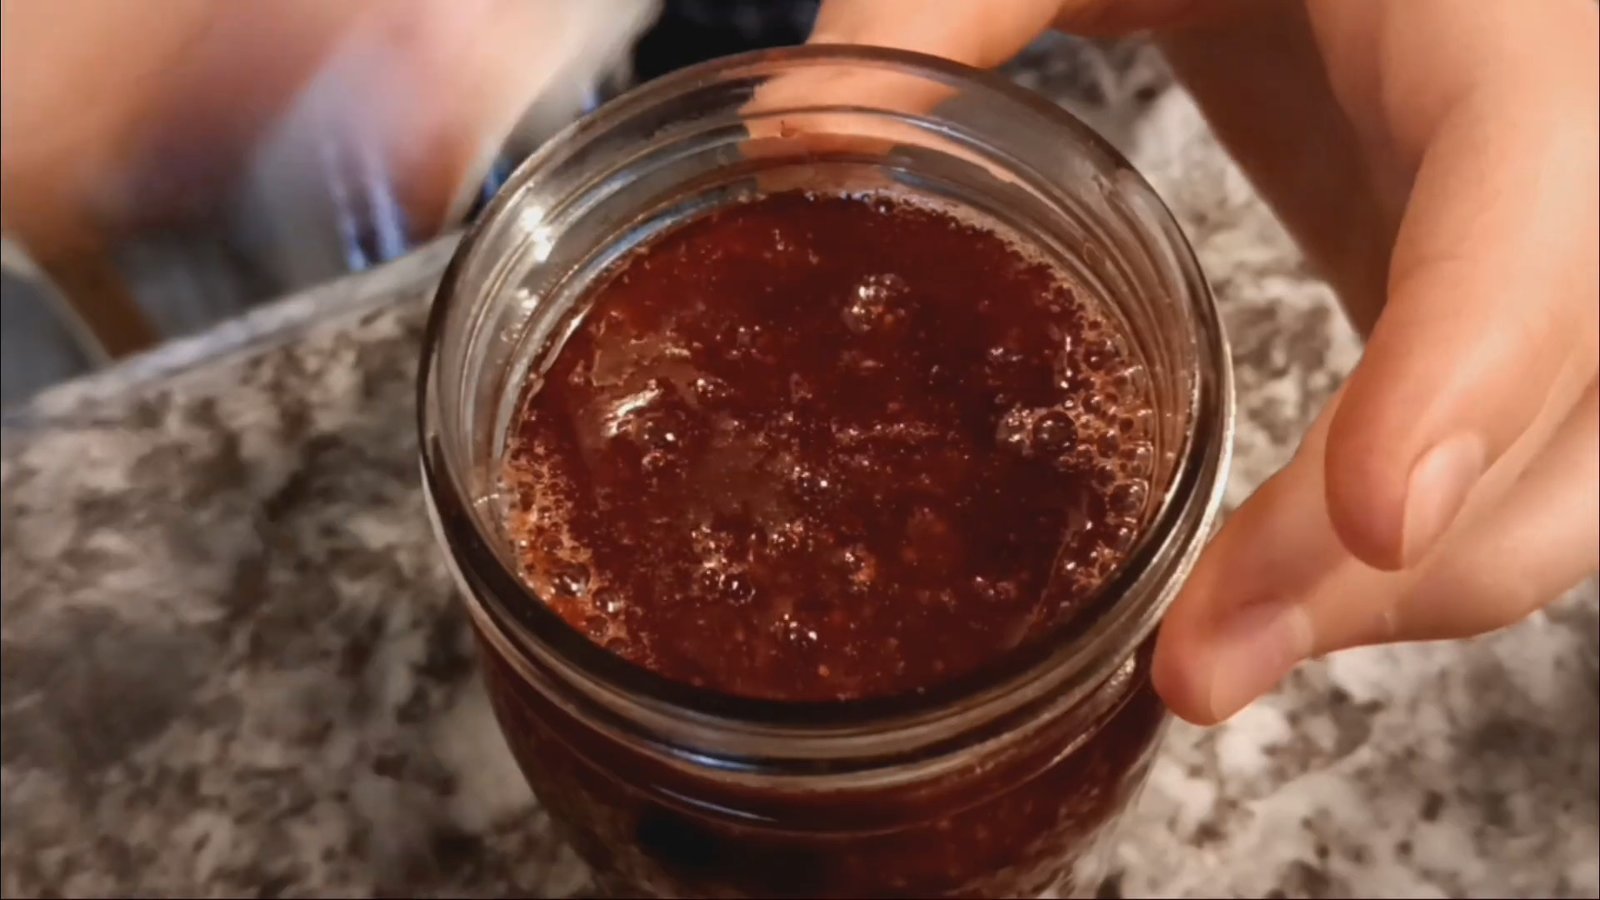
Remove jars and let them cool. You’ll hear the beautiful “ping” of seals forming!
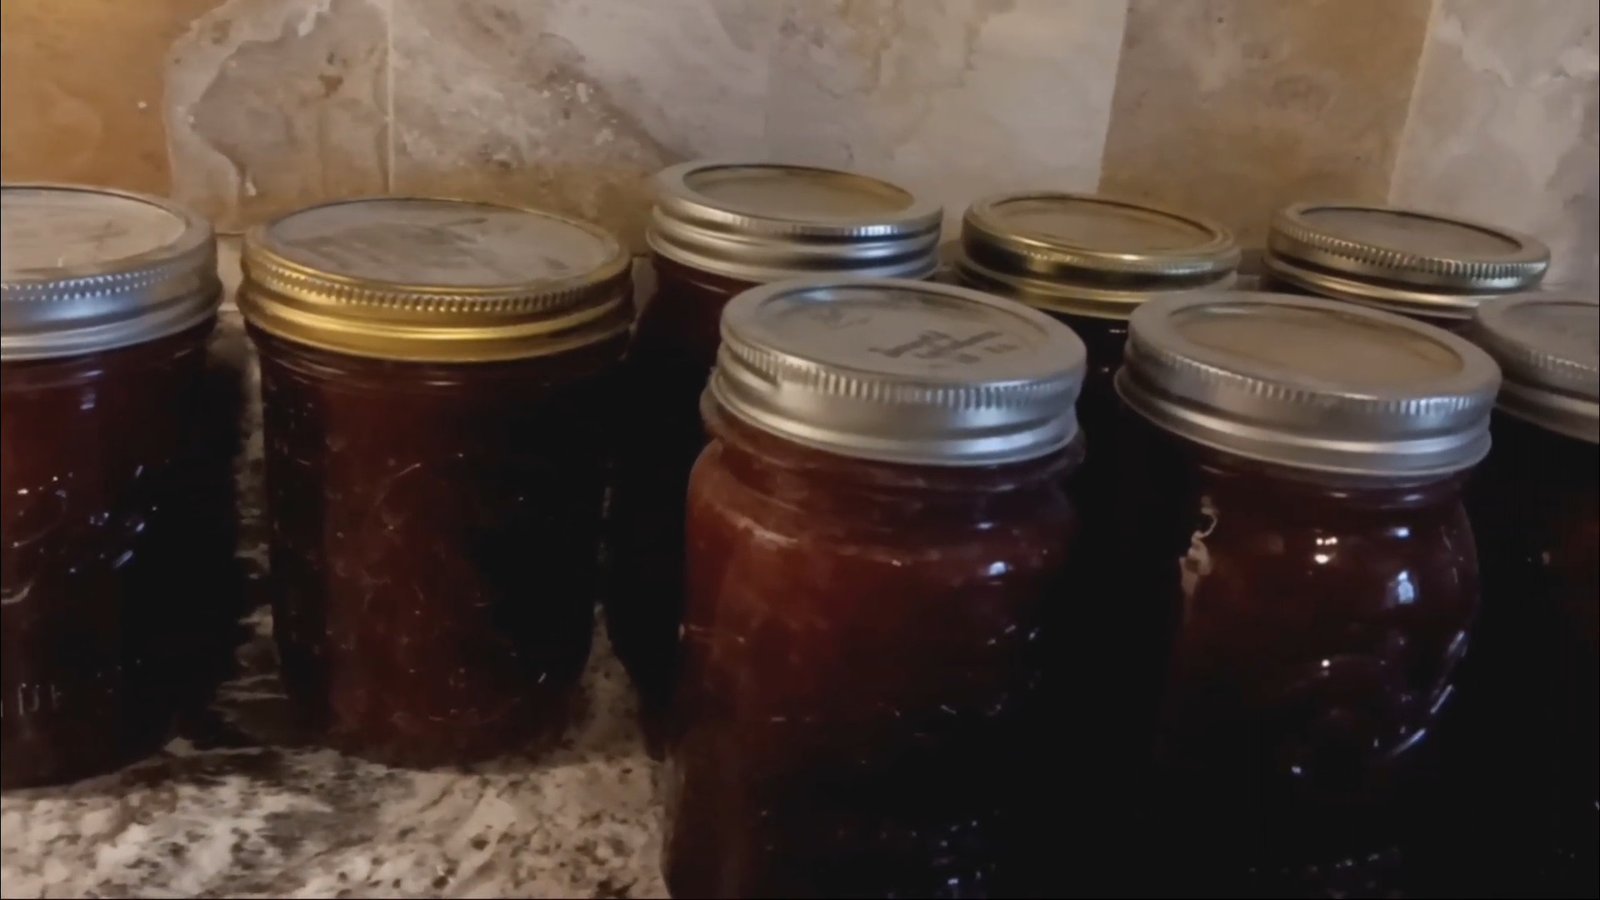
Storage & Yield
This recipe yields about 5 pints of jam. If you have more strawberries, you can easily double the recipe—just be sure to use a large enough pot to prevent boil-over (a hard-earned lesson!).
Store sealed jars in a cool, dark pantry for up to a year. Once opened, refrigerate and use within a few weeks.
Flavor Variations to Try
Strawberry Vanilla Jam – Add one or two split vanilla beans for a subtle warm flavor.
Strawberry Jalapeño Jam – Replace ¼ to ½ cup of strawberries with chopped jalapeños or habaneros. Sweet heat at its best!
")
All-Pepper Jelly – Use 5 cups of mixed sweet and spicy peppers for a savory-sweet twist.
")
Common Mistakes and How to Avoid Them
Jam not setting? You likely didn’t boil it long enough after adding pectin.
")
Too much foam? Add a teaspoon of butter to reduce it.
Overflowing pot? Use a bigger pot than you think you need—jam expands while boiling.
Final Thoughts: Homemade Jam Is Easier Than You Think
Canning strawberry jam may seem intimidating at first, but once you’ve done it a couple of times, it becomes second nature. The process is quick—especially the second batch—and the results are delicious.
If you're curious about canning in general, be sure to check out Home Canning 101 for a beginner-friendly walkthrough.
")
So whether you’re harvesting fresh berries from your garden or thawing a bag from the freezer, this strawberry jam recipe is a perfect place to start your home food preservation journey.
")
Happy canning, and bless you until next time!
")
If you've ever dreamed of preserving your garden's harvest or making your own jam without high fructose corn syrup and preservatives, you're in for a treat. Today, we're diving into how to make homemade strawberry jam using fresh (or even frozen) berries, a bit of pectin, and plenty of love from your kitchen.
Whether you're new to canning or just looking for a tried-and-true strawberry jam recipe, this guide will walk you through the process step-by-step, with helpful tips and tricks to make it foolproof.
Why Make Your Own Strawberry Jam?
Homemade jam is one of the easiest and most rewarding ways to preserve fruit. It’s a great way to use up a bumper crop from your garden or take advantage of seasonal sales at the grocery store. Even frozen berries work wonderfully!
Here are a few reasons to make your own strawberry jam:
Avoid preservatives like high fructose corn syrup
Save money compared to store-bought, natural jams
Control ingredients and customize flavor
Preserve your harvest or use frozen berries anytime
Ingredients You’ll Need
To make a classic batch of strawberry jam, you’ll need:
5 cups of crushed strawberries (fresh or thawed frozen berries)
7 cups of sugar
6 tablespoons of pectin (or 1 box of Sure-Jell)
¼ cup bottled lemon juice
Optional: 1–2 split vanilla beans
Optional: 1 teaspoon of butter (to reduce foam)
Tools & Supplies
Water bath canner
Clean canning jars with lids and rings
Jar funnel, ladle, and jar lifter
Large pot
Potato masher or similar tool
Step-by-Step Instructions
1. Prep Your Strawberries
Start by hulling your strawberries and removing any bad spots. Use a masher to crush them into a measuring cup. You’ll need 5 full cups of mashed berries.
Tip: If using frozen berries, let them thaw first and drain any excess liquid into your jam for better flavor.
2. Add Vanilla and Lemon Juice
For added depth of flavor, toss in a split vanilla bean or two. Add ¼ cup of lemon juice to brighten the jam and help with safe preservation.
3. Get Your Canner and Jars Ready
Start heating your water bath canner. Make sure your jars are washed and warm. Measure out your 7 cups of sugar and have it ready—jam moves fast!
4. Cook the Jam
Add your pectin to the mashed berries and bring to a boil over medium-high heat. Stir constantly and don’t walk away!
Once boiling, stir in the sugar all at once. Add the butter now if you’re using it (this helps reduce foaming). Keep stirring until the mixture returns to a rolling boil—one that continues even while stirring. Boil for 1 full minute, then remove from heat.
Important: Undercooking is the #1 reason jam doesn’t set. Be sure to hit a full rolling boil and time it properly!
5. Fill and Seal Jars
Use a funnel to fill your jars, leaving ¼ to ½ inch of headspace. Remove the vanilla beans if used, wipe the rims clean, and apply lids and rings.
6. Water Bath Can Your Jam
Process your jars in a boiling water bath for:
5 minutes if jars were sterilized beforehand
10 minutes if they were just clean and warm
Remove jars and let them cool. You’ll hear the beautiful “ping” of seals forming!
Storage & Yield
This recipe yields about 5 pints of jam. If you have more strawberries, you can easily double the recipe—just be sure to use a large enough pot to prevent boil-over (a hard-earned lesson!).
Store sealed jars in a cool, dark pantry for up to a year. Once opened, refrigerate and use within a few weeks.
Flavor Variations to Try
Strawberry Vanilla Jam – Add one or two split vanilla beans for a subtle warm flavor.
Strawberry Jalapeño Jam – Replace ¼ to ½ cup of strawberries with chopped jalapeños or habaneros. Sweet heat at its best!
All-Pepper Jelly – Use 5 cups of mixed sweet and spicy peppers for a savory-sweet twist.
Common Mistakes and How to Avoid Them
Jam not setting? You likely didn’t boil it long enough after adding pectin.
Too much foam? Add a teaspoon of butter to reduce it.
Overflowing pot? Use a bigger pot than you think you need—jam expands while boiling.
Final Thoughts: Homemade Jam Is Easier Than You Think
Canning strawberry jam may seem intimidating at first, but once you’ve done it a couple of times, it becomes second nature. The process is quick—especially the second batch—and the results are delicious.
If you're curious about canning in general, be sure to check out Home Canning 101 for a beginner-friendly walkthrough.
So whether you’re harvesting fresh berries from your garden or thawing a bag from the freezer, this strawberry jam recipe is a perfect place to start your home food preservation journey.
Happy canning, and bless you until next time!
0 servings