If you're raising your own quail or just love easy homemade snacks, this pickled quail eggs recipe is a must-try. These flavorful little bites are packed with protein, low in calories, and incredibly satisfying. Best of all, they’re easy to make at home with a few simple ingredients from your kitchen—or even your garden.
We’ve been raising Coturnix quail on our homestead, and with over 50 birds laying eggs daily, pickling has become a favorite way to preserve them. We even sell these at the local farmers market—and they sell out fast!
Why Pickle Quail Eggs?
✅ Long shelf life in the refrigerator
✅ Perfect for snacking, lunch boxes, or charcuterie boards
✅ Great way to use up excess eggs
✅ High in protein, low in carbs and calories
✅ Bite-sized convenience
If you've never tried them before, pickled quail eggs are like their chicken counterparts but more tender, more delicate, and much quicker to eat!
Collecting and Preparing Quail Eggs
We start by collecting fresh quail eggs from our quail coop. You’ll notice a variety of shell patterns—some speckled, some almost solid blue. For this recipe, you’ll need about 50 quail eggs to fill a standard mason jar.
Step 1: Boil the Quail Eggs
Boiling quail eggs takes a bit of care since their shells are thin. Here's how we do it:
Boiling Instructions:
Bring a large pot of water to a rolling boil.
Carefully ladle in the quail eggs to avoid cracking.
")
Boil for 8 minutes, gently stirring occasionally to help center the yolks.
After boiling, immediately transfer eggs to a bowl of ice water to cool completely.
Step 2: Peel the Eggs
Once the eggs are cooled, it’s time to peel off the shells.
Two Peeling Methods:
🖐️ By hand: Tap the rounded end gently and peel with your fingers.
")
⚙️ Using a peeling machine: We use a small device with rubber rollers that spins off the shell after a small crack is made at the rounded end.
Once peeled, rinse the eggs under cool water to remove any remaining shell fragments.
Step 3: Harvest Garden Ingredients (Optional)
If you grow your own food, now’s the time to gather some fresh produce:
🧄 Garlic cloves
🧅 Fresh onions
🌿 Dill
🌶️ Spicy peppers (optional for heat)
These will add both flavor and visual appeal to your pickled quail eggs.
Step 4: Make the Pickling Brine
Here’s the simple brine recipe we use for a single jar (50 quail eggs):
Pickling Brine Ingredients:
1½ teaspoons pickling salt
½ teaspoon mixed peppercorns (white & black)
¾ teaspoon paprika
½ cup water
1 cup white wine vinegar
Bring the mixture to a gentle boil, stirring to dissolve the salt.
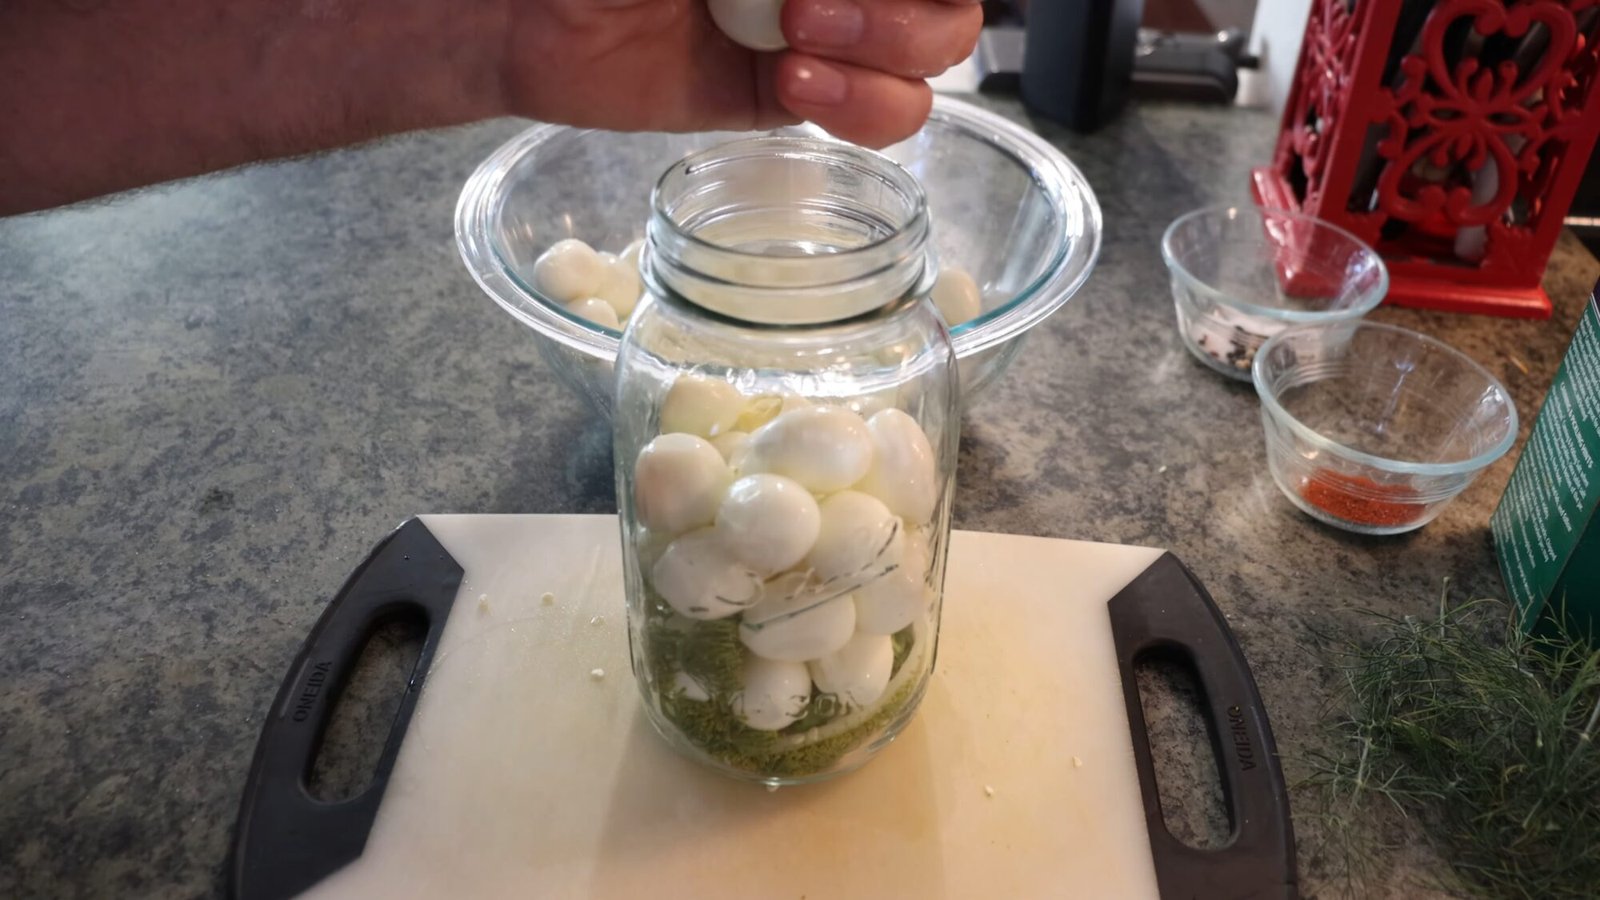
Step 5: Pack the Jar
In a sterilized mason jar, layer the following:
Peeled quail eggs
Fresh onion slices
Garlic cloves
Dill sprigs
Spicy peppers (optional)
Fill the jar completely with the warm pickling brine, ensuring all ingredients are covered.
Step 6: Seal and Refrigerate
Place a tight-fitting lid on the jar.
Allow to cool to room temperature.
Store in the refrigerator for at least 7 days to allow the flavors to fully develop.
Your pickled quail eggs will last several months in the fridge, making them a reliable and delicious snack anytime.
Why We Love Pickled Quail Eggs
Not only are these eggs a great way to preserve the harvest from both the coop and the garden, they’re also:
💪 Nutrient-dense and satisfying
")
🌱 Ideal for sustainable living
")
🍴 Perfect for homestead snacking, charcuterie boards, or sharing at markets
If you’ve only ever had pickled chicken eggs, you’ll love the tender texture and bold flavor of quail eggs even more.
")
0 servings