Nutrition Facts
0 servings

Welcome back to the homestead, friends! Today, we're diving into another preservation project — preserving a bounty of organic limes. When you have an abundance of fresh fruit, it's essential to find ways to extend its shelf life, especially when you live in a homestead environment where unexpected power outages can happen even on a clear, sunny day.
In this tutorial, I’ll show you two simple and reliable methods to preserve your limes: dehydrating and lacto-fermenting. These methods ensure you’ll have flavorful limes all winter long for cooking, baking, and refreshing drinks!
Why Preserve Limes?
Limes are versatile, flavorful, and packed with vitamin C. Whether you’re adding a wedge to your ice water, marinating chicken, or spicing up a salad dressing, preserved limes are a must-have pantry item. Plus, making shelf-stable foods prepares you for situations where refrigeration isn’t reliable — an essential part of sustainable homesteading.
Method 1: Dehydrating Limes
Dehydrating limes is simple and perfect for long-term storage.
How to Dehydrate Limes:
Wash and slice your limes thinly.
Place slices in a single layer on dehydrator trays.
Dehydrate at a low setting (around 115–125°F) until completely dry and crisp.
Store in airtight jars or vacuum-sealed bags.
Tip: If you’re off-grid or want to save electricity, you can dehydrate limes in your car on a hot sunny day! Place lime slices on trays and let the natural heat work its magic.
Dehydrated limes are great for adding to teas, water infusions, or grinding into lime powder for seasoning.
Method 2: Lacto-Fermenting Limes
Lacto-fermenting limes is another traditional, energy-free method to create flavorful, tangy preserved limes.
Ingredients:
Fresh limes (washed and tips removed)
Pink Himalayan salt (or kosher/Celtic sea salt)
Optional spices: whole cloves, cinnamon sticks
How to Lacto-Ferment Limes:
Slice limes into quarters, stopping about ¾ of the way down so the lime stays attached at the bottom.
Sprinkle salt inside each lime — no need to measure exactly, just a generous pinch in each one.
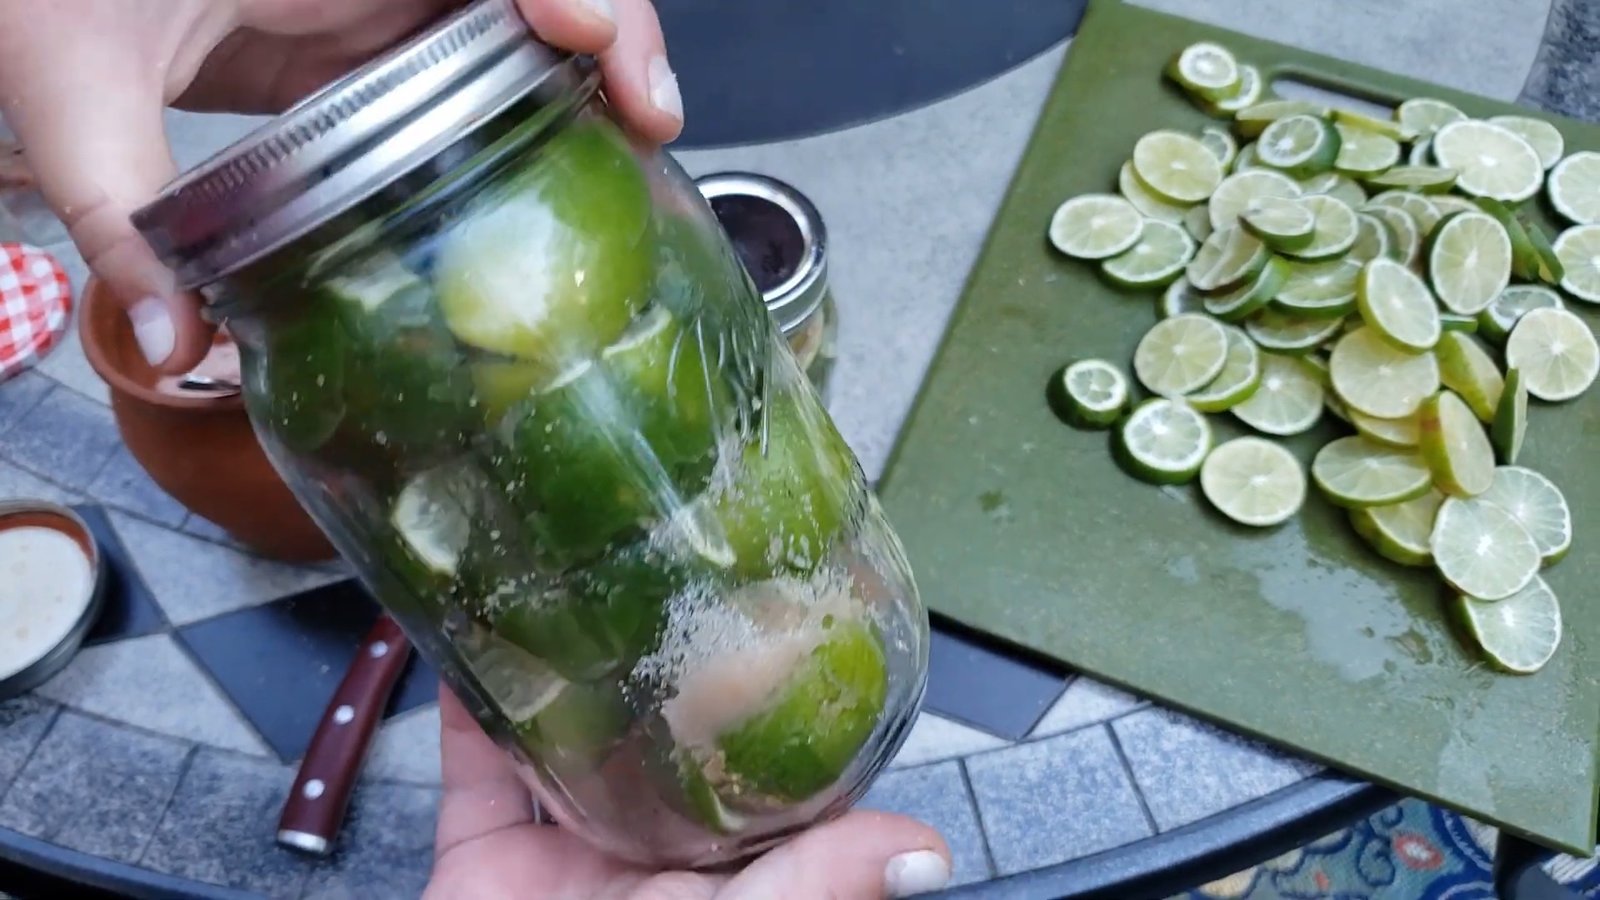
Pack limes into a sterilized wide-mouth jar, sprinkling additional salt between layers.
Press down firmly using a clean wooden tool to help extract juices and compact the limes.
Seal the jar with a clean lid and place it in a cool, dark place.
Wait at least one month to allow full fermentation.
During fermentation, the salt will draw out the juice, and the limes will pickle themselves in their own brine, creating a beautiful, shelf-stable product.
Important: Avoid using regular table salt, which often contains anti-caking agents and additives that can interfere with fermentation.
")
Adding Spices for Extra Flavor
For an extra burst of flavor:
Add a cinnamon stick and a few whole cloves into the jar along with the salted limes.
These spices give a warm, aromatic twist to your preserved limes, perfect for winter cooking.
How to Use Preserved Limes:
Once fermented, the limes can be:
Rinsed and chopped into marinades for meats.
Sliced and added to cooked dishes like fish, chicken, or tagines.
Juice used in salad dressings or to enhance soups and stews.
The preserved lime rind becomes tender and flavorful, and the juice thickens slightly into a tangy, almost gelatinous brine that’s packed with flavor.
Final Thoughts
Preserving limes by dehydrating and fermenting is an easy and practical way to prevent waste, save money, and stock your pantry with shelf-stable citrus that’s ready whenever you need it. Plus, learning to ferment and dehydrate foods is a core skill for anyone interested in self-sufficiency, homesteading, or emergency preparedness.
")
Whether you're new to food preservation or an experienced homesteader, I encourage you to try these simple lime preservation methods. You'll love the convenience and flavor — and you’ll be even more prepared for those unexpected power outages!
")
Welcome back to the homestead, friends! Today, we're diving into another preservation project — preserving a bounty of organic limes. When you have an abundance of fresh fruit, it's essential to find ways to extend its shelf life, especially when you live in a homestead environment where unexpected power outages can happen even on a clear, sunny day.
In this tutorial, I’ll show you two simple and reliable methods to preserve your limes: dehydrating and lacto-fermenting. These methods ensure you’ll have flavorful limes all winter long for cooking, baking, and refreshing drinks!
Why Preserve Limes?
Limes are versatile, flavorful, and packed with vitamin C. Whether you’re adding a wedge to your ice water, marinating chicken, or spicing up a salad dressing, preserved limes are a must-have pantry item. Plus, making shelf-stable foods prepares you for situations where refrigeration isn’t reliable — an essential part of sustainable homesteading.
Method 1: Dehydrating Limes
Dehydrating limes is simple and perfect for long-term storage.
How to Dehydrate Limes:
Wash and slice your limes thinly.
Place slices in a single layer on dehydrator trays.
Dehydrate at a low setting (around 115–125°F) until completely dry and crisp.
Store in airtight jars or vacuum-sealed bags.
Tip: If you’re off-grid or want to save electricity, you can dehydrate limes in your car on a hot sunny day! Place lime slices on trays and let the natural heat work its magic.
Dehydrated limes are great for adding to teas, water infusions, or grinding into lime powder for seasoning.
Method 2: Lacto-Fermenting Limes
Lacto-fermenting limes is another traditional, energy-free method to create flavorful, tangy preserved limes.
Ingredients:
Fresh limes (washed and tips removed)
Pink Himalayan salt (or kosher/Celtic sea salt)
Optional spices: whole cloves, cinnamon sticks
How to Lacto-Ferment Limes:
Slice limes into quarters, stopping about ¾ of the way down so the lime stays attached at the bottom.
Sprinkle salt inside each lime — no need to measure exactly, just a generous pinch in each one.
Pack limes into a sterilized wide-mouth jar, sprinkling additional salt between layers.
Press down firmly using a clean wooden tool to help extract juices and compact the limes.
Seal the jar with a clean lid and place it in a cool, dark place.
Wait at least one month to allow full fermentation.
During fermentation, the salt will draw out the juice, and the limes will pickle themselves in their own brine, creating a beautiful, shelf-stable product.
Important: Avoid using regular table salt, which often contains anti-caking agents and additives that can interfere with fermentation.
Adding Spices for Extra Flavor
For an extra burst of flavor:
Add a cinnamon stick and a few whole cloves into the jar along with the salted limes.
These spices give a warm, aromatic twist to your preserved limes, perfect for winter cooking.
How to Use Preserved Limes:
Once fermented, the limes can be:
Rinsed and chopped into marinades for meats.
Sliced and added to cooked dishes like fish, chicken, or tagines.
Juice used in salad dressings or to enhance soups and stews.
The preserved lime rind becomes tender and flavorful, and the juice thickens slightly into a tangy, almost gelatinous brine that’s packed with flavor.
Final Thoughts
Preserving limes by dehydrating and fermenting is an easy and practical way to prevent waste, save money, and stock your pantry with shelf-stable citrus that’s ready whenever you need it. Plus, learning to ferment and dehydrate foods is a core skill for anyone interested in self-sufficiency, homesteading, or emergency preparedness.
Whether you're new to food preservation or an experienced homesteader, I encourage you to try these simple lime preservation methods. You'll love the convenience and flavor — and you’ll be even more prepared for those unexpected power outages!
0 servings