Nutrition Facts
0 servings


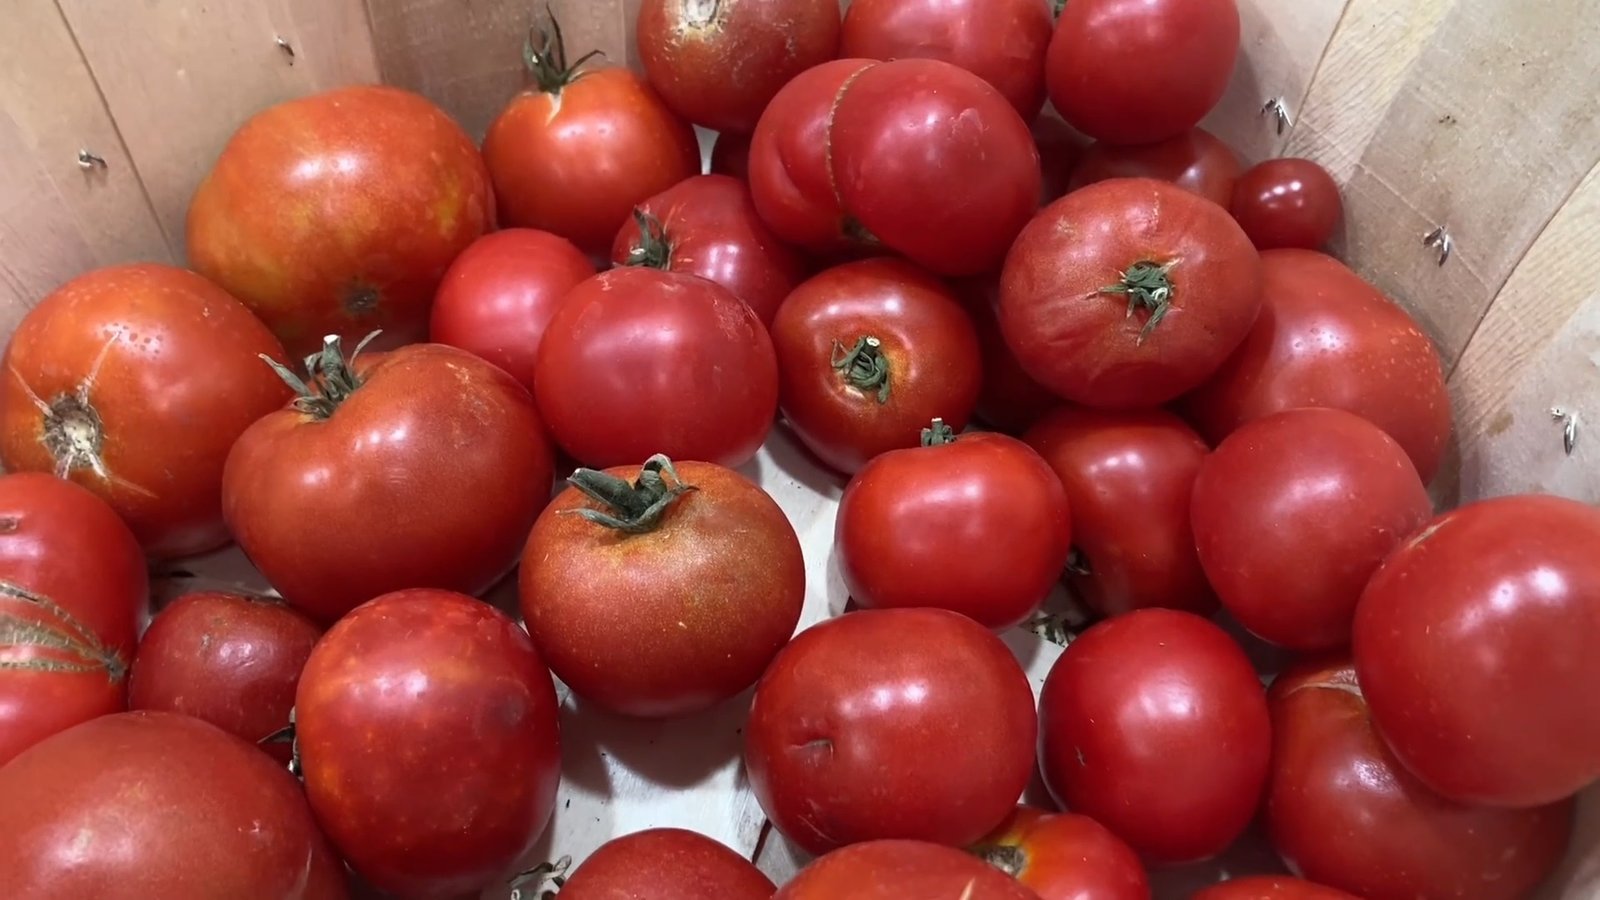
Good morning, community! Jill here from North Texas Vegetable Gardening, Canning Recipes, and a Little Bit of Everything. Are your tomatoes coming in faster than you can eat them? No worries! Today, I’ll show you exactly how to preserve them without a pressure canner. Let’s get started!
Getting Ready: Essential Tools for Canning Tomatoes
")
Before we begin, it’s important to have all your tools and ingredients ready:
A large pot for boiling water (for blanching the tomatoes)
A bowl of ice water
A bowl for coring and skinning tomatoes
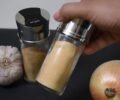
Citric acid or lemon juice
Pickling salt
Sterilized canning jars, lids, and bands
A hot water bath canner or a pressure canner (used as a hot water bath)
A debubbler tool
White vinegar and paper towels for wiping jar rims
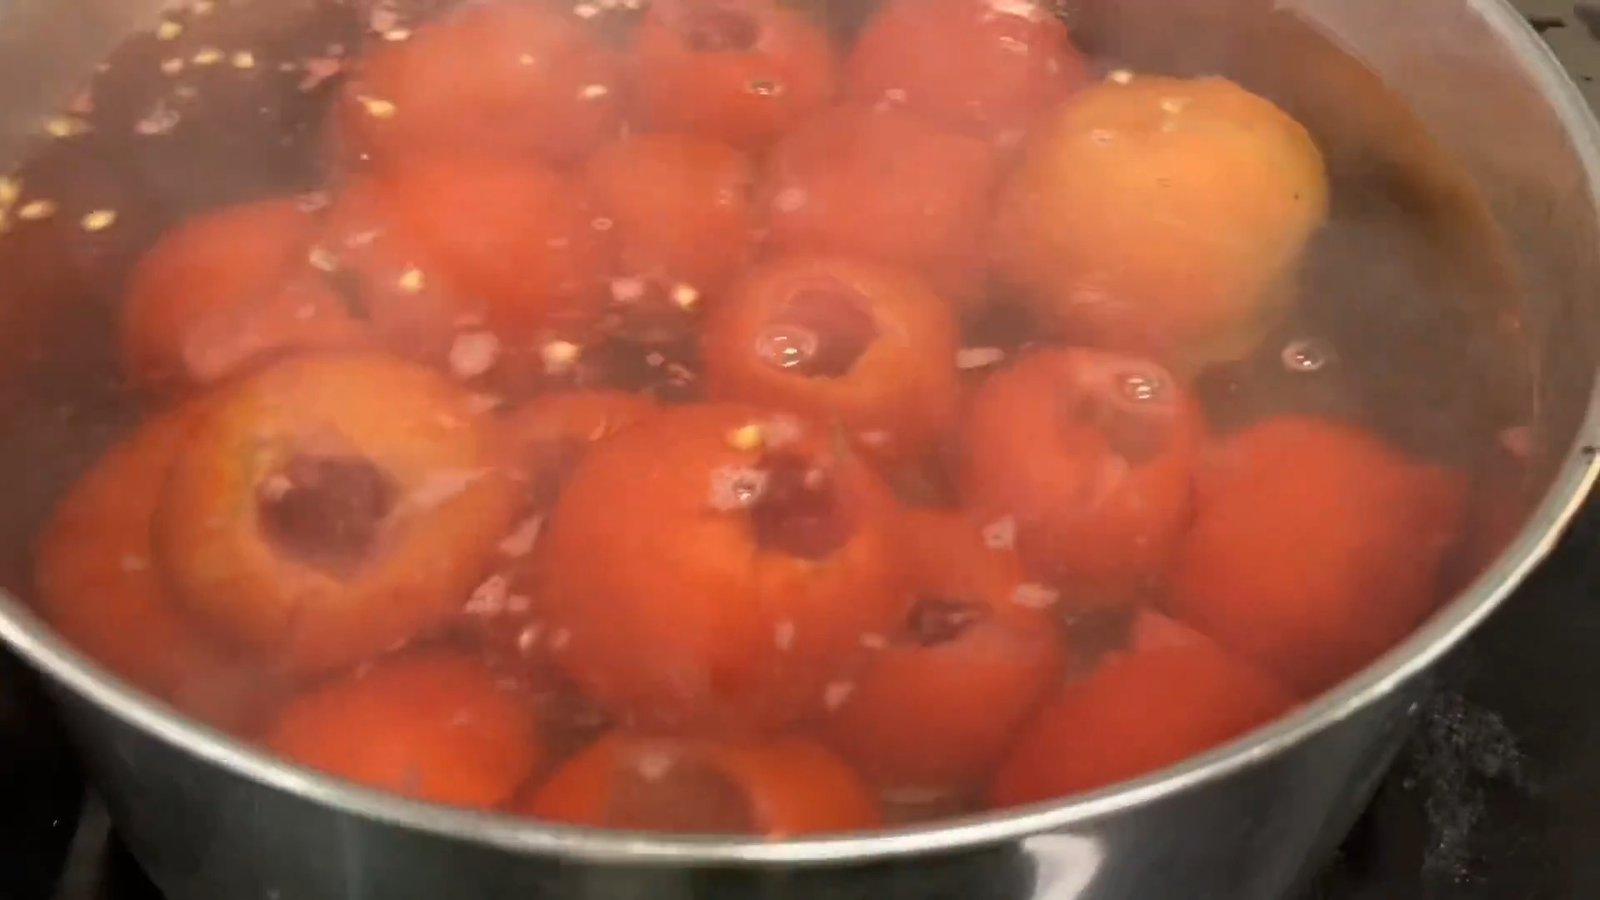
Step 1: Blanching the Tomatoes
Bring a large pot of water to a rolling boil.
Carefully place your whole tomatoes into the boiling water.
Let them boil for about 2 minutes or until you see the skin begin to crack.
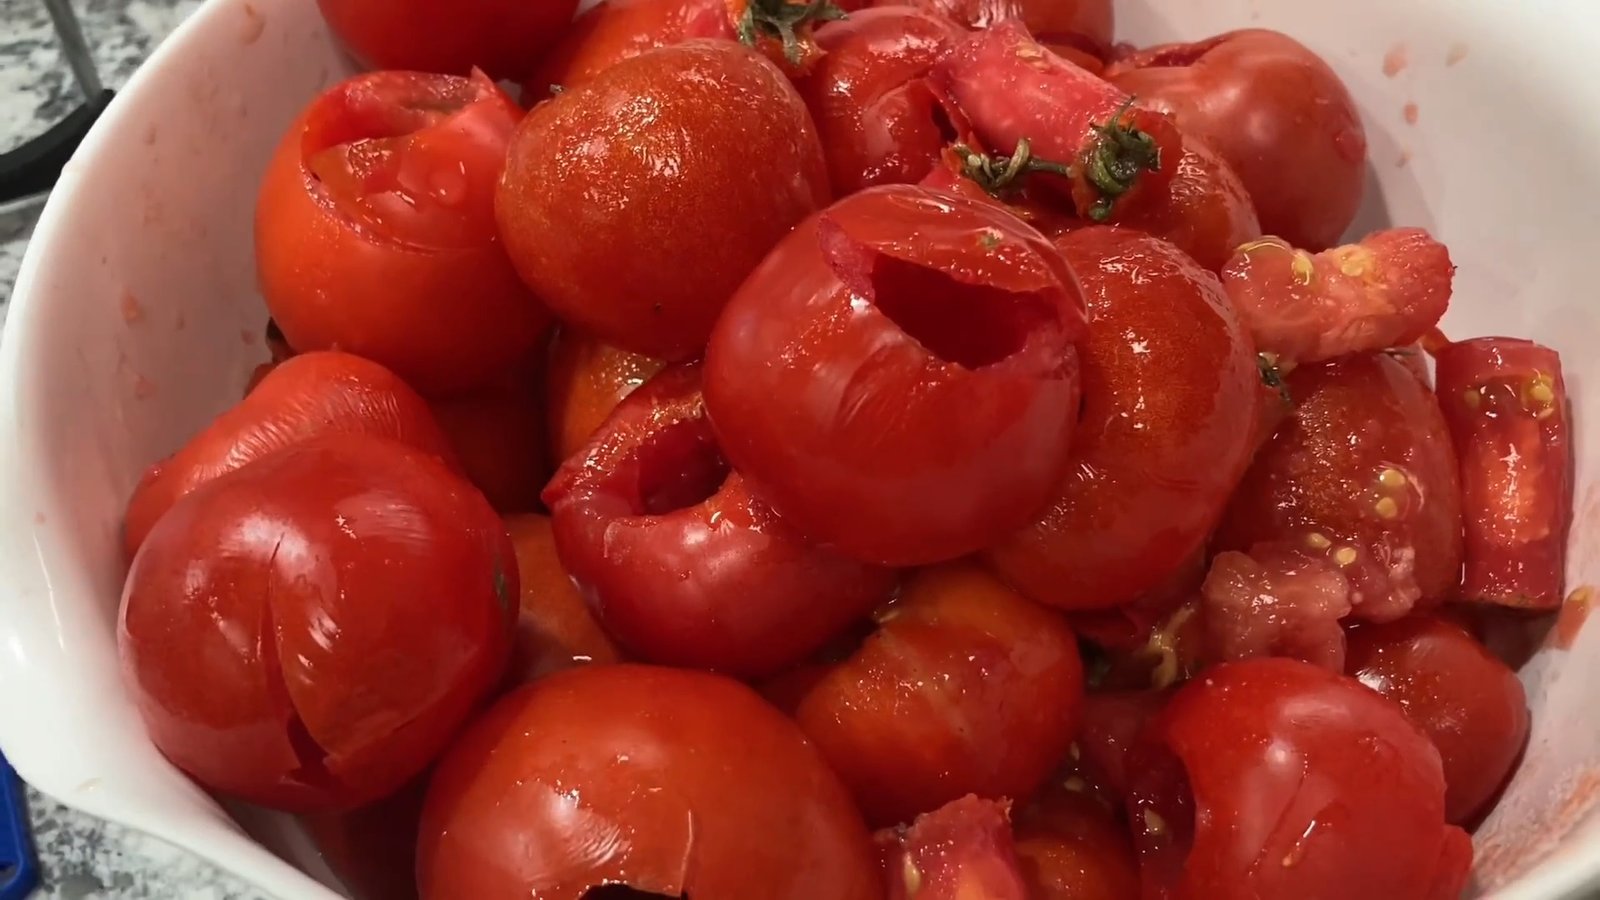
Immediately transfer them to a bowl of ice water to stop the cooking process.
")
Once cooled, peel off the skins and remove the cores.
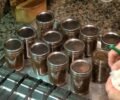
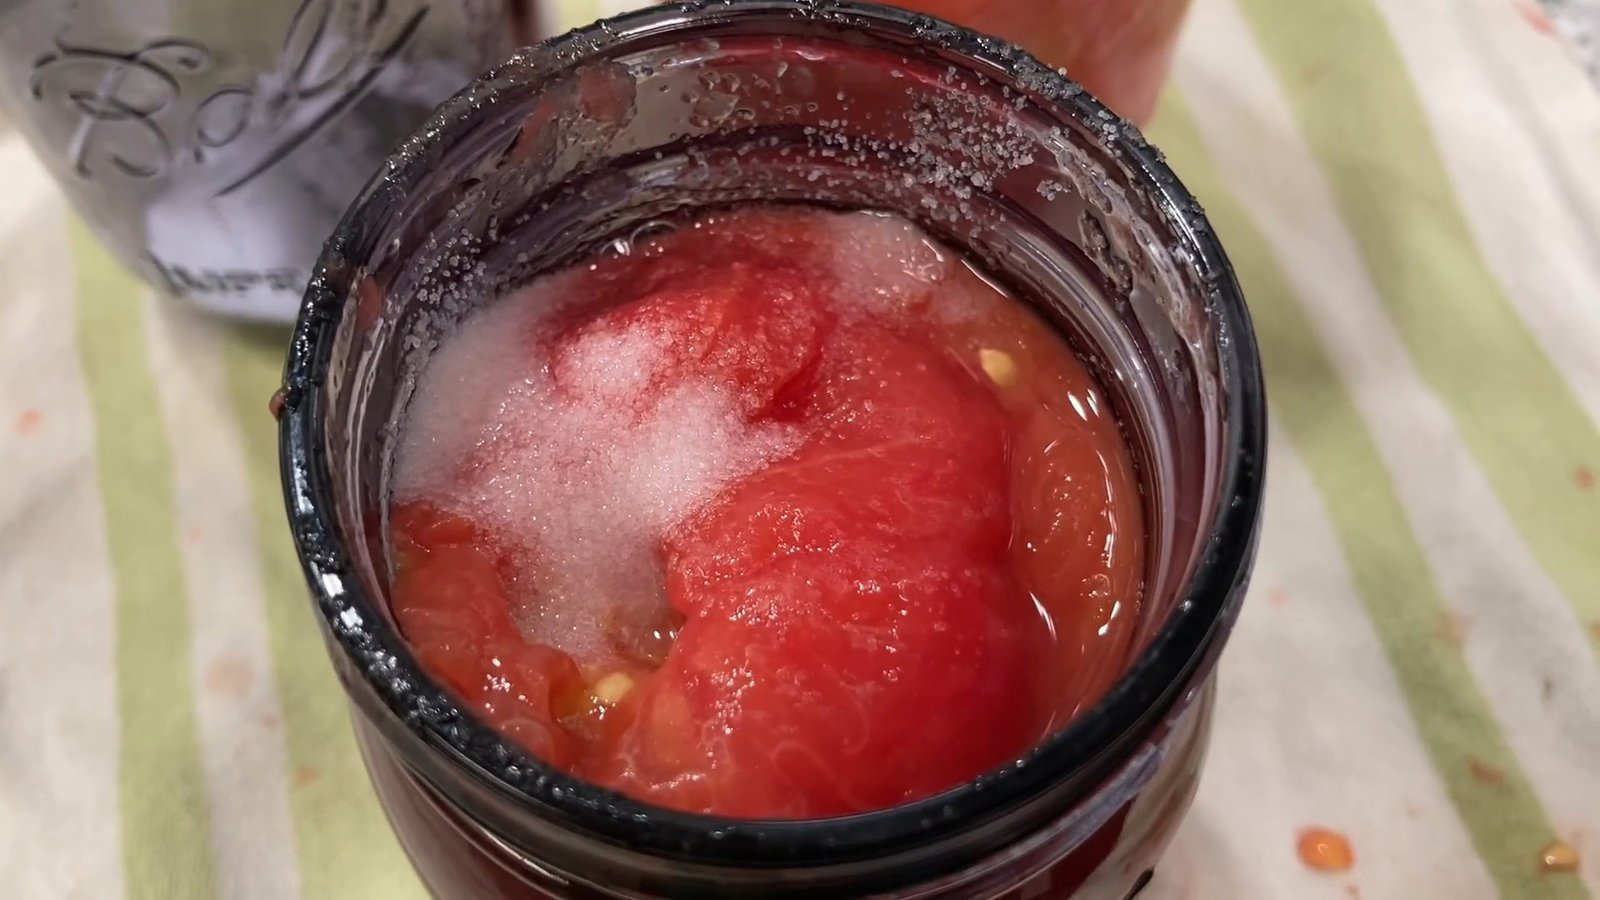
Step 2: Preparing the Jars
Add ¼ teaspoon of citric acid (or 1 tablespoon of lemon juice) to each pint jar.
Add ¼ teaspoon of pickling salt per pint jar for enhanced flavor and preservation.
Place the peeled and cored tomatoes directly into the jars.
Step 3: Filling and Debubbling
Pour hot water into the jars, leaving about 1-inch headspace.
Use a debubbler tool or a non-metallic utensil to remove air bubbles.
Adjust the water level if necessary.
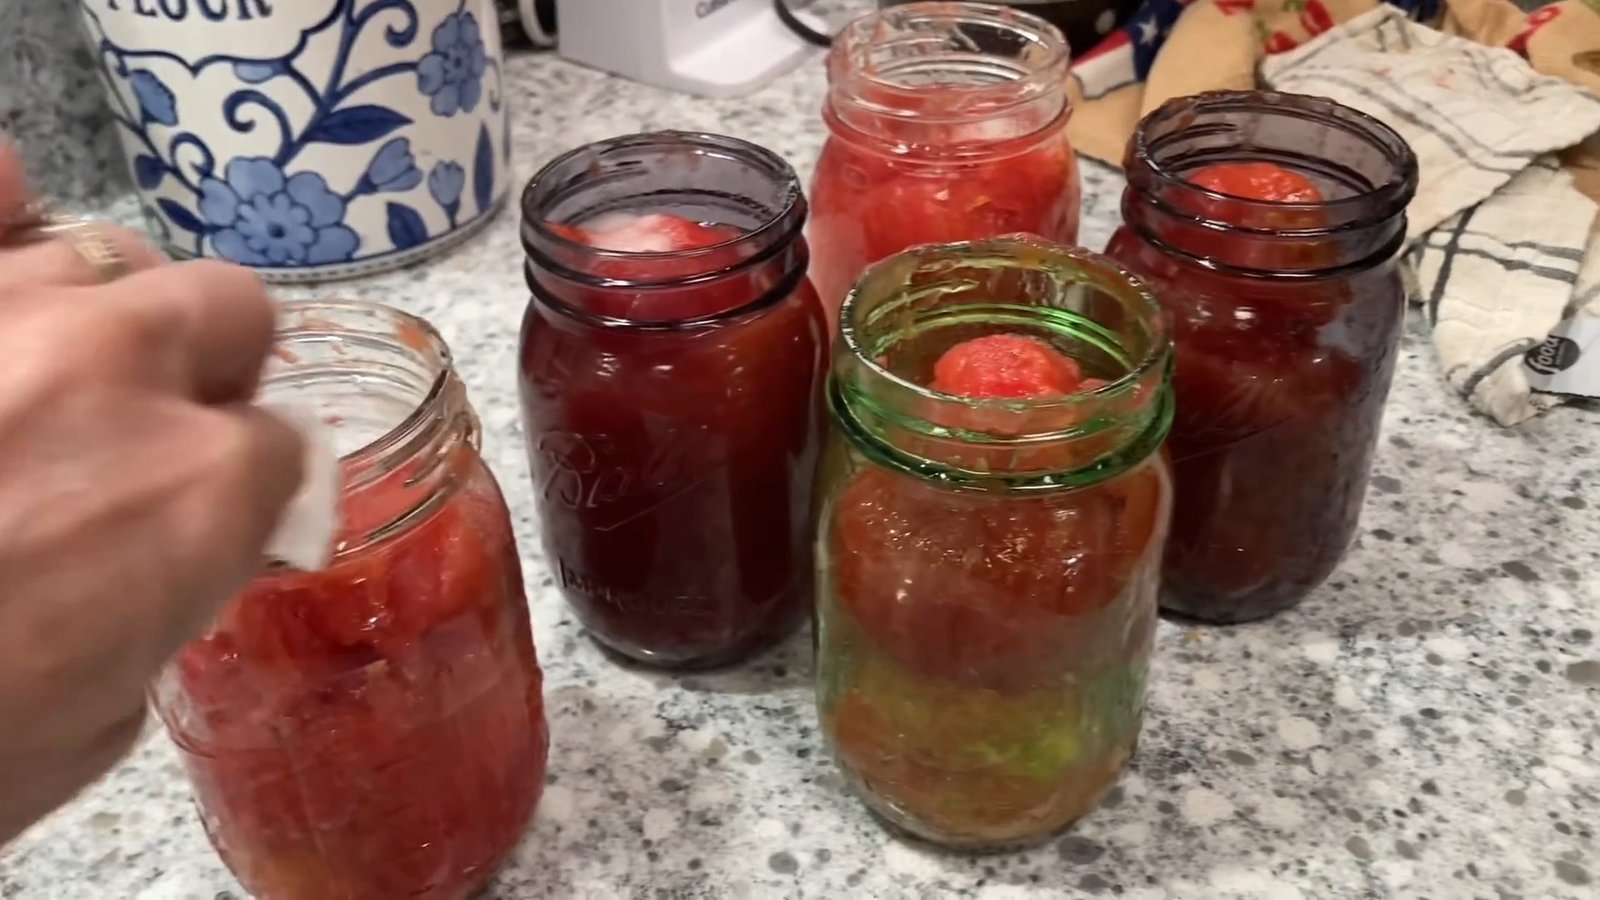
Step 4: Sealing the Jars
Wipe the rims of the jars with a paper towel dampened with white vinegar to ensure a clean seal.
")
Place sterilized lids and bands onto the jars and tighten finger-tight.
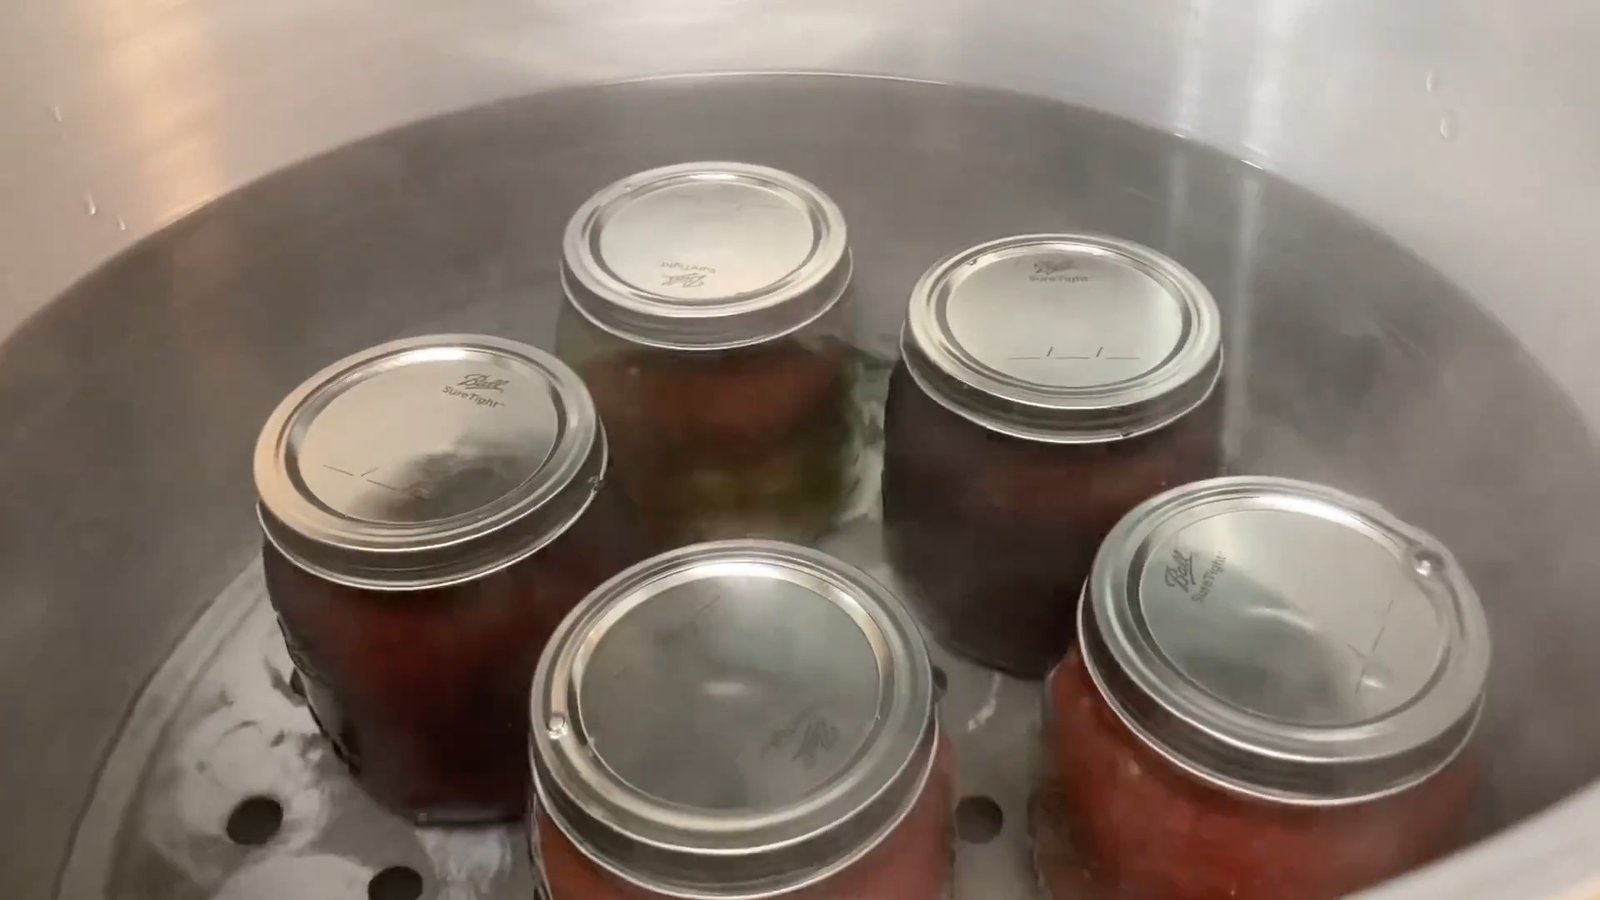
Step 5: Hot Water Bath Canning
")
Place the filled jars into a hot water bath canner, ensuring they are fully submerged with at least 1 inch of water above the lids.
Gradually bring the water to a boil.
Process the jars in boiling water for 40 minutes.
Once done, turn off the heat and let the jars sit in the water for a few minutes before carefully removing them.
")
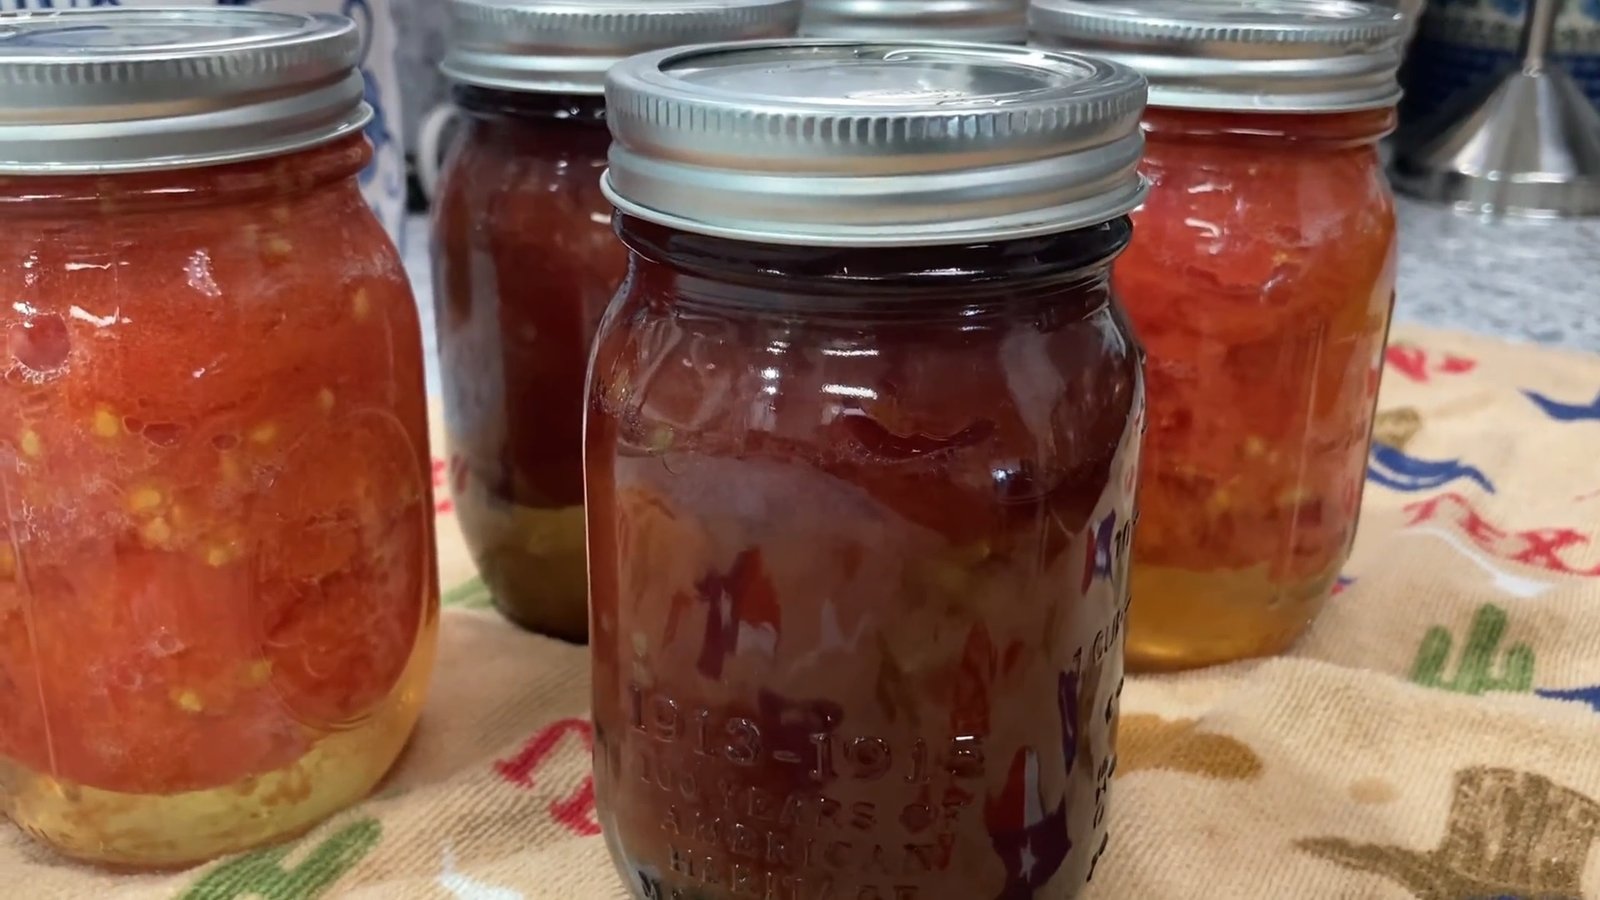
Allow the jars to cool undisturbed for 24 hours before checking the seals.
")
Alternative Storage Option: Freezing
If you prefer not to can your tomatoes, you can simply blanch them, remove the skins, and store them in freezer bags. These frozen tomatoes are perfect for making homemade salsa, soups, and sauces later on!
Final Thoughts
")
Canning is an excellent way to preserve your homegrown tomatoes for year-round use. This simple water bath method ensures that your tomatoes remain shelf-stable, allowing you to enjoy your harvest in soups, stews, and sauces anytime.
Happy canning, and God bless!
")
Good morning, community! Jill here from North Texas Vegetable Gardening, Canning Recipes, and a Little Bit of Everything. Are your tomatoes coming in faster than you can eat them? No worries! Today, I’ll show you exactly how to preserve them without a pressure canner. Let’s get started!
Getting Ready: Essential Tools for Canning Tomatoes
Before we begin, it’s important to have all your tools and ingredients ready:
A large pot for boiling water (for blanching the tomatoes)
A bowl of ice water
A bowl for coring and skinning tomatoes
Citric acid or lemon juice
Pickling salt
Sterilized canning jars, lids, and bands
A hot water bath canner or a pressure canner (used as a hot water bath)
A debubbler tool
White vinegar and paper towels for wiping jar rims
Step 1: Blanching the Tomatoes
Bring a large pot of water to a rolling boil.
Carefully place your whole tomatoes into the boiling water.
Let them boil for about 2 minutes or until you see the skin begin to crack.
Immediately transfer them to a bowl of ice water to stop the cooking process.
Once cooled, peel off the skins and remove the cores.
Step 2: Preparing the Jars
Add ¼ teaspoon of citric acid (or 1 tablespoon of lemon juice) to each pint jar.
Add ¼ teaspoon of pickling salt per pint jar for enhanced flavor and preservation.
Place the peeled and cored tomatoes directly into the jars.
Step 3: Filling and Debubbling
Pour hot water into the jars, leaving about 1-inch headspace.
Use a debubbler tool or a non-metallic utensil to remove air bubbles.
Adjust the water level if necessary.
Step 4: Sealing the Jars
Wipe the rims of the jars with a paper towel dampened with white vinegar to ensure a clean seal.
Place sterilized lids and bands onto the jars and tighten finger-tight.
Step 5: Hot Water Bath Canning
Place the filled jars into a hot water bath canner, ensuring they are fully submerged with at least 1 inch of water above the lids.
Gradually bring the water to a boil.
Process the jars in boiling water for 40 minutes.
Once done, turn off the heat and let the jars sit in the water for a few minutes before carefully removing them.
Allow the jars to cool undisturbed for 24 hours before checking the seals.
Alternative Storage Option: Freezing
If you prefer not to can your tomatoes, you can simply blanch them, remove the skins, and store them in freezer bags. These frozen tomatoes are perfect for making homemade salsa, soups, and sauces later on!
Final Thoughts
Canning is an excellent way to preserve your homegrown tomatoes for year-round use. This simple water bath method ensures that your tomatoes remain shelf-stable, allowing you to enjoy your harvest in soups, stews, and sauces anytime.
Happy canning, and God bless!
0 servings