
Nutrition Facts
0 servings


If you're looking for a reliable way to preserve venison without using up valuable freezer space, pressure canning deer meat is a tried-and-true method. In this step-by-step guide, we’ll show you exactly how to can deer meat safely and effectively at home. Whether you're an experienced hunter or new to home food preservation, this technique is a great addition to your homesteading skills.
Why Pressure Can Venison?
Canning deer meat is one of the best ways to make the most out of your harvest. It's shelf-stable, doesn't require electricity for storage, and the flavor only improves over time. It’s also perfect for emergency preparedness, quick meals, and reducing reliance on store-bought meat products.
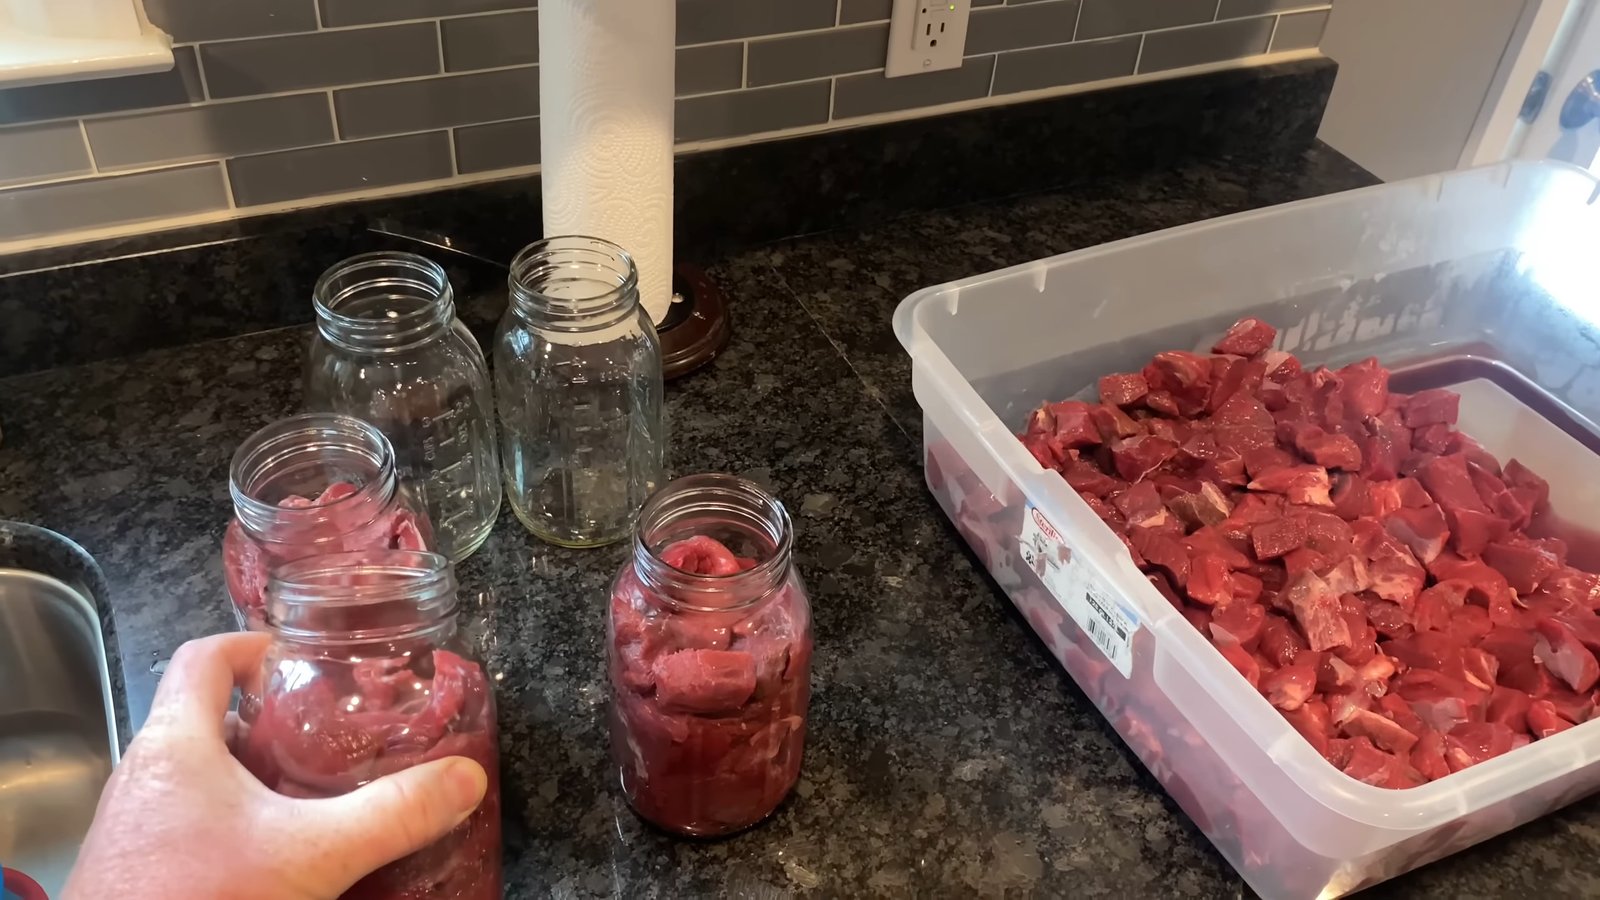
Step 1: Preparing the Meat
The process starts with trimming and chunking your deer meat. You don’t need to be as meticulous as you would when grinding meat for burgers. Since it will be pressure-cooked for a long time, the meat will become tender and fall apart naturally.
Cut meat into chunks and trim excess sinew or fat.
Pack meat into sterilized quart jars, leaving about 1 inch of headspace.
A wide-mouth funnel can help, but careful hands work just as well for larger chunks.
Step 2: Seasoning the Meat
Once your jars are packed, it's time to add seasoning. Here’s a simple mix that works well with venison:
1 tsp of pure sea salt (no additives)
¼ tsp black pepper
¼ tsp meat tenderizer
¼ tsp garlic powder
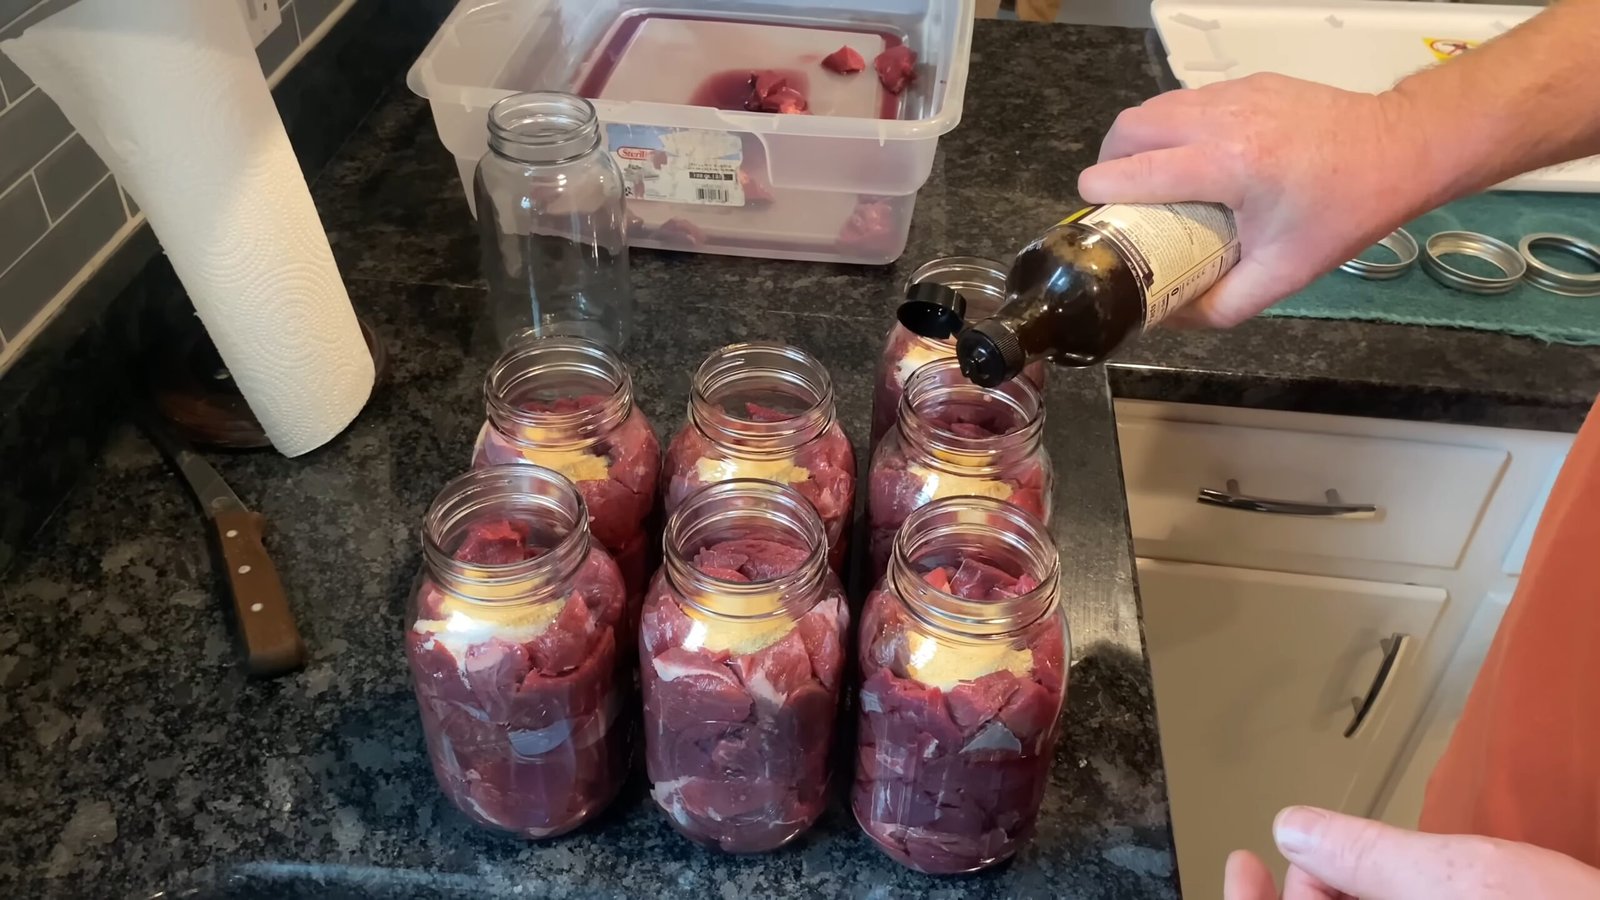
A few drops of Worcestershire sauce
Note: Exact measurements can be adjusted to taste, but don’t over-season—pressure canning intensifies flavor over time.
Step 3: Sealing the Jars
Before sealing:
")
Wipe the jar rims with a damp paper towel to ensure a clean seal.
Check jars for cracks or imperfections before processing.
Place new canning lids and rings on the jars—fingertip-tight is sufficient.
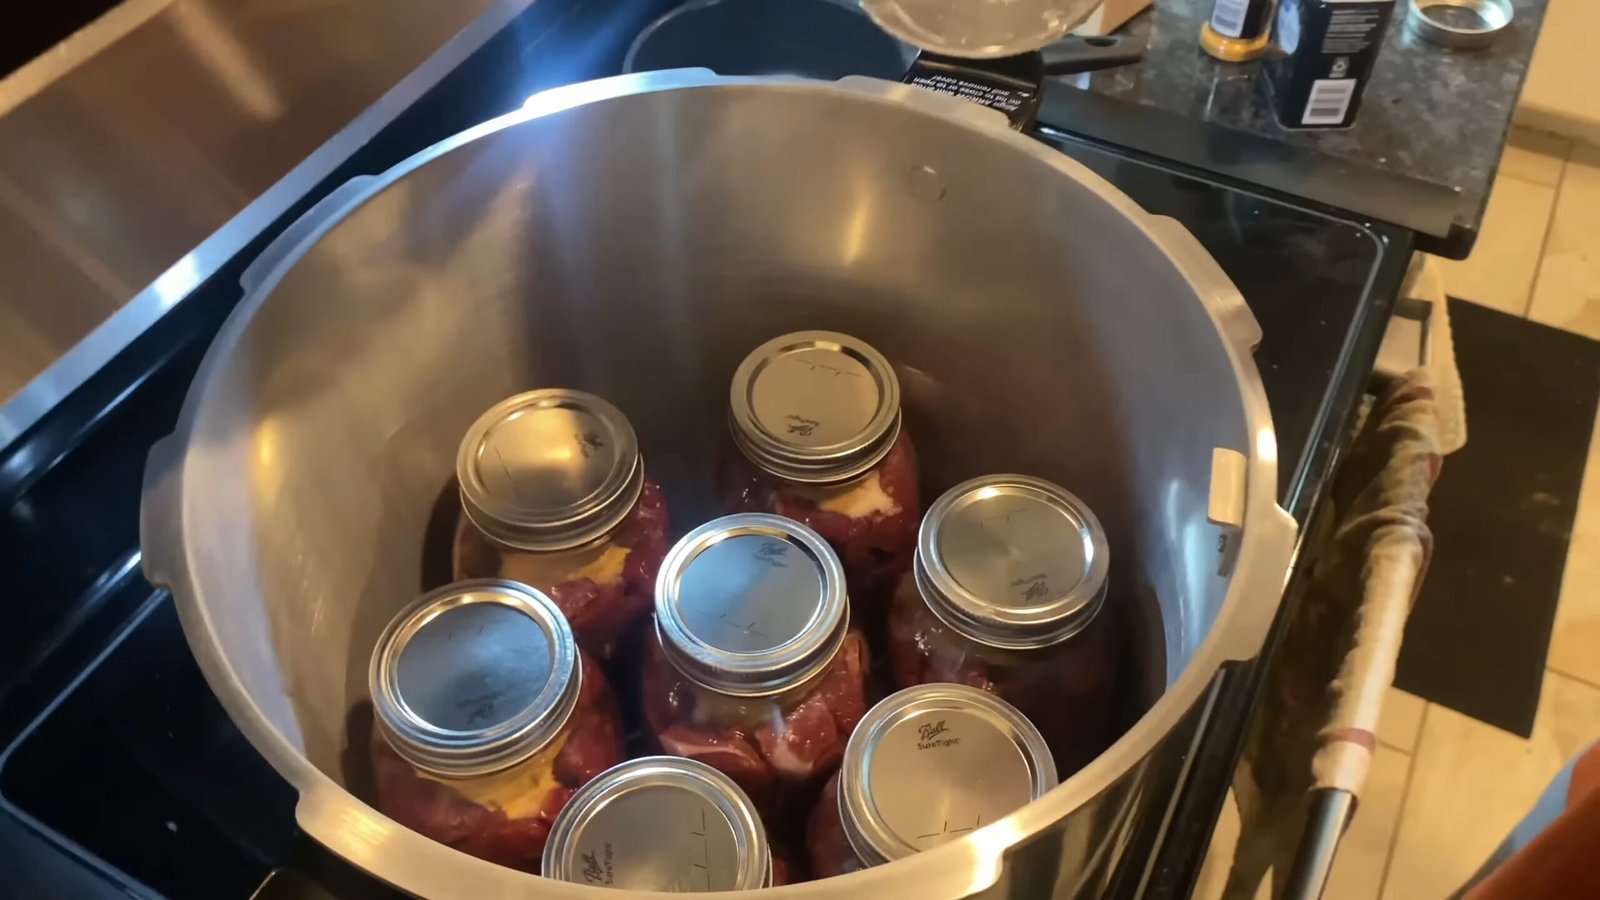
Step 4: Pressure Canning Process
Use a pressure canner that fits 7 quart jars. Here’s a general overview of the canning procedure:
Add 3 quarts of hot water to the canner.
Load the jars evenly, making sure they don’t touch.
Inspect the canner's gasket and vent, ensuring it’s clean and the seal is good.
Close the lid, and vent steam for 10 minutes once it starts coming out steadily.
Place the weight (jiggler) on the vent to allow pressure to build.
Bring canner up to 15 PSI (pounds per square inch) if you're at high elevation—10 PSI is typical for lower altitudes.
Process for 90 minutes at 15 PSI for quart jars.
⚠️ Always adjust pressure based on your elevation and follow USDA guidelines.
Step 5: Cooling and Checking the Seal
Once the 90 minutes are up:
Turn off the heat and let the pressure drop naturally.
")
Do not remove the weight or open the lid until the gauge reads 0 PSI and the pop-up valve drops.
Carefully remove the lid away from you to avoid steam burns.
Allow jars to cool on a towel, undisturbed for 12–24 hours.
Listen for the “pop” of the lids sealing as they cool.
If any jar doesn’t seal, refrigerate it and use it within a few days, or reprocess it.
")
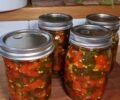
Final Results and Storage
Once cooled and sealed, wipe down your jars, label them with the date, and store them in a cool, dark place. Properly canned venison can last on the shelf for up to 2–5 years.
✅ This batch yielded 14 quarts of perfectly preserved deer meat—ready to use in stews, soups, tacos, or just eaten straight from the jar.
Why Choose Canned Deer Meat?
")
Canning saves freezer space, reduces dependency on electricity, and makes meal prep a breeze. It’s ideal for anyone who hunts, homesteads, or simply wants to be more self-sufficient.
")
If you're looking for a reliable way to preserve venison without using up valuable freezer space, pressure canning deer meat is a tried-and-true method. In this step-by-step guide, we’ll show you exactly how to can deer meat safely and effectively at home. Whether you're an experienced hunter or new to home food preservation, this technique is a great addition to your homesteading skills.
Why Pressure Can Venison?
Canning deer meat is one of the best ways to make the most out of your harvest. It's shelf-stable, doesn't require electricity for storage, and the flavor only improves over time. It’s also perfect for emergency preparedness, quick meals, and reducing reliance on store-bought meat products.
Step 1: Preparing the Meat
The process starts with trimming and chunking your deer meat. You don’t need to be as meticulous as you would when grinding meat for burgers. Since it will be pressure-cooked for a long time, the meat will become tender and fall apart naturally.
Cut meat into chunks and trim excess sinew or fat.
Pack meat into sterilized quart jars, leaving about 1 inch of headspace.
A wide-mouth funnel can help, but careful hands work just as well for larger chunks.
Step 2: Seasoning the Meat
Once your jars are packed, it's time to add seasoning. Here’s a simple mix that works well with venison:
1 tsp of pure sea salt (no additives)
¼ tsp black pepper
¼ tsp meat tenderizer
¼ tsp garlic powder
A few drops of Worcestershire sauce
Note: Exact measurements can be adjusted to taste, but don’t over-season—pressure canning intensifies flavor over time.
Step 3: Sealing the Jars
Before sealing:
Wipe the jar rims with a damp paper towel to ensure a clean seal.
Check jars for cracks or imperfections before processing.
Place new canning lids and rings on the jars—fingertip-tight is sufficient.
Step 4: Pressure Canning Process
Use a pressure canner that fits 7 quart jars. Here’s a general overview of the canning procedure:
Add 3 quarts of hot water to the canner.
Load the jars evenly, making sure they don’t touch.
Inspect the canner's gasket and vent, ensuring it’s clean and the seal is good.
Close the lid, and vent steam for 10 minutes once it starts coming out steadily.
Place the weight (jiggler) on the vent to allow pressure to build.
Bring canner up to 15 PSI (pounds per square inch) if you're at high elevation—10 PSI is typical for lower altitudes.
Process for 90 minutes at 15 PSI for quart jars.
⚠️ Always adjust pressure based on your elevation and follow USDA guidelines.
Step 5: Cooling and Checking the Seal
Once the 90 minutes are up:
Turn off the heat and let the pressure drop naturally.
Do not remove the weight or open the lid until the gauge reads 0 PSI and the pop-up valve drops.
Carefully remove the lid away from you to avoid steam burns.
Allow jars to cool on a towel, undisturbed for 12–24 hours.
Listen for the “pop” of the lids sealing as they cool.
If any jar doesn’t seal, refrigerate it and use it within a few days, or reprocess it.
Final Results and Storage
Once cooled and sealed, wipe down your jars, label them with the date, and store them in a cool, dark place. Properly canned venison can last on the shelf for up to 2–5 years.
✅ This batch yielded 14 quarts of perfectly preserved deer meat—ready to use in stews, soups, tacos, or just eaten straight from the jar.
Why Choose Canned Deer Meat?
Canning saves freezer space, reduces dependency on electricity, and makes meal prep a breeze. It’s ideal for anyone who hunts, homesteads, or simply wants to be more self-sufficient.
0 servings