Nutrition Facts
0 servings


If you’ve harvested a bumper crop of green beans and want to preserve them safely and efficiently, pressure canning is a time-tested method. In this step-by-step guide, we’ll walk you through the process of pressure canning green beans using the Presto Precise Digital Pressure Canner, which simplifies the canning process without sacrificing safety.
Harvesting and Preparing Your Green Beans
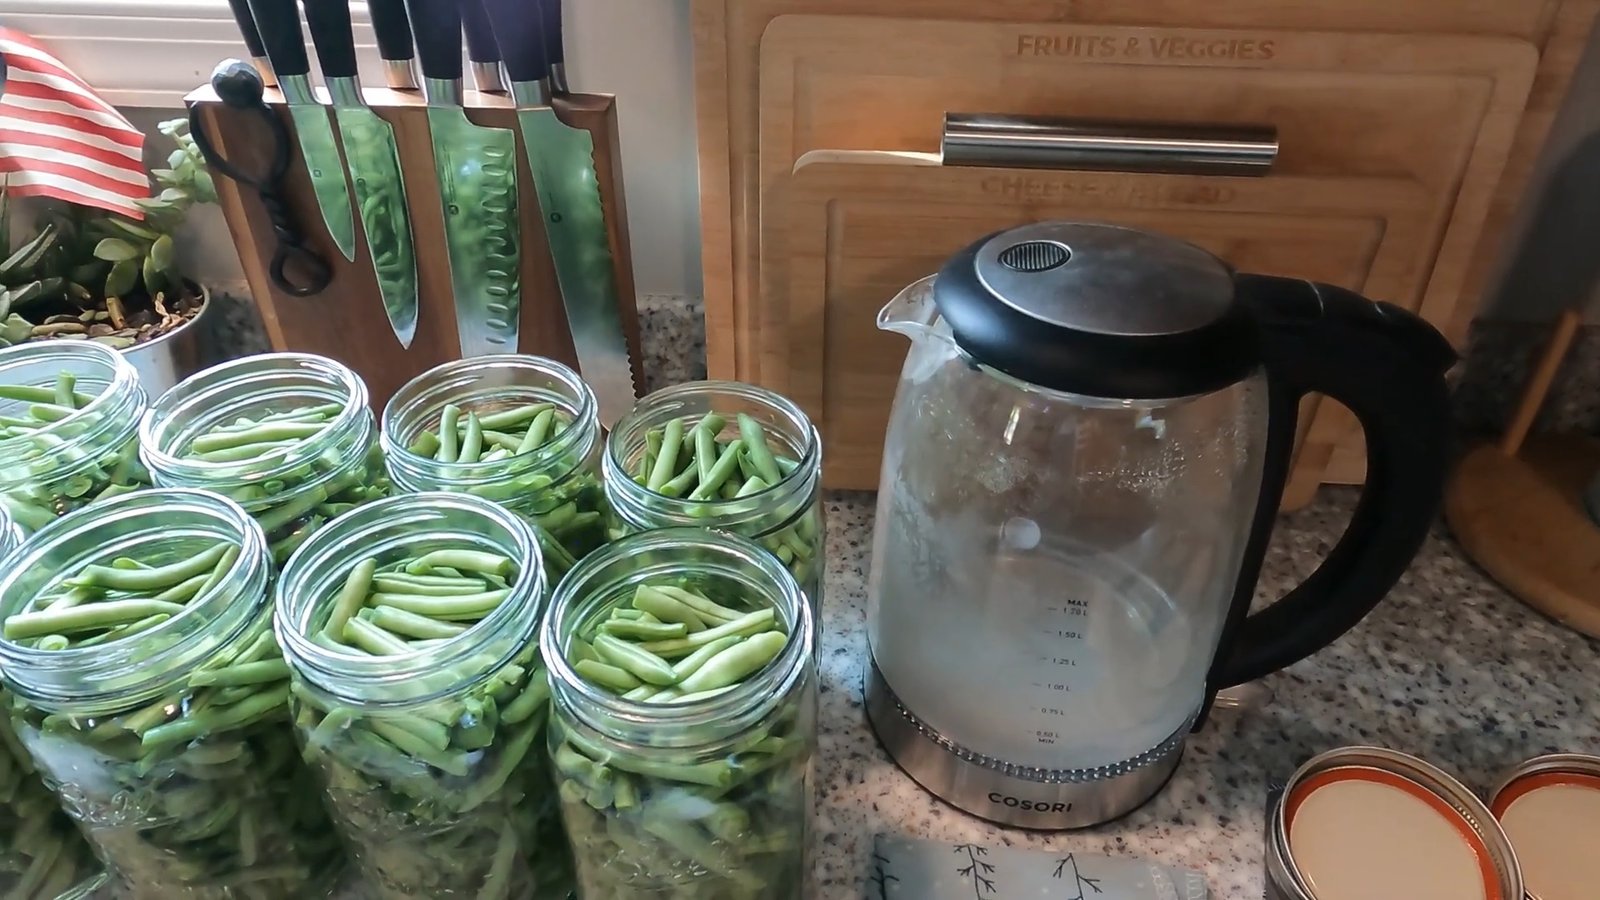
At Joy Homestead, Jamie begins her day by prepping over six pounds of freshly harvested green beans. The beans are snapped and cleaned before canning. It’s important to use fresh, firm green beans for the best results in pressure canning.
After preparing the beans, Jamie measures them to determine how many quarts they’ll fill. In her case, it was more than four wide-mouth quarts—enough to require two batches in the digital canner.
Choosing the Right Pressure Canner
Jamie uses two types of canners:
Presto Digital Pressure Canner for small batches (up to 4 quarts)
Stovetop Pressure Canner for larger batches (up to 7 quarts)
Because the digital canner is more hands-off, Jamie opted for two back-to-back cycles with the digital canner, which allowed her to multitask while canning.
Raw Pack Method for Green Beans
Jamie uses the raw pack method, meaning she packs the raw green beans tightly into clean, sterilized jars and then fills them with hot water. This helps ensure even cooking and proper sealing.
Key tips:
Pack beans tightly to avoid air pockets
Maintain 1-inch headspace from the top of the jar
De-bubble the jars using a plastic tool
Wipe the rims with vinegar or warm water to ensure a good seal
Tools You’ll Need
Here’s a list of essential tools Jamie used:
Presto Digital Pressure Canner
Wide-mouth quart jars (8 total)
Jar funnel and jar lifter
De-bubbler/headspace measurer
White vinegar and clean cloth
New lids and rings
Hot water (from a kettle or pot)
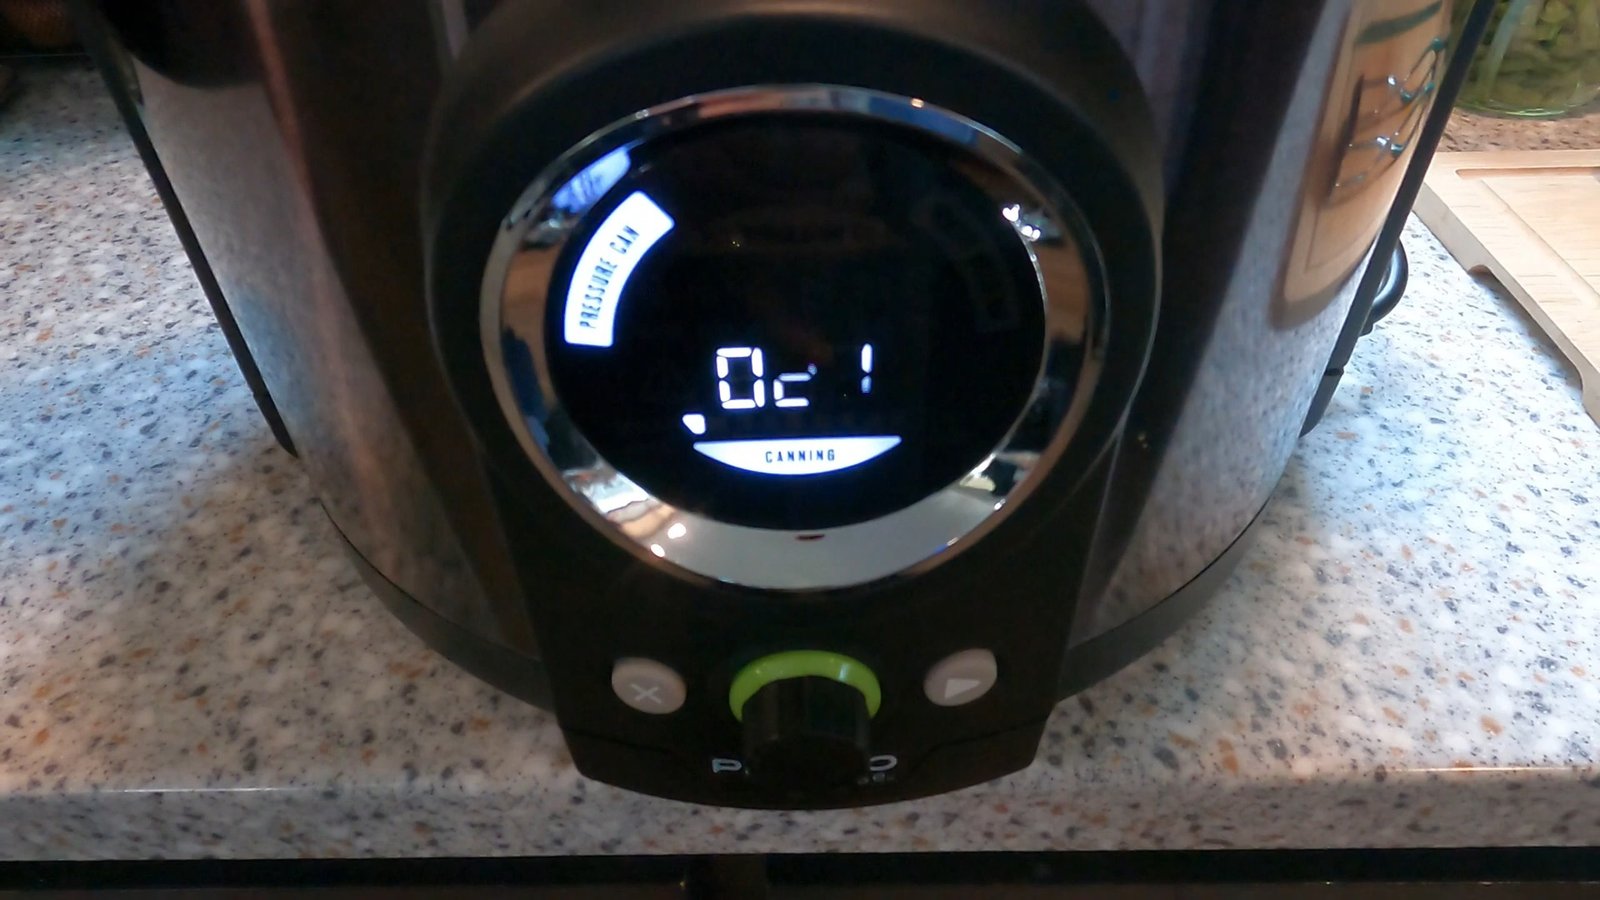
Setting Up the Presto Digital Canner
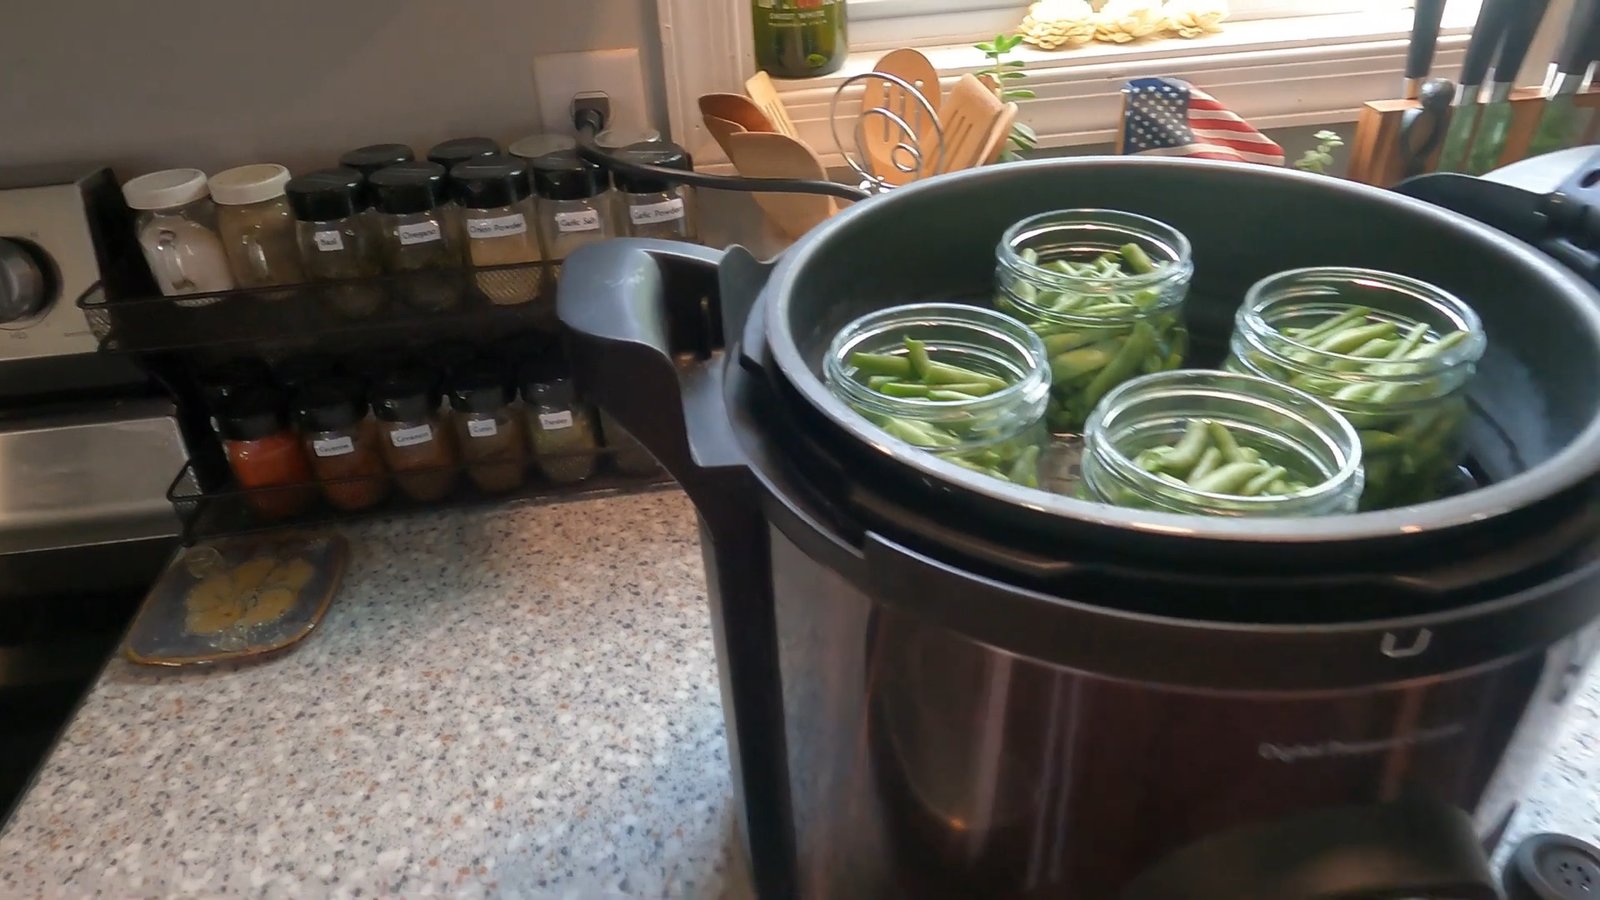
To start, Jamie fills the inner pot of the canner up to the pressure canning fill line. She inserts the jars without lids so they warm up evenly during the preheat cycle, helping to prevent thermal shock.
Canner Settings:
Mode: Pressure Can
Process Time: 25 minutes for quart jars of green beans
The canner automatically warms the jars and will notify you when it’s time to fill them.
")
Filling the Jars with Hot Water
Once preheated, Jamie removes the jars one at a time and fills them with hot water to the 1-inch headspace mark. She then de-bubbles each jar, wipes the rims clean, and applies new lids and rings—tightened to fingertip tight.
")
She places the filled jars back into the canner, locks the lid, and moves on to the venting stage.
Venting and Pressurizing
The canner will enter a 10-minute venting cycle, allowing steam to escape and creating the ideal environment for pressure canning. Once that finishes, Jamie places the regulator on the vent and the canner begins to build pressure.
At full pressure (typically 15 PSI for the Presto digital model), the 25-minute processing timer begins.
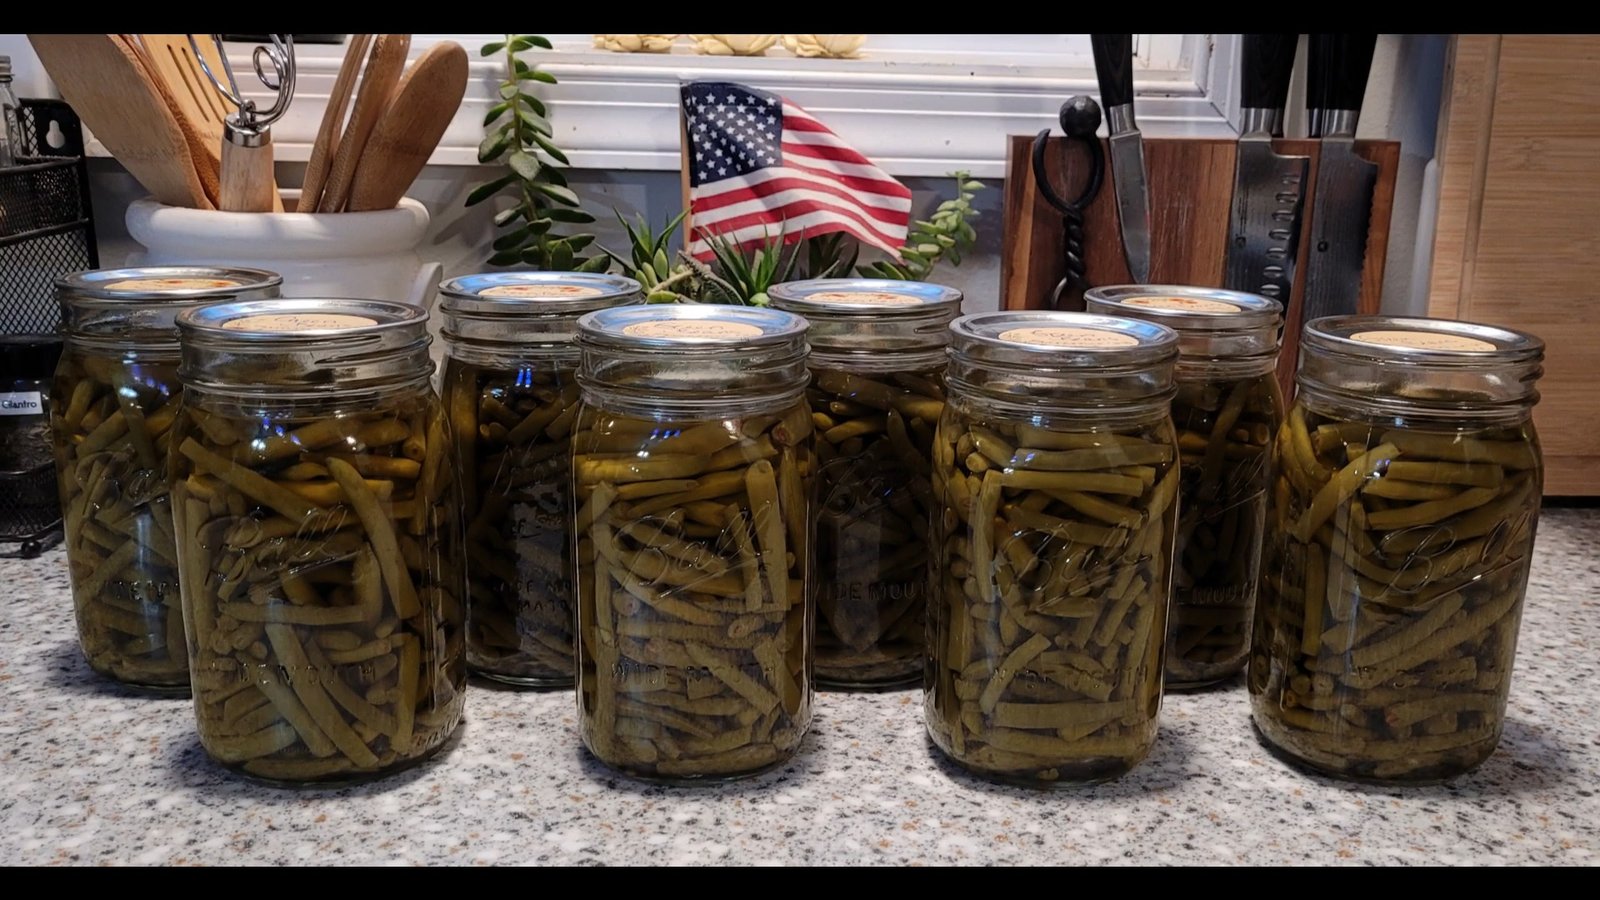
Cool Down and Final Steps
Once processing is complete, the canner enters the cool down phase, which can take over an hour. When it’s fully depressurized (indicated by the pressure lock valve dropping), Jamie carefully opens the lid and waits an additional five minutes before removing the jars. This extra step helps reduce siphoning and improves seal quality.
Why Use the Presto Digital Pressure Canner?
The Presto Precise Digital Pressure Canner automates much of the traditional canning process, making it ideal for busy homesteaders like Jamie. Unlike stovetop models, this canner:
Regulates temperature and pressure automatically
Alerts you at each step
Eliminates the need to constantly monitor a dial or weight
With safety features and ease of use, it’s perfect for beginners and seasoned canners alike.
Final Thoughts
")
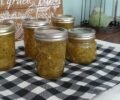
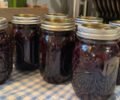
Canning green beans at home using the digital pressure canner is a convenient and reliable method for long-term food preservation. Whether you’re prepping your harvest for winter or building your pantry, this method ensures safe, shelf-stable food that your family can enjoy year-round.
")
If you’ve harvested a bumper crop of green beans and want to preserve them safely and efficiently, pressure canning is a time-tested method. In this step-by-step guide, we’ll walk you through the process of pressure canning green beans using the Presto Precise Digital Pressure Canner, which simplifies the canning process without sacrificing safety.
Harvesting and Preparing Your Green Beans
At Joy Homestead, Jamie begins her day by prepping over six pounds of freshly harvested green beans. The beans are snapped and cleaned before canning. It’s important to use fresh, firm green beans for the best results in pressure canning.
After preparing the beans, Jamie measures them to determine how many quarts they’ll fill. In her case, it was more than four wide-mouth quarts—enough to require two batches in the digital canner.
Choosing the Right Pressure Canner
Jamie uses two types of canners:
Presto Digital Pressure Canner for small batches (up to 4 quarts)
Stovetop Pressure Canner for larger batches (up to 7 quarts)
Because the digital canner is more hands-off, Jamie opted for two back-to-back cycles with the digital canner, which allowed her to multitask while canning.
Raw Pack Method for Green Beans
Jamie uses the raw pack method, meaning she packs the raw green beans tightly into clean, sterilized jars and then fills them with hot water. This helps ensure even cooking and proper sealing.
Key tips:
Pack beans tightly to avoid air pockets
Maintain 1-inch headspace from the top of the jar
De-bubble the jars using a plastic tool
Wipe the rims with vinegar or warm water to ensure a good seal
Tools You’ll Need
Here’s a list of essential tools Jamie used:
Presto Digital Pressure Canner
Wide-mouth quart jars (8 total)
Jar funnel and jar lifter
De-bubbler/headspace measurer
White vinegar and clean cloth
New lids and rings
Hot water (from a kettle or pot)
Setting Up the Presto Digital Canner
To start, Jamie fills the inner pot of the canner up to the pressure canning fill line. She inserts the jars without lids so they warm up evenly during the preheat cycle, helping to prevent thermal shock.
Canner Settings:
Mode: Pressure Can
Process Time: 25 minutes for quart jars of green beans
The canner automatically warms the jars and will notify you when it’s time to fill them.
Filling the Jars with Hot Water
Once preheated, Jamie removes the jars one at a time and fills them with hot water to the 1-inch headspace mark. She then de-bubbles each jar, wipes the rims clean, and applies new lids and rings—tightened to fingertip tight.
She places the filled jars back into the canner, locks the lid, and moves on to the venting stage.
Venting and Pressurizing
The canner will enter a 10-minute venting cycle, allowing steam to escape and creating the ideal environment for pressure canning. Once that finishes, Jamie places the regulator on the vent and the canner begins to build pressure.
At full pressure (typically 15 PSI for the Presto digital model), the 25-minute processing timer begins.
Cool Down and Final Steps
Once processing is complete, the canner enters the cool down phase, which can take over an hour. When it’s fully depressurized (indicated by the pressure lock valve dropping), Jamie carefully opens the lid and waits an additional five minutes before removing the jars. This extra step helps reduce siphoning and improves seal quality.
Why Use the Presto Digital Pressure Canner?
The Presto Precise Digital Pressure Canner automates much of the traditional canning process, making it ideal for busy homesteaders like Jamie. Unlike stovetop models, this canner:
Regulates temperature and pressure automatically
Alerts you at each step
Eliminates the need to constantly monitor a dial or weight
With safety features and ease of use, it’s perfect for beginners and seasoned canners alike.
Final Thoughts
Canning green beans at home using the digital pressure canner is a convenient and reliable method for long-term food preservation. Whether you’re prepping your harvest for winter or building your pantry, this method ensures safe, shelf-stable food that your family can enjoy year-round.
0 servings