
Nutrition Facts
0 servings

If you're looking for a delicious and budget-friendly way to preserve sweet potatoes, pressure canning is the way to go. I'm Mimo Dixie from Granny Women, and today I’m sharing my tried-and-true method for canning sweet potatoes, also known as yams, using a simple syrup. Not only is this a great way to save money, but it ensures you have a pantry stocked with flavorful, ready-to-eat sweet potatoes all winter long.
Why I Can Sweet Potatoes
Recently, I was checking my pantry and realized I only had four pints of canned sweet potatoes left. Thankfully, I found a great deal and picked up a large batch for just five dollars — too good to pass up! Since my husband and I love baked sweet potatoes, and the rest wouldn’t last fresh for long, I decided to can them. That way, none go to waste, and we enjoy sweet potatoes all year round.
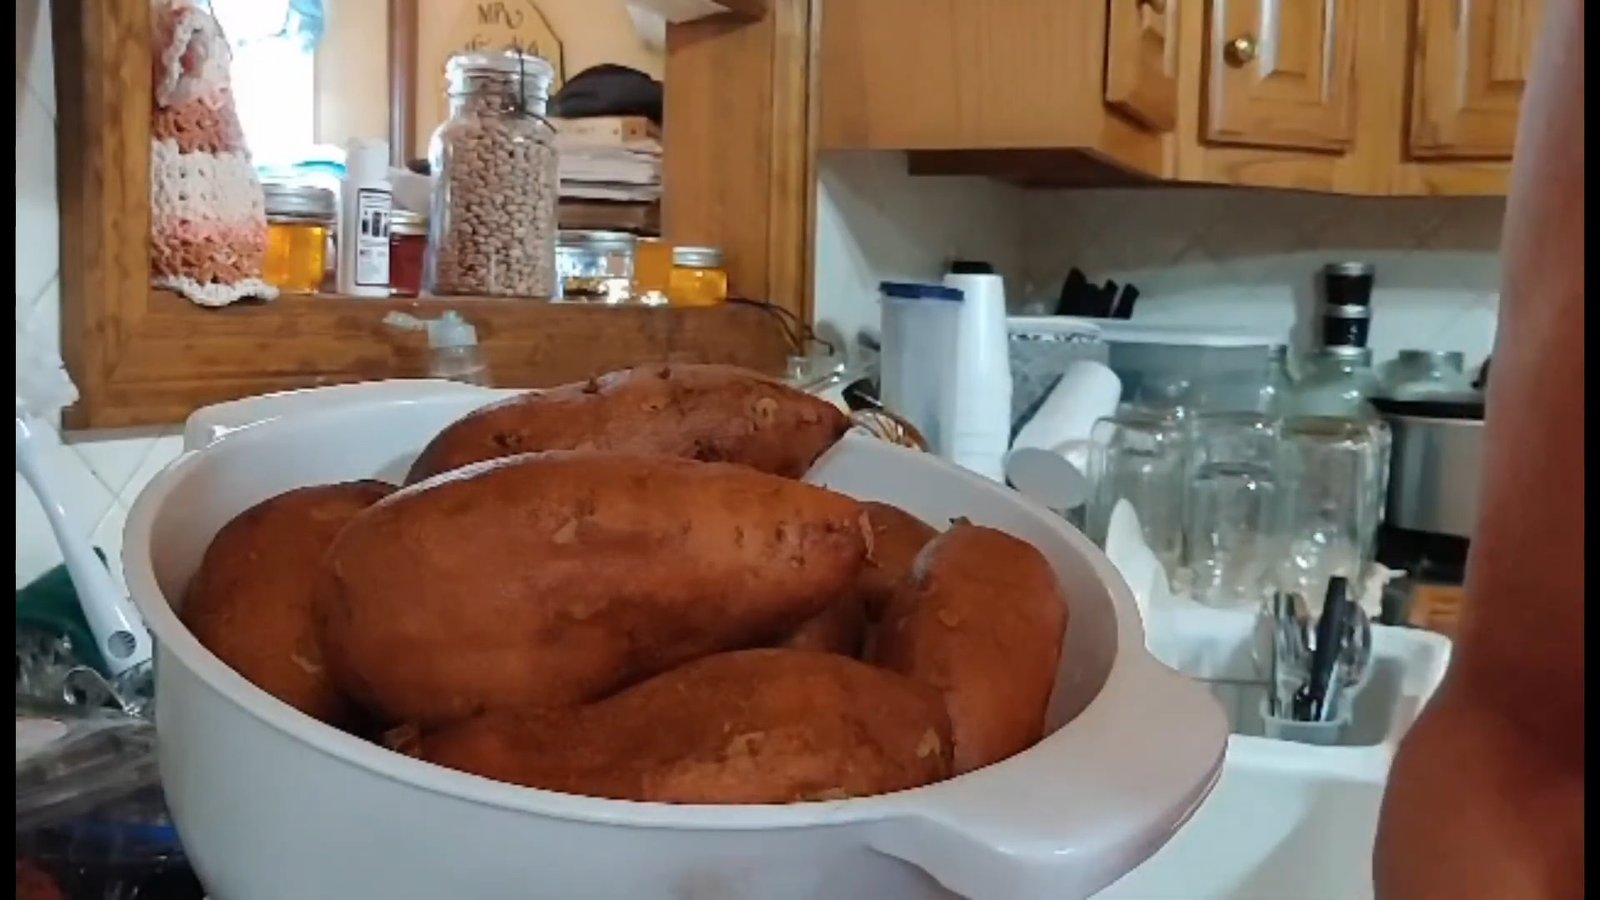
Step 1: Wash and Peel the Sweet Potatoes
First things first, wash your sweet potatoes thoroughly. After that, it's time to peel them. Sweet potatoes can be tough to peel, but a sharp knife makes it manageable. Just be careful — they’re a bit like pumpkin in texture. If you're accident-prone like me, cut the potatoes into large chunks first to make peeling easier and safer.
Step 2: Cut Into Chunks
Once peeled, cut the sweet potatoes into bite-sized chunks. Smaller pieces pack into jars more easily and are quicker to heat through when you're ready to cook them later. These canned sweet potatoes aren’t just for side dishes — they’re perfect for casseroles, pies, or even sweet potato cake!
Step 3: Make a Simple Syrup
In a saucepan, combine 4 cups of sugar with 5 cups of water. Bring the mixture to a boil and let it continue boiling for two minutes to fully dissolve the sugar. This will be your syrup for the canned sweet potatoes.
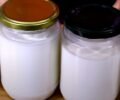
✅ Pro Tip: Store your sugar and dry goods in large jars so you always know when you’re running low!
")
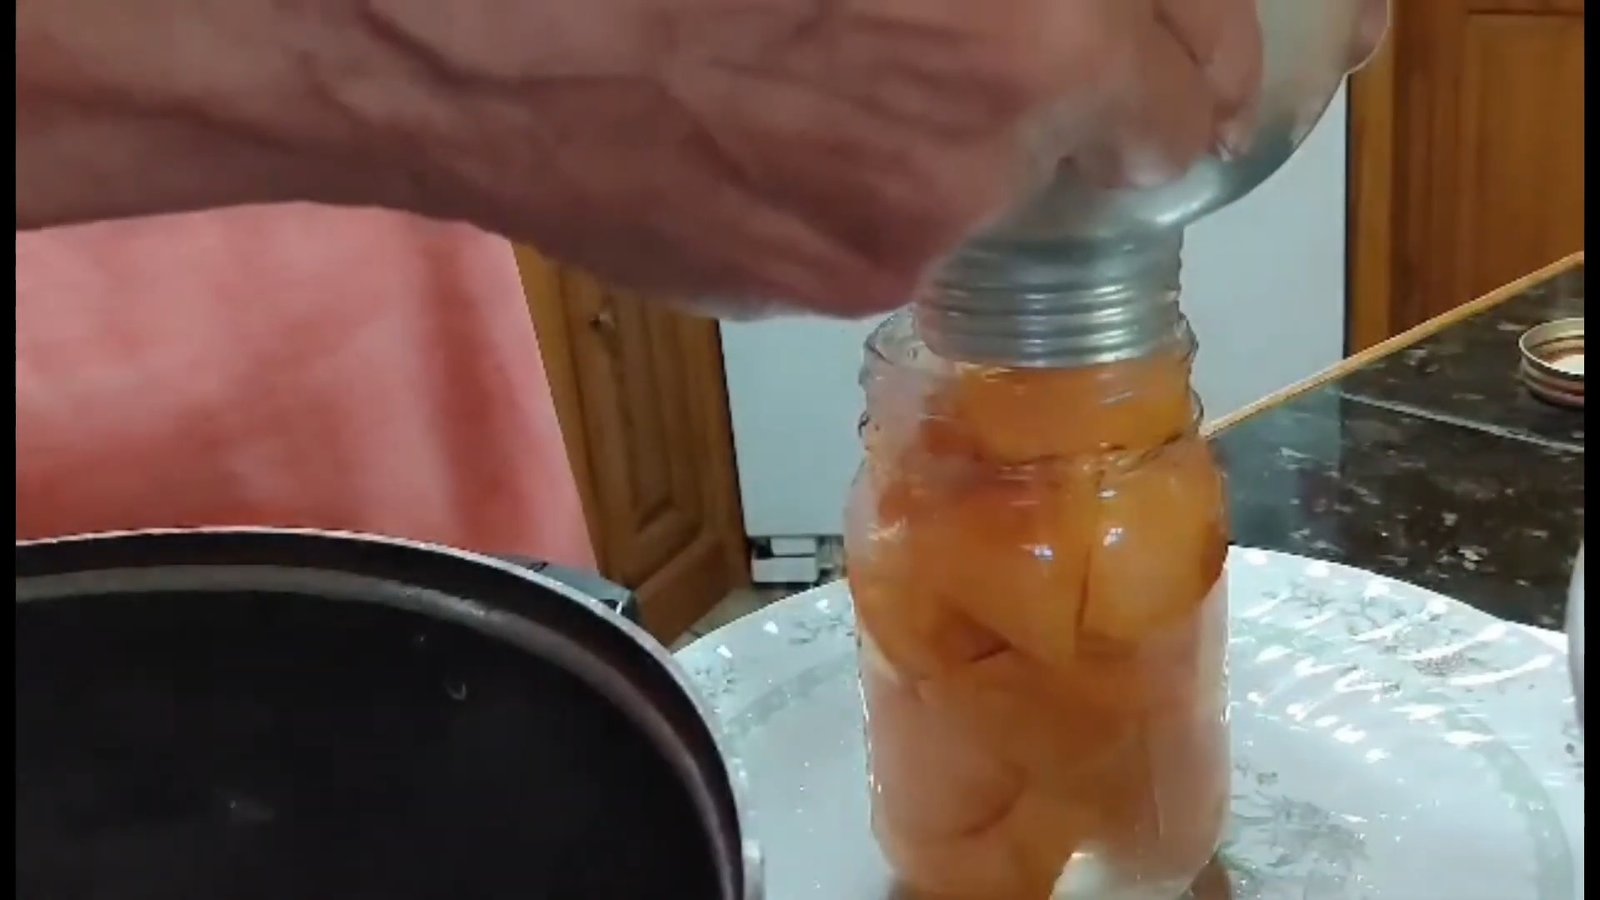
Step 4: Fill the Sterilized Jars
Sterilize your jars, rings, and lids before filling. Place the sweet potato chunks into the jars, leaving 1-inch headspace at the top. Pour the hot syrup over the sweet potatoes, ensuring the pieces are fully covered. Wipe the rims clean, apply the lids and rings, and prepare for pressure canning.
Step 5: Pressure Can Your Sweet Potatoes
Set your jars in the pressure canner and fill it with enough water — about halfway full. Be careful not to overfill, or it can cause problems with pressure buildup.
✅ Pressure Canning Instructions:
Process at 10 pounds of pressure
Time: 30 minutes
Wait for the canner to cool before removing jars
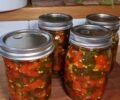
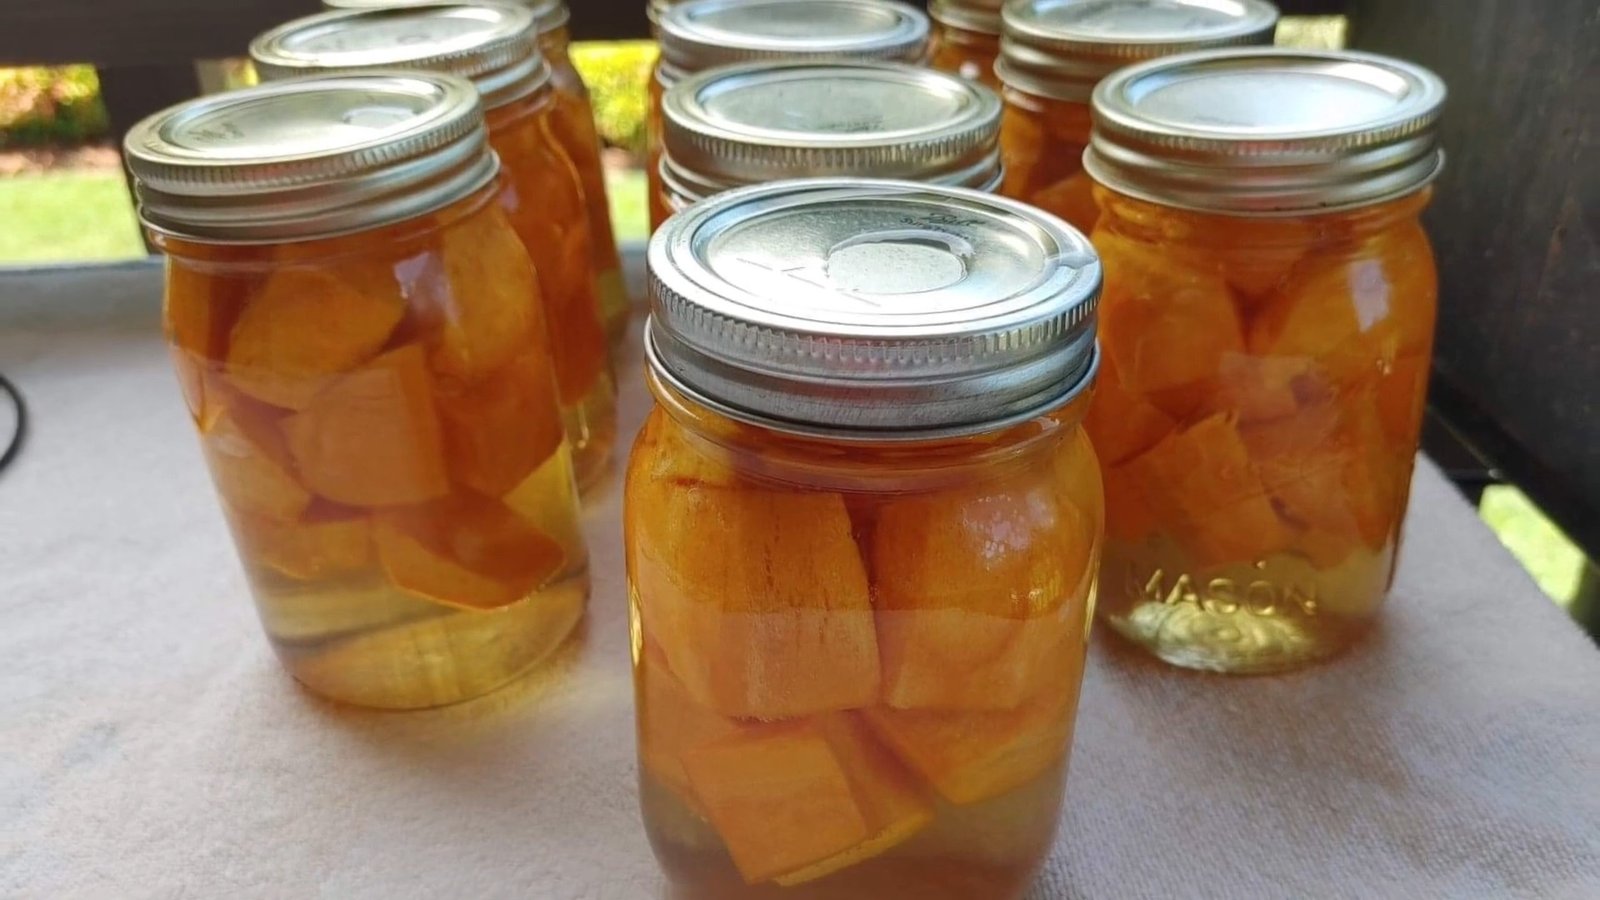
Once done, let the jars sit out to cool completely. As they cool, the sweet potatoes will settle down into the jar, and you'll hear the satisfying “pop” of the lids sealing.
Final Result: Delicious, Homemade Canned Sweet Potatoes
I ended up with 20 pints of canned sweet potatoes — all for $5! If you do the math, you’re saving a lot compared to store-bought canned yams, especially the quality brands that run around $2 per can. Plus, these taste so much better — no stringiness or artificial taste, just pure sweet potato goodness.
Why You Should Try Canning Sweet Potatoes
✅ Long shelf life — perfect for winter storage
✅ Saves money — especially if you find sweet potatoes on sale
✅ Healthier — no preservatives or additives
✅ Versatile — use them in baking, casseroles, or as a side
")
Homemade canned sweet potatoes are not only easy to make but are also a frugal and healthy way to enjoy this delicious vegetable all year. So the next time you find a deal at the market or harvest your own, try canning them the old-fashioned way — Granny Women-style.
")
If you're looking for a delicious and budget-friendly way to preserve sweet potatoes, pressure canning is the way to go. I'm Mimo Dixie from Granny Women, and today I’m sharing my tried-and-true method for canning sweet potatoes, also known as yams, using a simple syrup. Not only is this a great way to save money, but it ensures you have a pantry stocked with flavorful, ready-to-eat sweet potatoes all winter long.
Why I Can Sweet Potatoes
Recently, I was checking my pantry and realized I only had four pints of canned sweet potatoes left. Thankfully, I found a great deal and picked up a large batch for just five dollars — too good to pass up! Since my husband and I love baked sweet potatoes, and the rest wouldn’t last fresh for long, I decided to can them. That way, none go to waste, and we enjoy sweet potatoes all year round.
Step 1: Wash and Peel the Sweet Potatoes
First things first, wash your sweet potatoes thoroughly. After that, it's time to peel them. Sweet potatoes can be tough to peel, but a sharp knife makes it manageable. Just be careful — they’re a bit like pumpkin in texture. If you're accident-prone like me, cut the potatoes into large chunks first to make peeling easier and safer.
Step 2: Cut Into Chunks
Once peeled, cut the sweet potatoes into bite-sized chunks. Smaller pieces pack into jars more easily and are quicker to heat through when you're ready to cook them later. These canned sweet potatoes aren’t just for side dishes — they’re perfect for casseroles, pies, or even sweet potato cake!
Step 3: Make a Simple Syrup
In a saucepan, combine 4 cups of sugar with 5 cups of water. Bring the mixture to a boil and let it continue boiling for two minutes to fully dissolve the sugar. This will be your syrup for the canned sweet potatoes.
✅ Pro Tip: Store your sugar and dry goods in large jars so you always know when you’re running low!
Step 4: Fill the Sterilized Jars
Sterilize your jars, rings, and lids before filling. Place the sweet potato chunks into the jars, leaving 1-inch headspace at the top. Pour the hot syrup over the sweet potatoes, ensuring the pieces are fully covered. Wipe the rims clean, apply the lids and rings, and prepare for pressure canning.
Step 5: Pressure Can Your Sweet Potatoes
Set your jars in the pressure canner and fill it with enough water — about halfway full. Be careful not to overfill, or it can cause problems with pressure buildup.
✅ Pressure Canning Instructions:
Process at 10 pounds of pressure
Time: 30 minutes
Wait for the canner to cool before removing jars
Once done, let the jars sit out to cool completely. As they cool, the sweet potatoes will settle down into the jar, and you'll hear the satisfying “pop” of the lids sealing.
Final Result: Delicious, Homemade Canned Sweet Potatoes
I ended up with 20 pints of canned sweet potatoes — all for $5! If you do the math, you’re saving a lot compared to store-bought canned yams, especially the quality brands that run around $2 per can. Plus, these taste so much better — no stringiness or artificial taste, just pure sweet potato goodness.
Why You Should Try Canning Sweet Potatoes
✅ Long shelf life — perfect for winter storage
✅ Saves money — especially if you find sweet potatoes on sale
✅ Healthier — no preservatives or additives
✅ Versatile — use them in baking, casseroles, or as a side
Homemade canned sweet potatoes are not only easy to make but are also a frugal and healthy way to enjoy this delicious vegetable all year. So the next time you find a deal at the market or harvest your own, try canning them the old-fashioned way — Granny Women-style.
0 servings