
Nutrition Facts
0 servings

If you've ever felt intimidated by pressure canning, you're not alone. I used to be nervous too—until I discovered the Presto Electric Pressure Canner, and let me tell you, it has been a total game changer in my kitchen. Today, I’m walking you through how easy it is to pressure can green beans using this electric canner, plus a few helpful tips from my own homesteading experience.
Why I Love the Presto Electric Pressure Canner
Canning with traditional stovetop pressure canners can feel overwhelming, especially if you’re new to it. That’s exactly how I felt—worried about doing something wrong or even causing the canner to explode. But the Presto Electric Pressure Canner completely changed my perspective. It’s simple, safe, and lets me multitask around the house without constantly monitoring a stovetop.
This electric model fits:
5 regular mouth quart jars
4 wide mouth quart jars
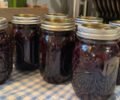
I’ve used it to can over 43 quarts of green beans, plus potatoes, pickles, dill relish, and more—all grown right in our garden.
Step-by-Step: How to Pressure Can Green Beans
Let’s walk through exactly how I pressure canned the last of our homegrown green beans.
1. Prepare the Canner
Fill the canner with hot water up to the fill line. Then plug it in—once it's powered, the "Pressure Can" light will blink. Press the button to select pressure canning, then set the time to 25 minutes for green beans.
2. Prep Your Jars
While the jars are warming:
Wash jars with warm, soapy water
Fill each halfway with hot water and place in the canner
Press start so the canner begins warming the jars
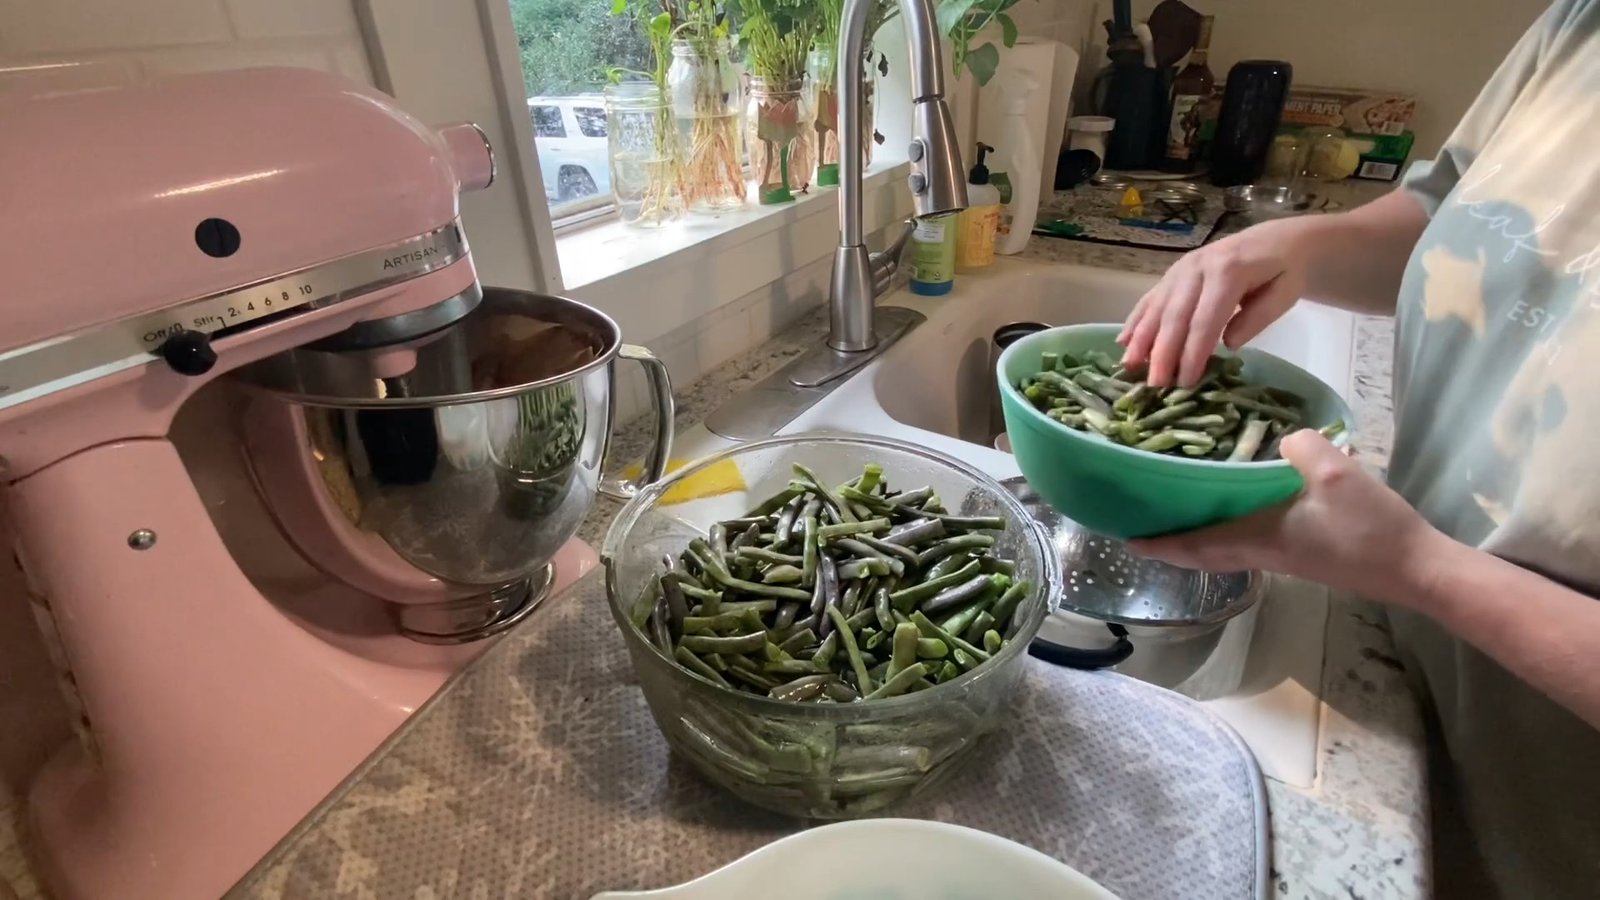
3. Wash and Snap the Beans
Wash your green beans thoroughly, remove strings, and snap into bite-sized pieces. I remove any with blemishes or wormholes. Clean beans are key to a safe canning process.
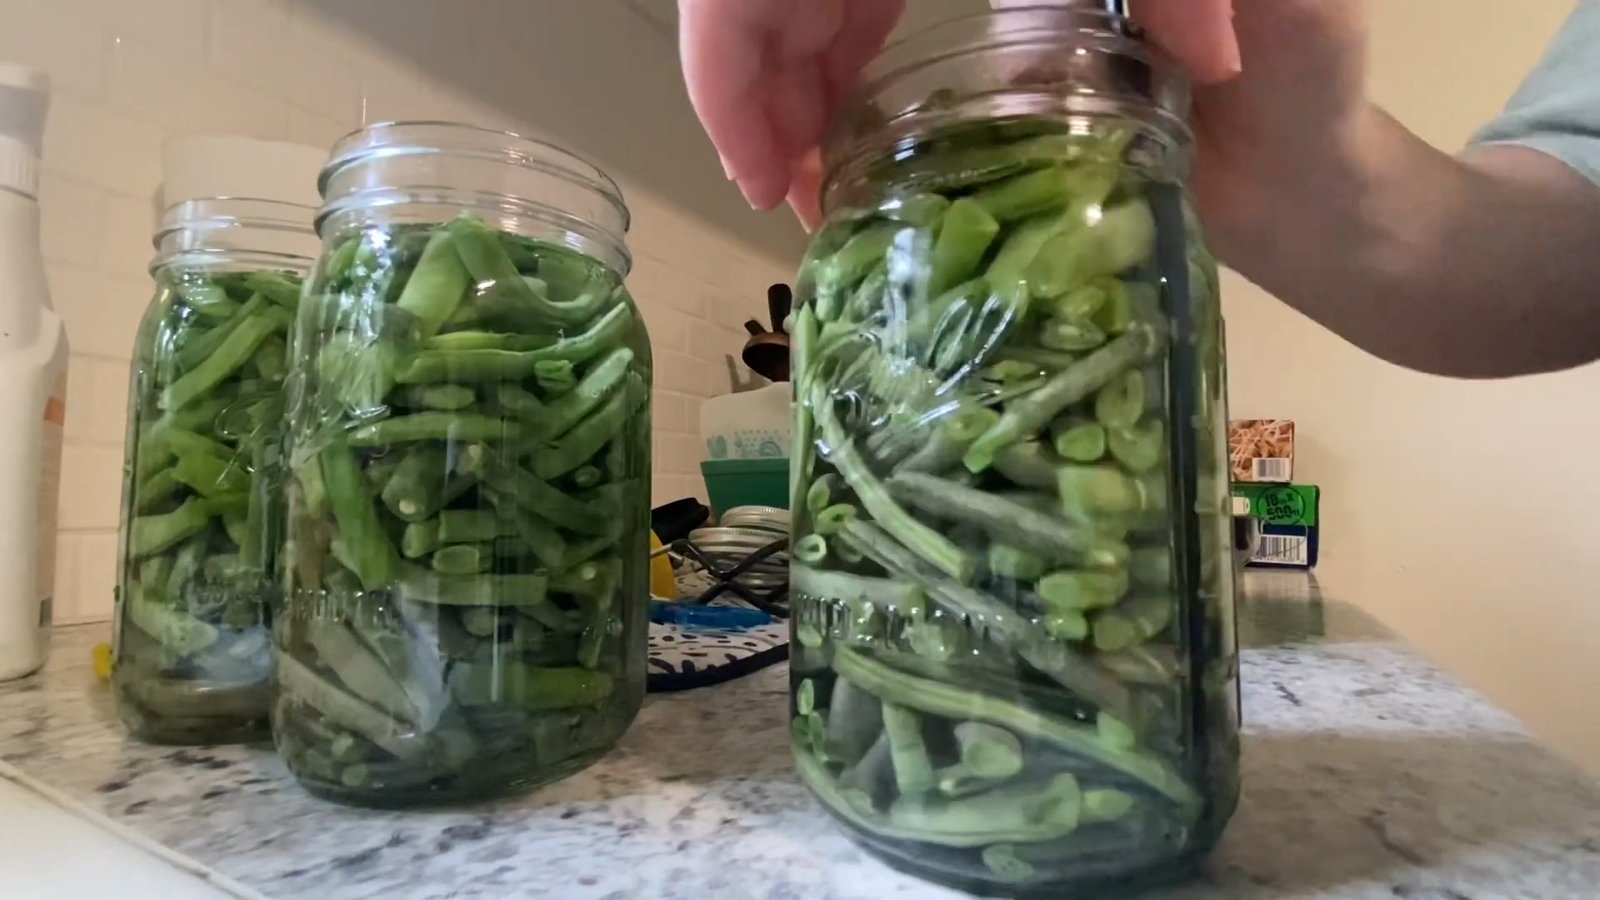
4. Fill the Jars
Once prompted, remove each jar one at a time:
Empty the water
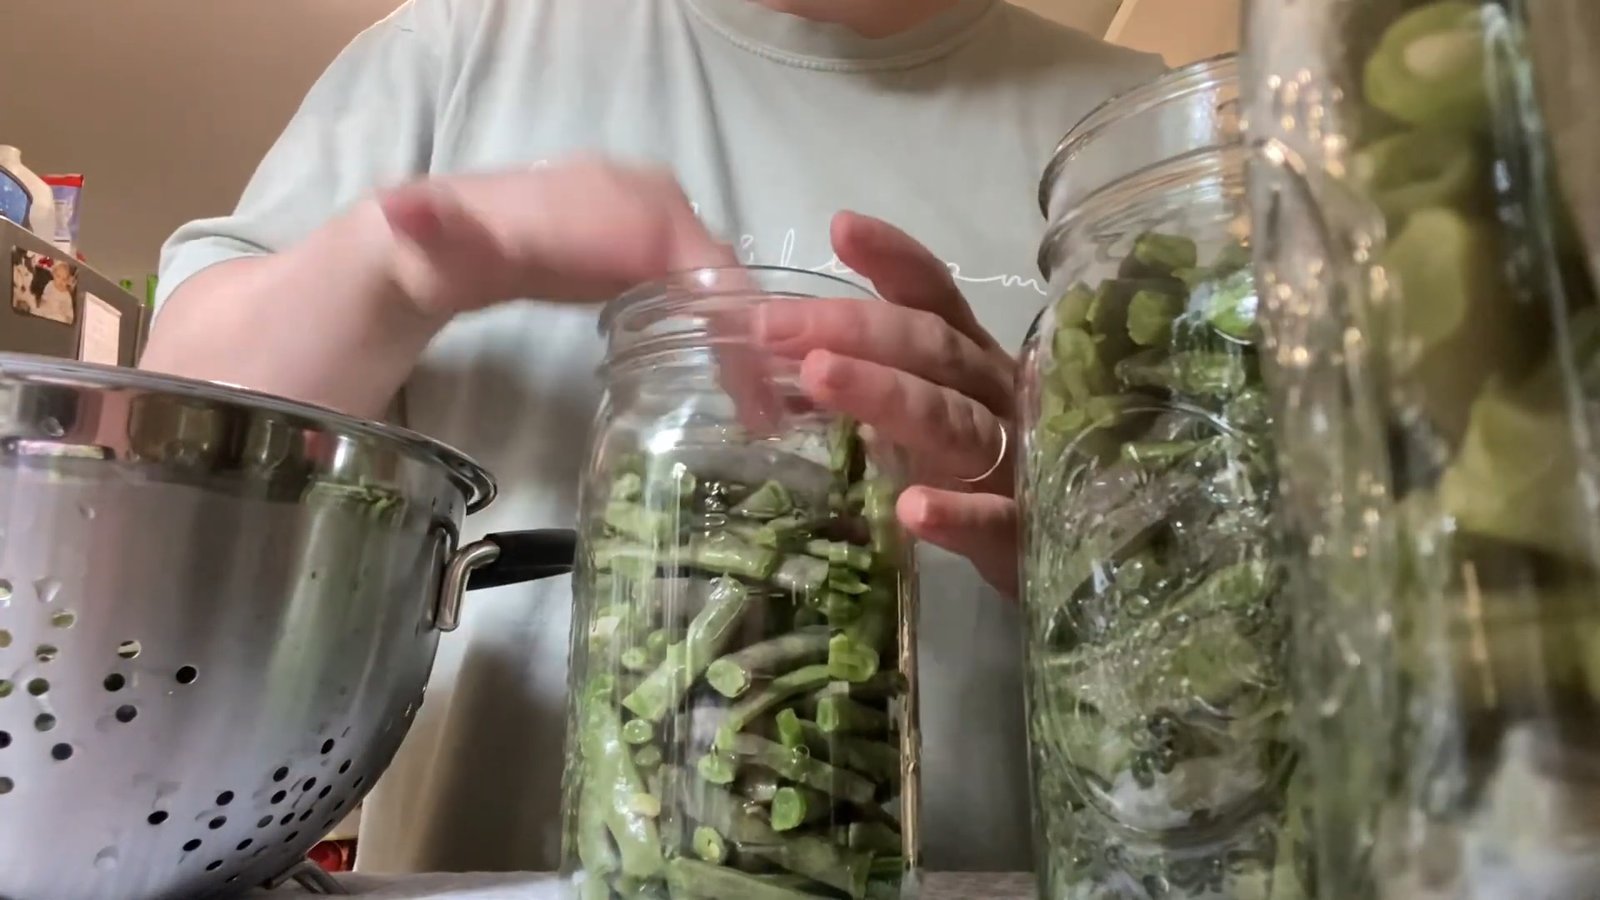
Pack tightly with green beans (they shrink when processed)
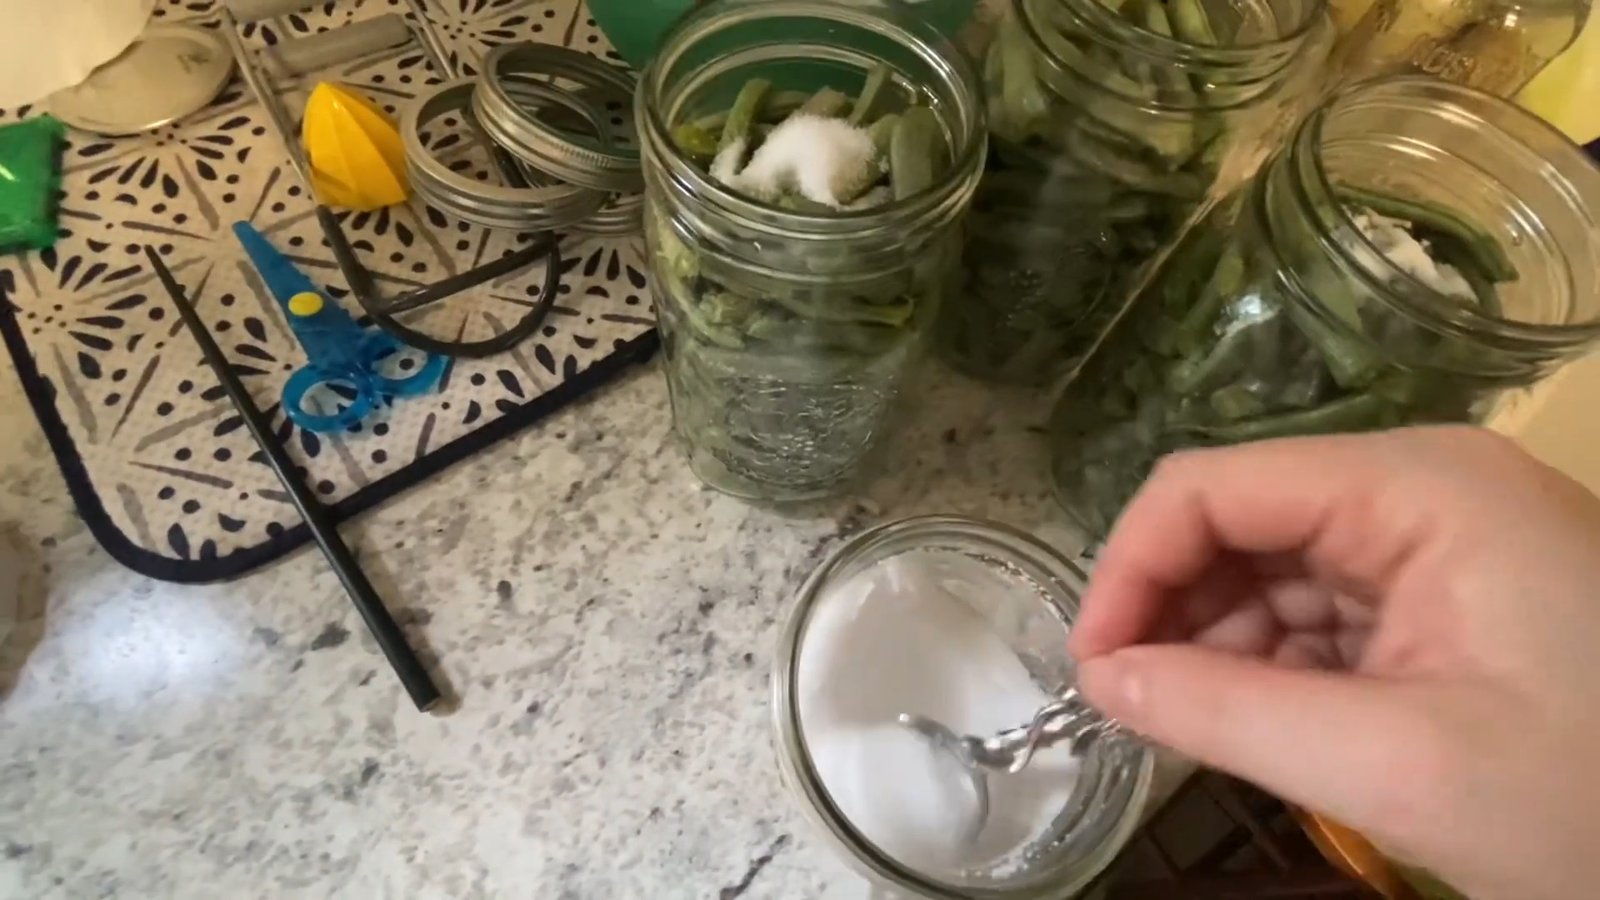
Add 1 tsp of canning salt per quart
Fill with hot water up to the 1-inch headspace line
De-bubble using a chopstick (my favorite tool for this!)
Wipe rims with vinegar-dampened paper towel
Add warm lids and screw bands on finger tight
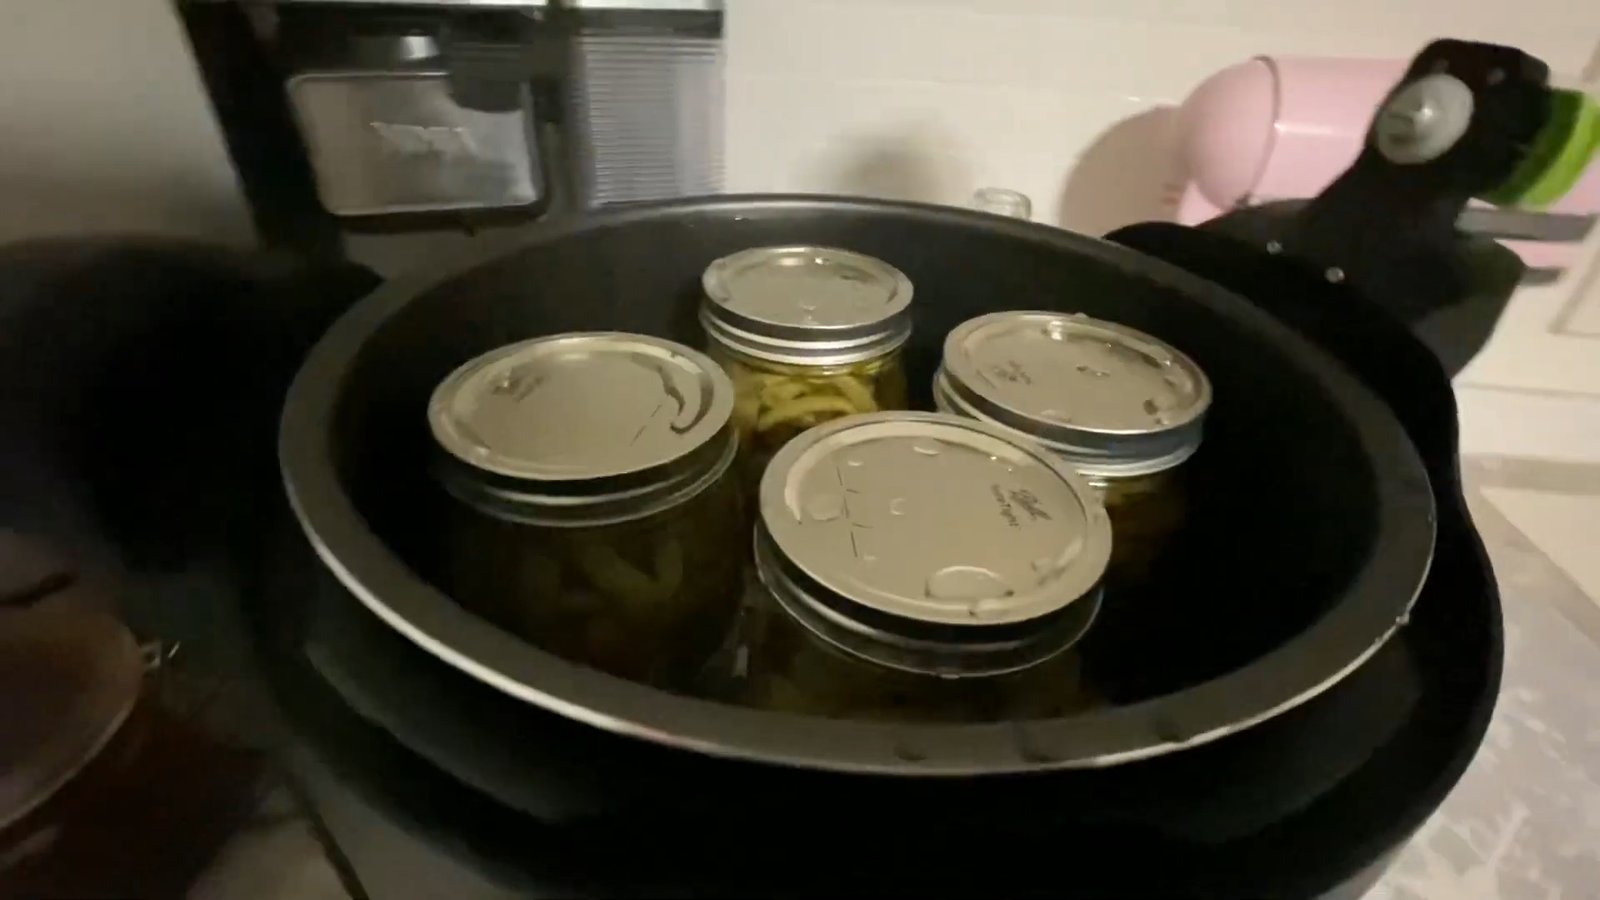
5. Start the Canning Process
Place jars back into the canner. Add 2 tsp of vinegar to prevent hard water spots. Lock the lid, ensure the vent is open, and press start.
")
When the canner beeps, twist the knob to “Can” and press start again. The unit will come to pressure and then begin its 25-minute countdown.
")
6. Let It Cool
After canning, the machine will automatically enter its cool-down cycle—this takes about an hour. Once the pressure valve drops, it’s safe to open. Always open the lid away from your face to avoid steam burns.
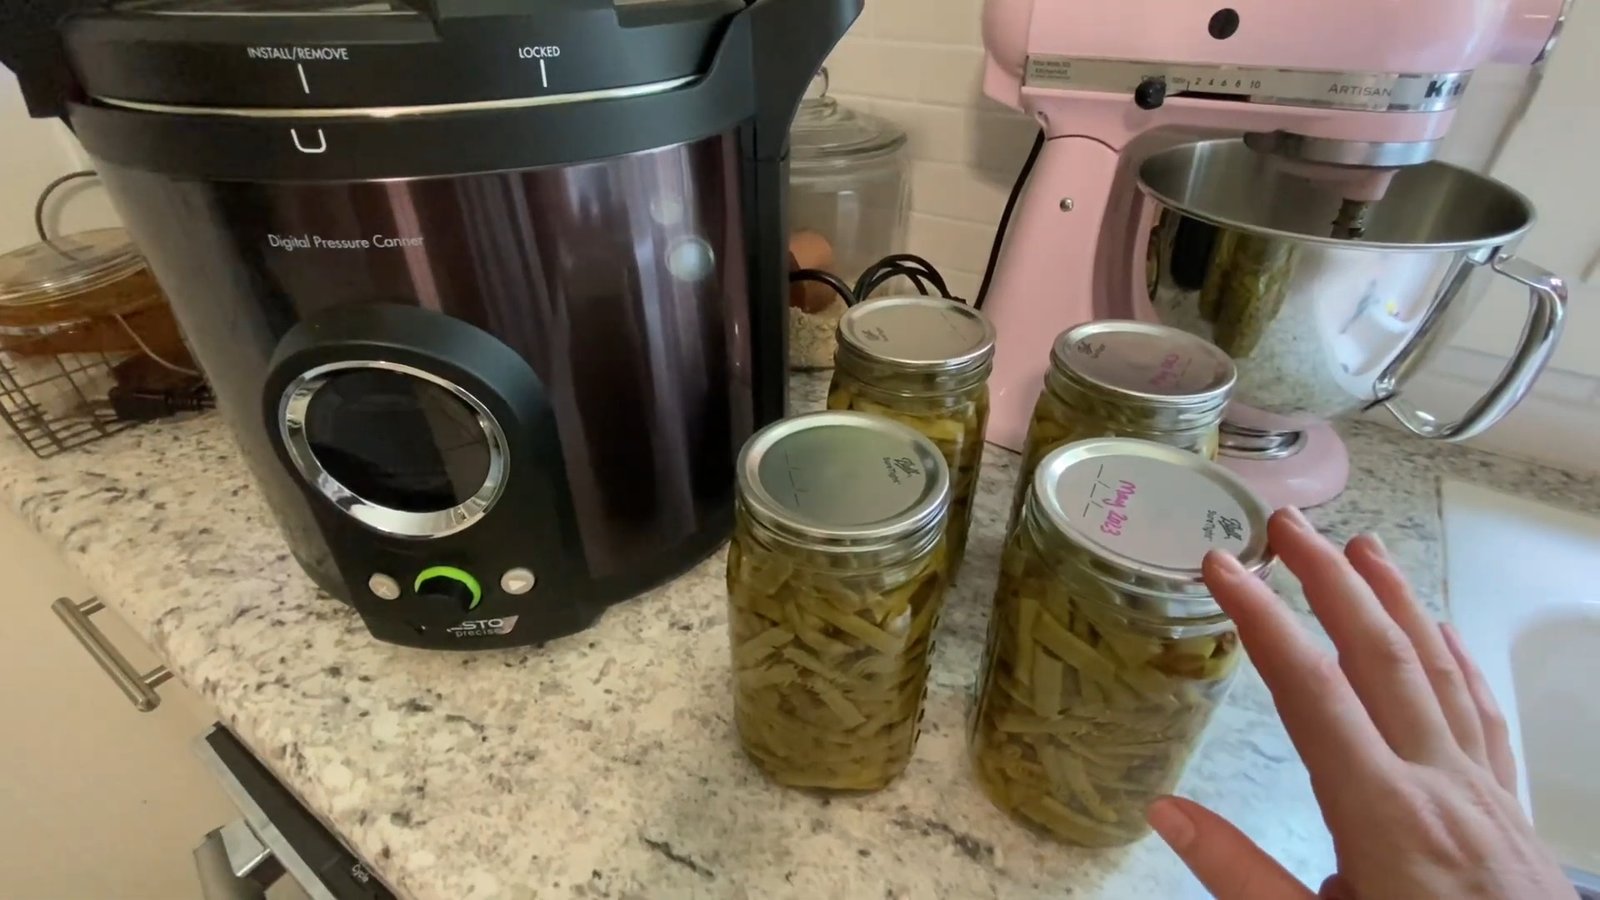
7. Let the Jars Rest
Carefully remove the jars and place them on a towel. Let them sit for 24 hours. Don’t touch the lids! After 24 hours, check the seals:
Remove the rings
Press the center of each lid to confirm it’s sealed
Properly sealed jars can be stored long-term. Any unsealed jars should be refrigerated and used soon.
Why the Presto Canner Is Worth the Investment
This canner makes pressure canning so easy:
You can walk away while it processes
It’s safe—you can’t open it until the pressure is completely released
No guesswork—digital prompts guide every step
Since getting this canner, I’ve successfully canned:
43 quarts of green beans
8 quarts of potatoes
12 pints of sweet pickles
16 pints of dill pickles
7.5 pints of dill relish
English peas
")
…and more!
If you’ve been on the fence about getting into pressure canning, I can’t recommend this electric canner enough. It’s made preserving our homegrown harvests easy and enjoyable—and I’m no longer scared to use a pressure canner!
")
Final Thoughts
Whether you’re canning beans, potatoes, or pickles, the Presto Electric Pressure Canner simplifies the entire process. I hope this guide gives you the confidence to try pressure canning at home. Let me know in the comments if you’d like to see a tutorial on canning potatoes, sweet pickles, or relish next!
")
Happy canning, and thanks for stopping by my kitchen!
")
If you've ever felt intimidated by pressure canning, you're not alone. I used to be nervous too—until I discovered the Presto Electric Pressure Canner, and let me tell you, it has been a total game changer in my kitchen. Today, I’m walking you through how easy it is to pressure can green beans using this electric canner, plus a few helpful tips from my own homesteading experience.
Why I Love the Presto Electric Pressure Canner
Canning with traditional stovetop pressure canners can feel overwhelming, especially if you’re new to it. That’s exactly how I felt—worried about doing something wrong or even causing the canner to explode. But the Presto Electric Pressure Canner completely changed my perspective. It’s simple, safe, and lets me multitask around the house without constantly monitoring a stovetop.
This electric model fits:
5 regular mouth quart jars
4 wide mouth quart jars
I’ve used it to can over 43 quarts of green beans, plus potatoes, pickles, dill relish, and more—all grown right in our garden.
Step-by-Step: How to Pressure Can Green Beans
Let’s walk through exactly how I pressure canned the last of our homegrown green beans.
1. Prepare the Canner
Fill the canner with hot water up to the fill line. Then plug it in—once it's powered, the "Pressure Can" light will blink. Press the button to select pressure canning, then set the time to 25 minutes for green beans.
2. Prep Your Jars
While the jars are warming:
Wash jars with warm, soapy water
Fill each halfway with hot water and place in the canner
Press start so the canner begins warming the jars
3. Wash and Snap the Beans
Wash your green beans thoroughly, remove strings, and snap into bite-sized pieces. I remove any with blemishes or wormholes. Clean beans are key to a safe canning process.
4. Fill the Jars
Once prompted, remove each jar one at a time:
Empty the water
Pack tightly with green beans (they shrink when processed)
Add 1 tsp of canning salt per quart
Fill with hot water up to the 1-inch headspace line
De-bubble using a chopstick (my favorite tool for this!)
Wipe rims with vinegar-dampened paper towel
Add warm lids and screw bands on finger tight
5. Start the Canning Process
Place jars back into the canner. Add 2 tsp of vinegar to prevent hard water spots. Lock the lid, ensure the vent is open, and press start.
When the canner beeps, twist the knob to “Can” and press start again. The unit will come to pressure and then begin its 25-minute countdown.
6. Let It Cool
After canning, the machine will automatically enter its cool-down cycle—this takes about an hour. Once the pressure valve drops, it’s safe to open. Always open the lid away from your face to avoid steam burns.
7. Let the Jars Rest
Carefully remove the jars and place them on a towel. Let them sit for 24 hours. Don’t touch the lids! After 24 hours, check the seals:
Remove the rings
Press the center of each lid to confirm it’s sealed
Properly sealed jars can be stored long-term. Any unsealed jars should be refrigerated and used soon.
Why the Presto Canner Is Worth the Investment
This canner makes pressure canning so easy:
You can walk away while it processes
It’s safe—you can’t open it until the pressure is completely released
No guesswork—digital prompts guide every step
Since getting this canner, I’ve successfully canned:
43 quarts of green beans
8 quarts of potatoes
12 pints of sweet pickles
16 pints of dill pickles
7.5 pints of dill relish
English peas
…and more!
If you’ve been on the fence about getting into pressure canning, I can’t recommend this electric canner enough. It’s made preserving our homegrown harvests easy and enjoyable—and I’m no longer scared to use a pressure canner!
Final Thoughts
Whether you’re canning beans, potatoes, or pickles, the Presto Electric Pressure Canner simplifies the entire process. I hope this guide gives you the confidence to try pressure canning at home. Let me know in the comments if you’d like to see a tutorial on canning potatoes, sweet pickles, or relish next!
Happy canning, and thanks for stopping by my kitchen!
0 servings