Nutrition Facts
0 servings


Welcome back to Linda’s Pantry! Today, we’re diving into another exciting canning project—home-canned beef. With beef prices on the rise, preserving meat when prices are lower is a smart and cost-effective way to stock your pantry. I’ve prepared a delicious and spicy broth to enhance the flavor, making this canned beef perfect for stews, enchiladas, beef stroganoff, and more.
")
Why Can Beef at Home?
Canning beef ensures a long shelf life while maintaining rich flavors and nutritional value. By following proper canning guidelines, you can safely store this protein-packed ingredient without refrigeration.
Ingredients You’ll Need:
2 chuck roasts (cubed into large chunks)
Salt and pepper (to taste)
3 onions (chopped)
2 tablespoons fresh garlic (chopped)
3 tablespoons red pepper flakes
2.5 tablespoons Mexican oregano
2 tablespoons Worcestershire sauce
1/3 jar Better Than Bouillon (dissolved in hot water)
Additional hot water to make broth
3 tablespoons vinegar (for canner water)
Step-by-Step Canning Instructions:
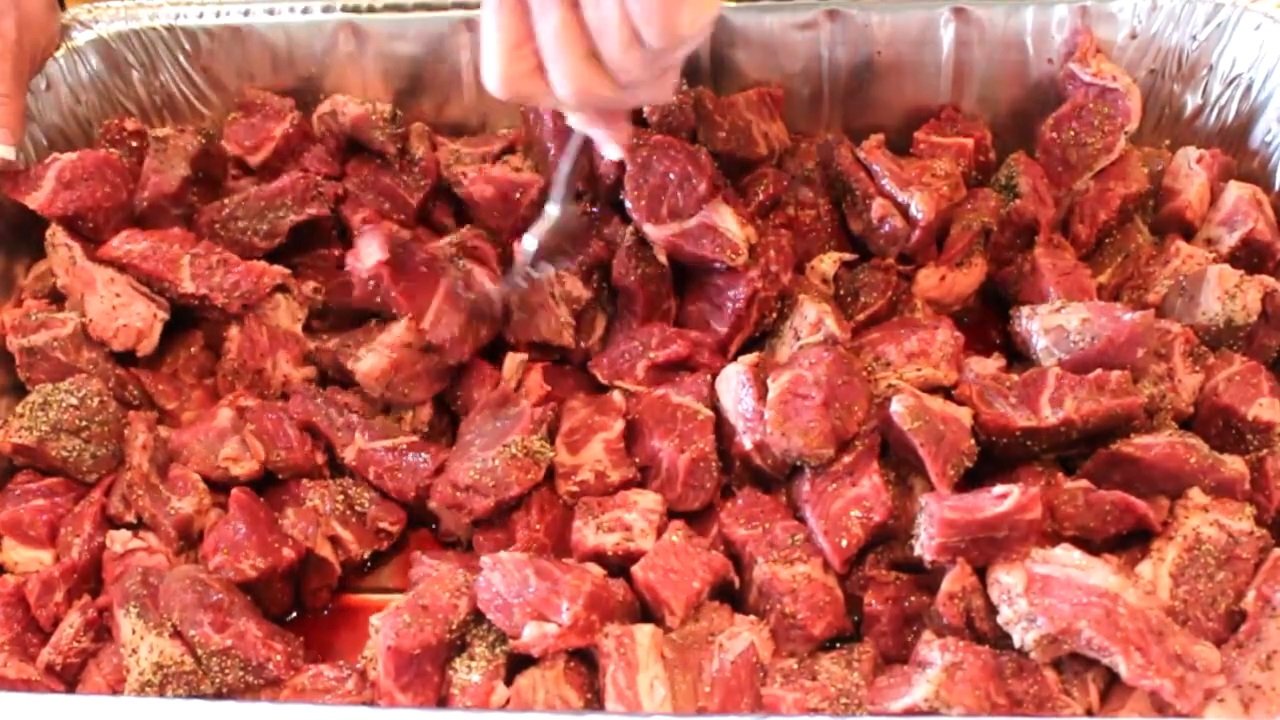
1. Prepare the Meat
Start by cubing the chuck roast into hearty pieces. Season generously with salt and pepper. Place the meat in a roasting pan and cook in a 400-425°F oven for about an hour. This helps brown the beef and intensifies its flavor.
")
2. Make the Spicy Broth
While the beef is roasting, prepare your broth:
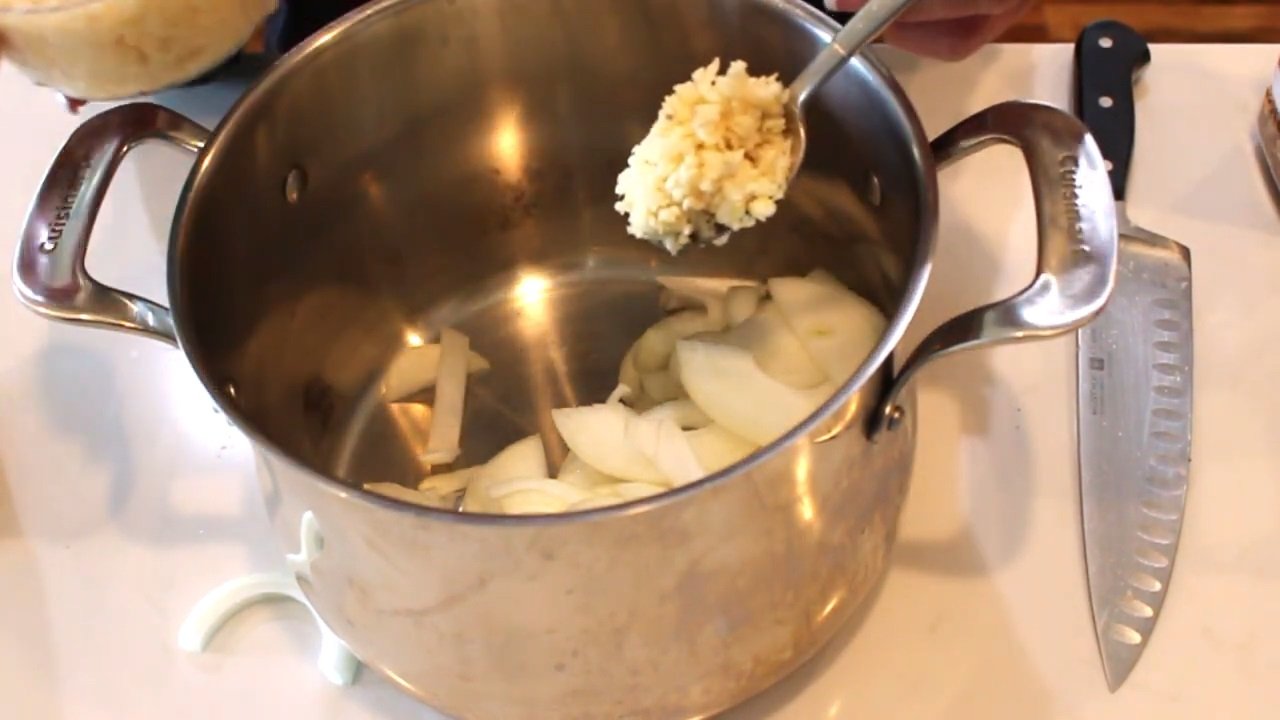
In a 5-quart pot, add chopped onions and fresh garlic.
Stir in red pepper flakes, Mexican oregano, and Worcestershire sauce.
Dissolve Better Than Bouillon in hot water and add it to the pot.
Add more hot water to create a flavorful broth.
Simmer until well combined.
3. Prepare the Jars and Canner
Wash and heat your 1.5-pint jars in hot water to prevent thermal shock.
Fill your pressure canner with 3 inches of water and add vinegar to prevent residue buildup on jars.
Keep the canner at about 180°F before loading jars.
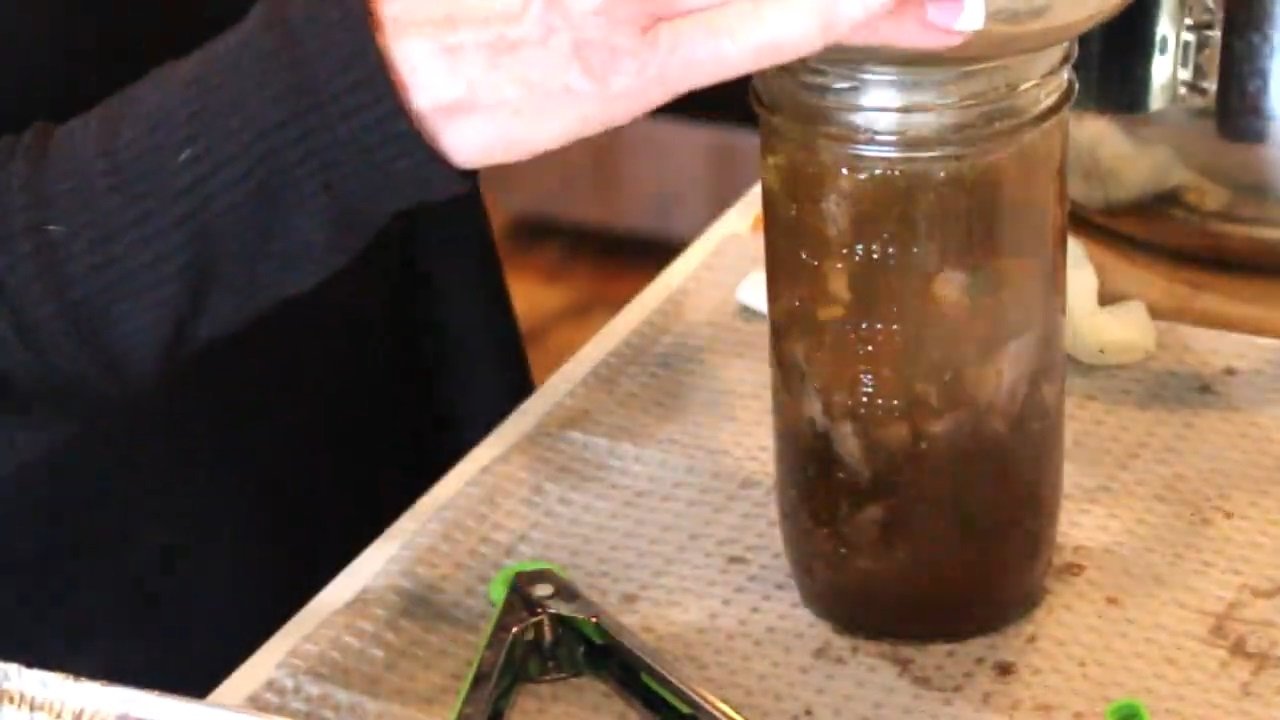
4. Fill the Jars
Fill each jar about 3/4 full with beef chunks.
Add spicy broth, ensuring the meat is completely covered while leaving 1 inch of headspace.
Wipe the rims clean to ensure proper sealing.
Use Tattler lids for reusability and sustainability.
5. Process in a Pressure Canner
Load the jars into your canner.
Process at 10 PSI for 90 minutes (adjust for altitude as needed).
Allow pressure to naturally come down before opening the canner.
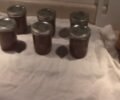
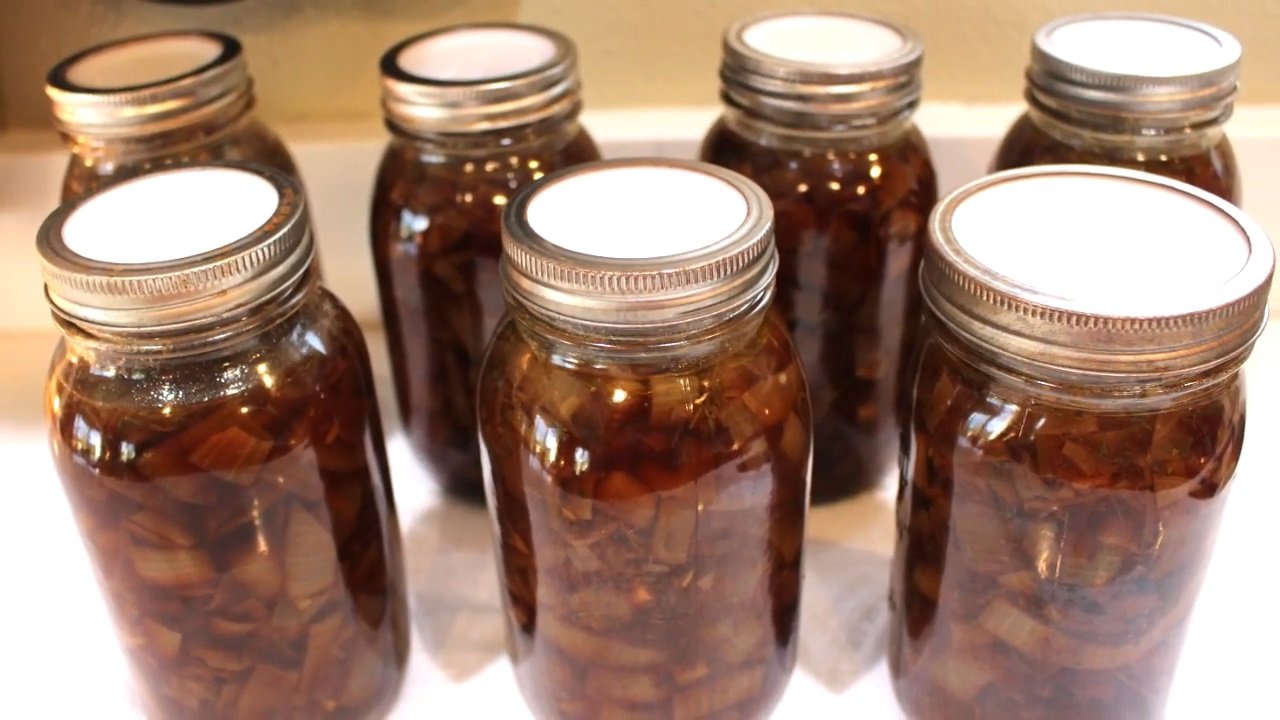
6. Cooling and Sealing
Let jars sit in the canner for 15-20 minutes before removing them.
Tighten Tattler lids immediately after removal.
Allow jars to cool for 12-24 hours before storing.
Check seals before storing in a cool, dark place.
Tips for Successful Canning:
")
Always follow USDA and National Center for Home Food Preservation guidelines.
Never leave jars in the canner overnight to avoid "flat sour" spoilage.
Ensure jars are hot when filled to prevent breakage.
Rotate your canned goods every three years for optimal freshness.
Final Thoughts:
Home-canned beef is a game-changer for meal prep and food security. This spicy broth variation adds a kick to your favorite dishes, making mealtime both easy and delicious. If you’re new to canning, don’t hesitate to start with this recipe—it’s simple, rewarding, and ensures you always have a hearty meal ready to go!
Happy canning!
")
Welcome back to Linda’s Pantry! Today, we’re diving into another exciting canning project—home-canned beef. With beef prices on the rise, preserving meat when prices are lower is a smart and cost-effective way to stock your pantry. I’ve prepared a delicious and spicy broth to enhance the flavor, making this canned beef perfect for stews, enchiladas, beef stroganoff, and more.
Why Can Beef at Home?
Canning beef ensures a long shelf life while maintaining rich flavors and nutritional value. By following proper canning guidelines, you can safely store this protein-packed ingredient without refrigeration.
Ingredients You’ll Need:
2 chuck roasts (cubed into large chunks)
Salt and pepper (to taste)
3 onions (chopped)
2 tablespoons fresh garlic (chopped)
3 tablespoons red pepper flakes
2.5 tablespoons Mexican oregano
2 tablespoons Worcestershire sauce
1/3 jar Better Than Bouillon (dissolved in hot water)
Additional hot water to make broth
3 tablespoons vinegar (for canner water)
Step-by-Step Canning Instructions:
1. Prepare the Meat
Start by cubing the chuck roast into hearty pieces. Season generously with salt and pepper. Place the meat in a roasting pan and cook in a 400-425°F oven for about an hour. This helps brown the beef and intensifies its flavor.
2. Make the Spicy Broth
While the beef is roasting, prepare your broth:
In a 5-quart pot, add chopped onions and fresh garlic.
Stir in red pepper flakes, Mexican oregano, and Worcestershire sauce.
Dissolve Better Than Bouillon in hot water and add it to the pot.
Add more hot water to create a flavorful broth.
Simmer until well combined.
3. Prepare the Jars and Canner
Wash and heat your 1.5-pint jars in hot water to prevent thermal shock.
Fill your pressure canner with 3 inches of water and add vinegar to prevent residue buildup on jars.
Keep the canner at about 180°F before loading jars.
4. Fill the Jars
Fill each jar about 3/4 full with beef chunks.
Add spicy broth, ensuring the meat is completely covered while leaving 1 inch of headspace.
Wipe the rims clean to ensure proper sealing.
Use Tattler lids for reusability and sustainability.
5. Process in a Pressure Canner
Load the jars into your canner.
Process at 10 PSI for 90 minutes (adjust for altitude as needed).
Allow pressure to naturally come down before opening the canner.
6. Cooling and Sealing
Let jars sit in the canner for 15-20 minutes before removing them.
Tighten Tattler lids immediately after removal.
Allow jars to cool for 12-24 hours before storing.
Check seals before storing in a cool, dark place.
Tips for Successful Canning:
Always follow USDA and National Center for Home Food Preservation guidelines.
Never leave jars in the canner overnight to avoid "flat sour" spoilage.
Ensure jars are hot when filled to prevent breakage.
Rotate your canned goods every three years for optimal freshness.
Final Thoughts:
Home-canned beef is a game-changer for meal prep and food security. This spicy broth variation adds a kick to your favorite dishes, making mealtime both easy and delicious. If you’re new to canning, don’t hesitate to start with this recipe—it’s simple, rewarding, and ensures you always have a hearty meal ready to go!
Happy canning!
0 servings