

Nutrition Facts
0 servings

If you love pickling and want a delicious, shelf-stable way to preserve cucumbers, you’re in the right place! Welcome to Outdoors and Country Living. My name is Leanne, and today I’m sharing my tried-and-true recipe for crunchy pickled cucumber salad. This easy canning recipe is perfect for using up an abundance of fresh cucumbers from your garden while keeping them crisp and flavorful.
Why Make Pickled Cucumber Salad?
If you're a gardener, you know how quickly cucumbers can pile up during the growing season. This recipe provides a fantastic way to preserve them without freezing or refrigeration. Plus, with the added crunch of bell peppers, carrots, and optional vegetables like radishes or celery, this salad is both refreshing and versatile.
Ingredients You’ll Need
6 lbs of cucumbers (small cucumbers sliced into rounds, larger ones halved or quartered)
Bell peppers (homegrown or store-bought, chopped)
Carrots (shredded using a vegetable peeler)
Pink Himalayan salt (or any non-iodized salt such as pickling salt)
3 cups white vinegar
3 cups water
1/2 cup lemon juice
1 cup sugar (balances the tartness of the vinegar)
")
Pickle Crisp (calcium chloride) (optional but enhances crunchiness)
Fresh or dried dill (for classic pickling flavor)
Step-by-Step Instructions
")
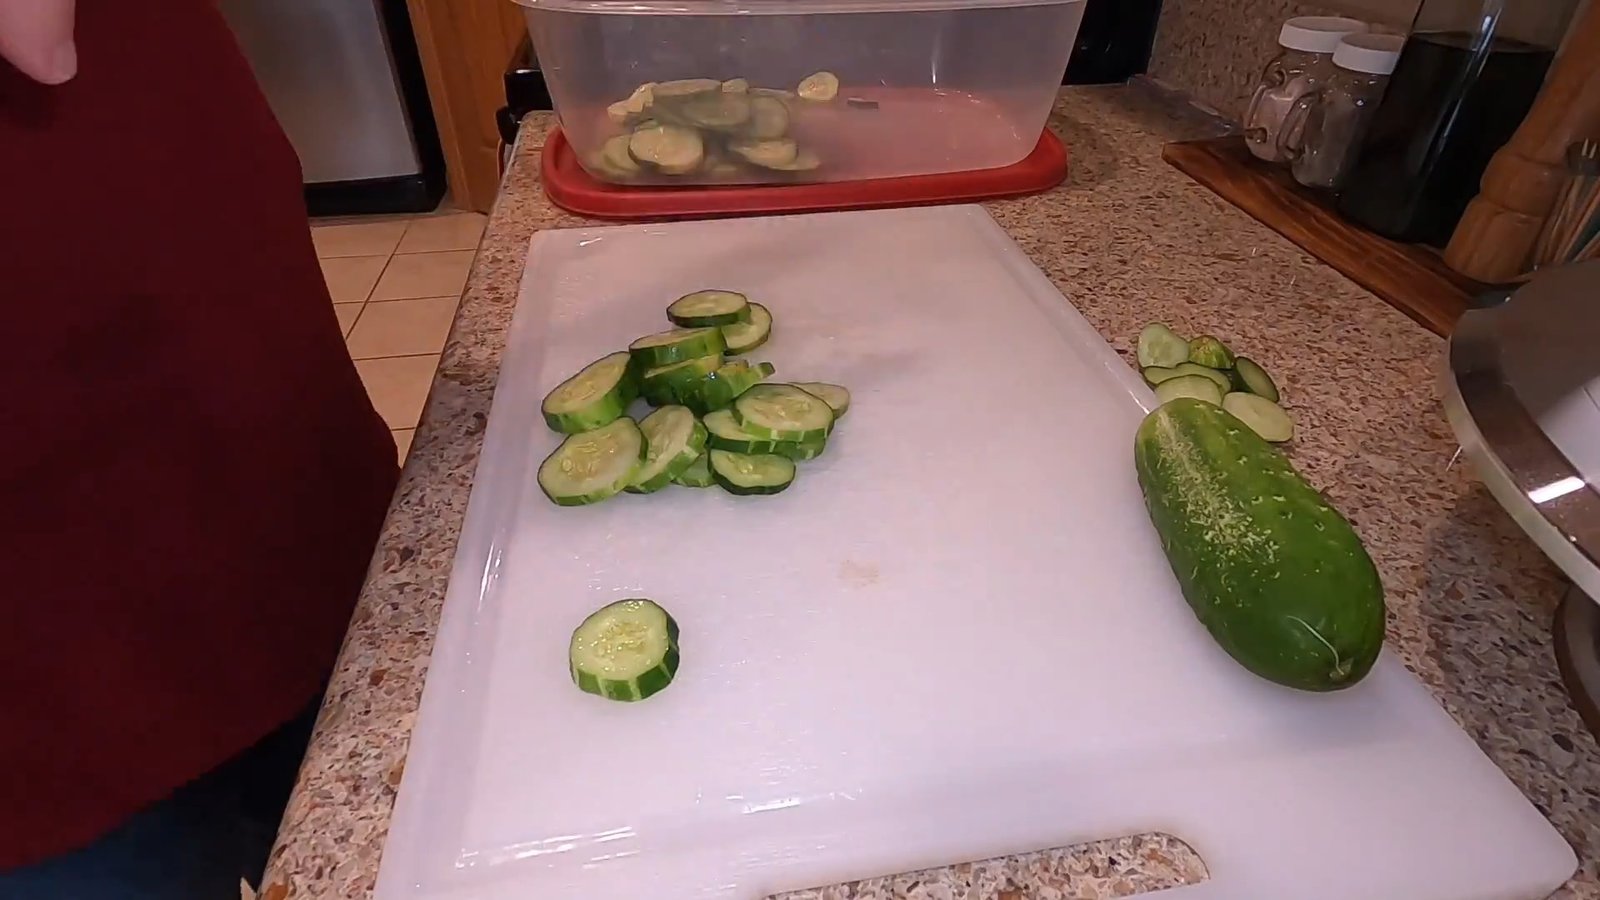
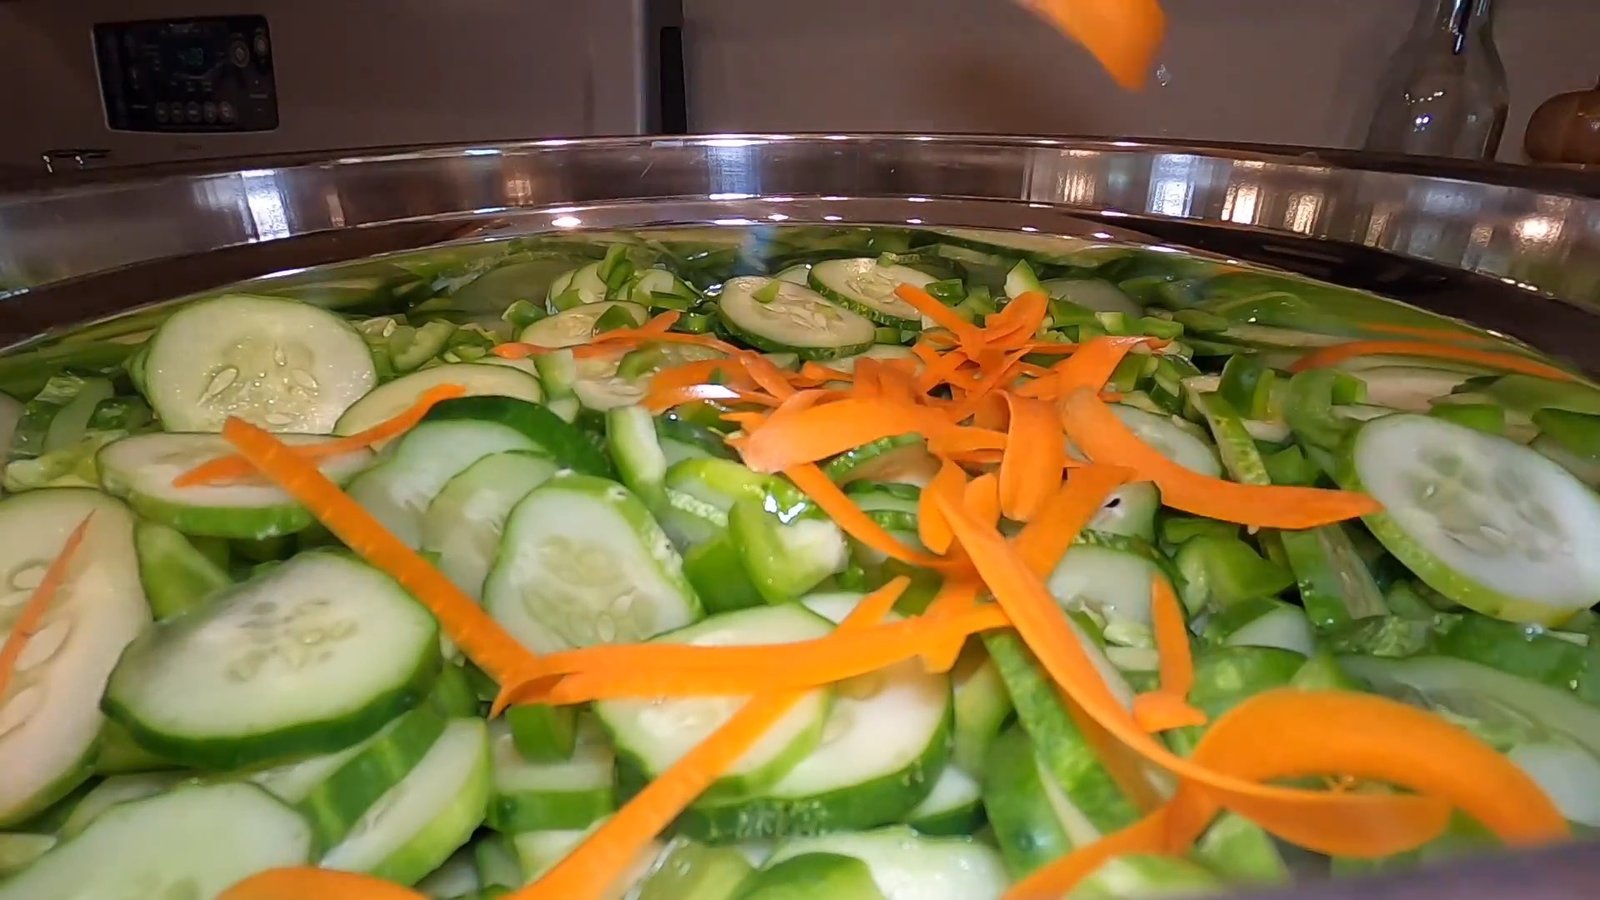
Step 1: Prepare the Vegetables
Start by slicing the cucumbers and placing them into a large bowl. Add in chopped bell peppers, shredded carrots, or any other vegetables you’d like. Sprinkle 1/4 cup of non-iodized salt per 6 lbs of cucumbers. Toss the vegetables so the salt evenly coats them. The salt will pull excess water from the cucumbers, ensuring they remain crunchy once canned.
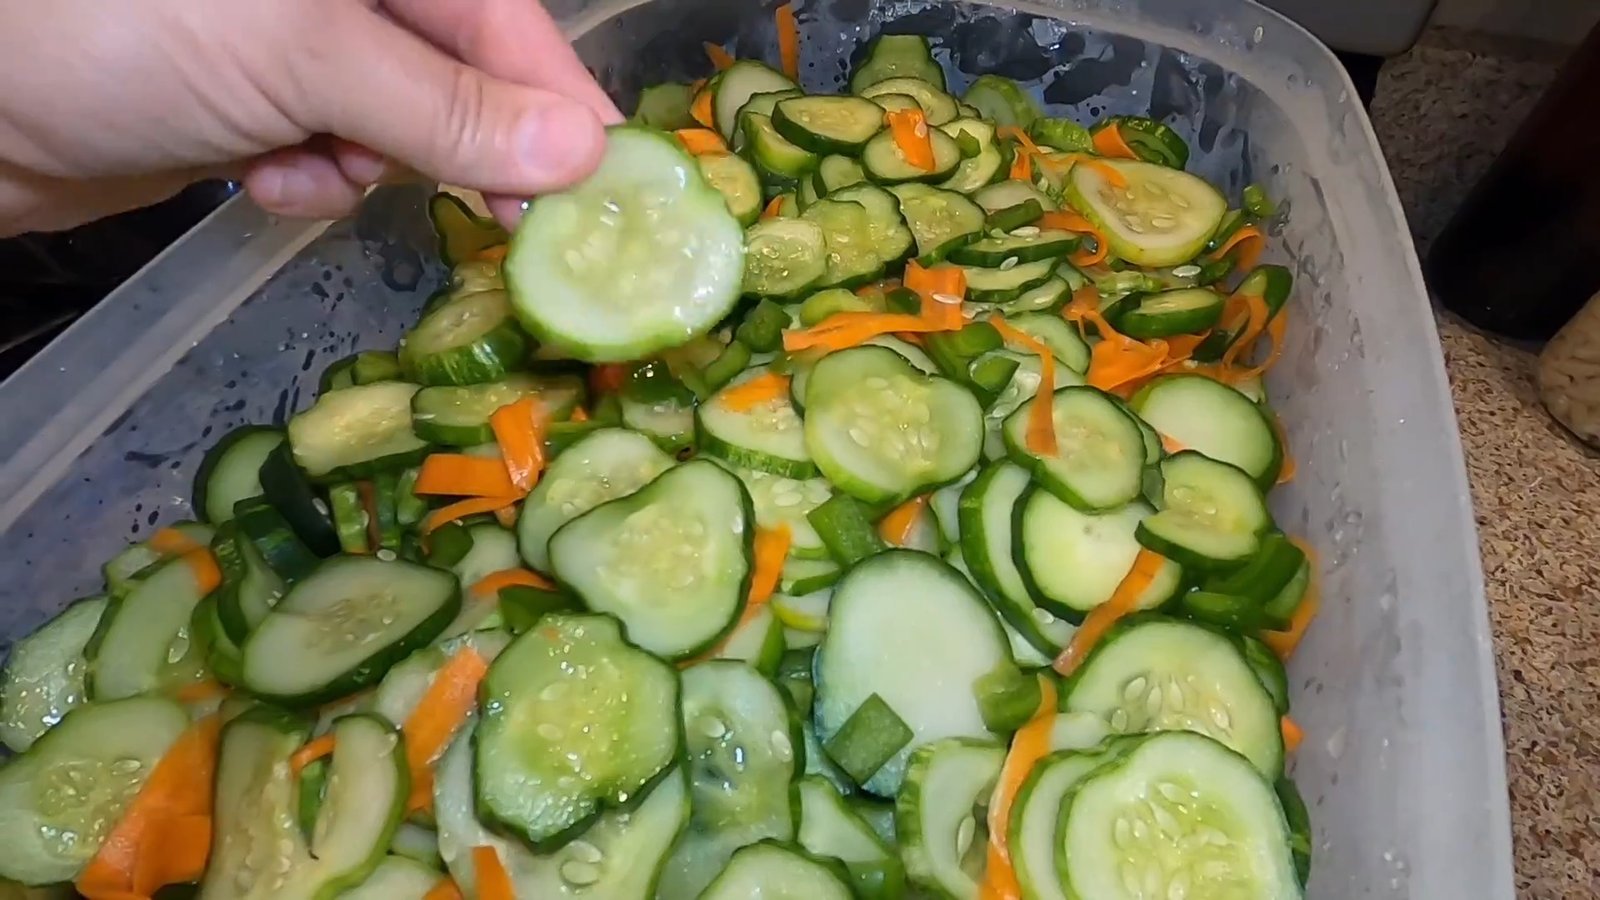
Step 2: Refrigerate for 24 Hours
Transfer the salted vegetables to a container with a lid and store them in the refrigerator for 24 hours. After this time, the salt will have drawn out a significant amount of liquid. Drain and discard this liquid before proceeding.
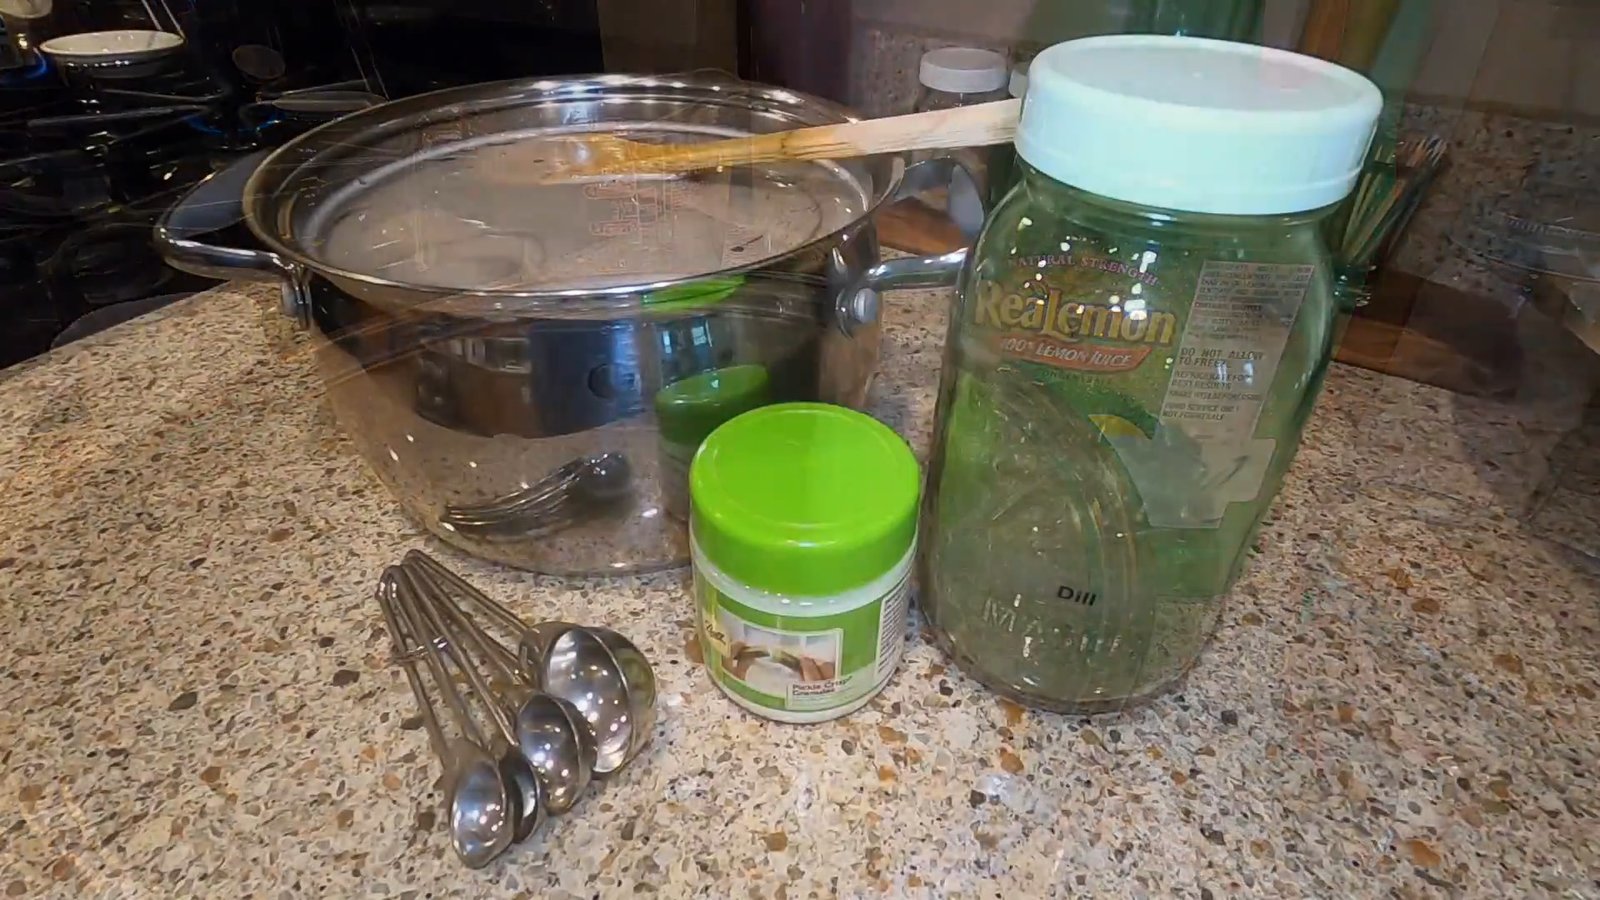
Step 3: Make the Pickling Brine
")
In a large bowl, combine 3 cups white vinegar, 3 cups water, 1/2 cup lemon juice, and 1 cup sugar. Stir until the sugar is fully dissolved. This brine does not need to be heated.
")
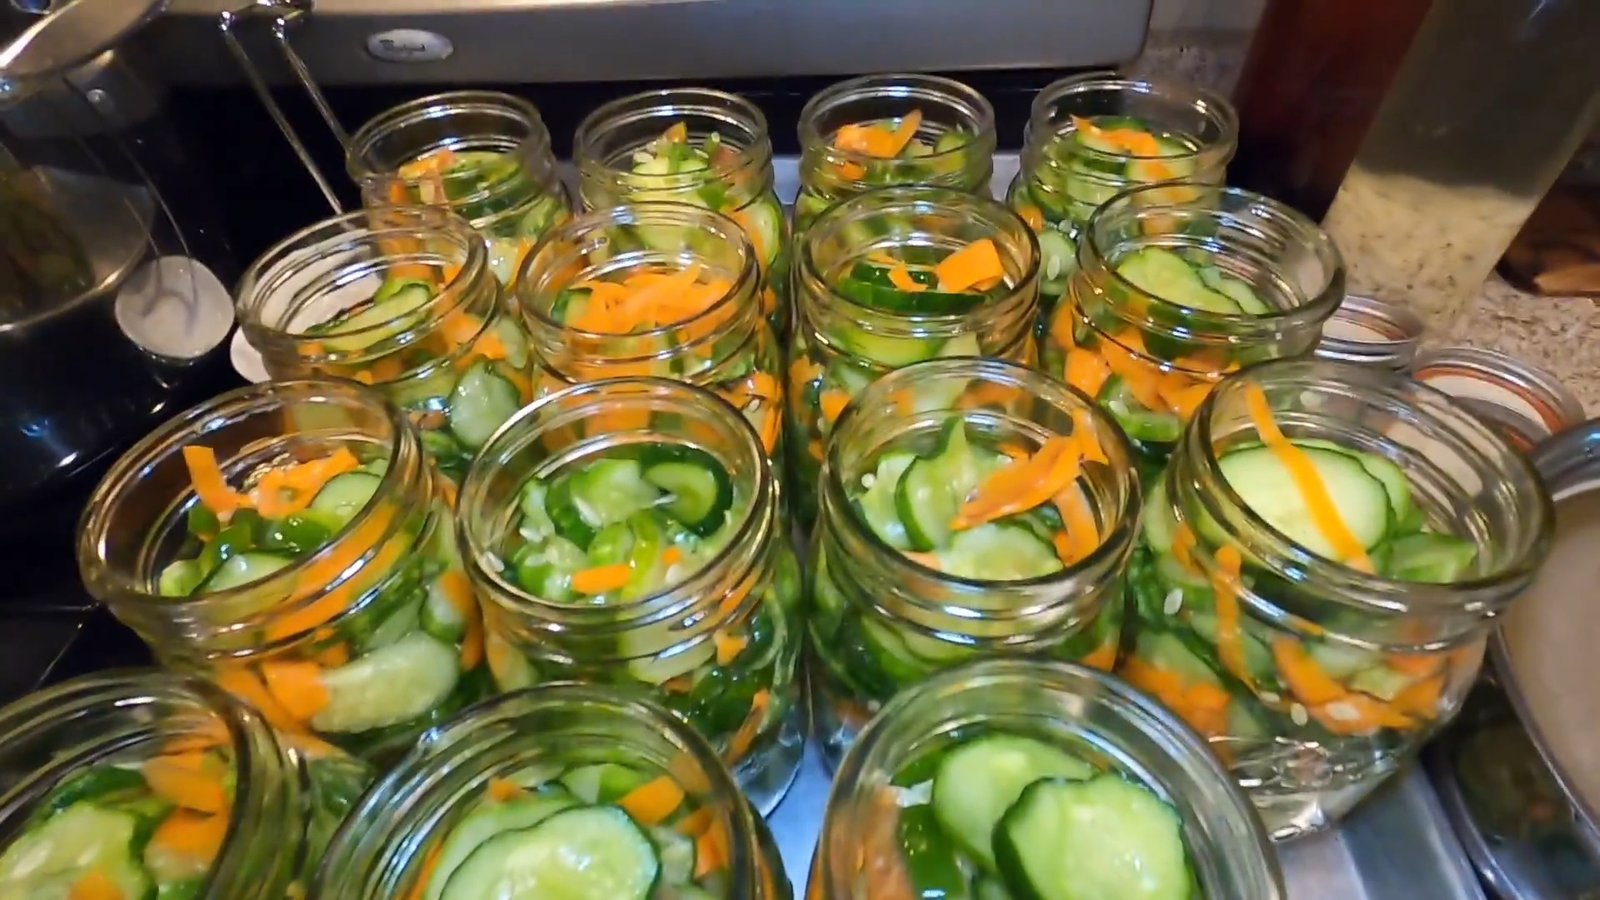
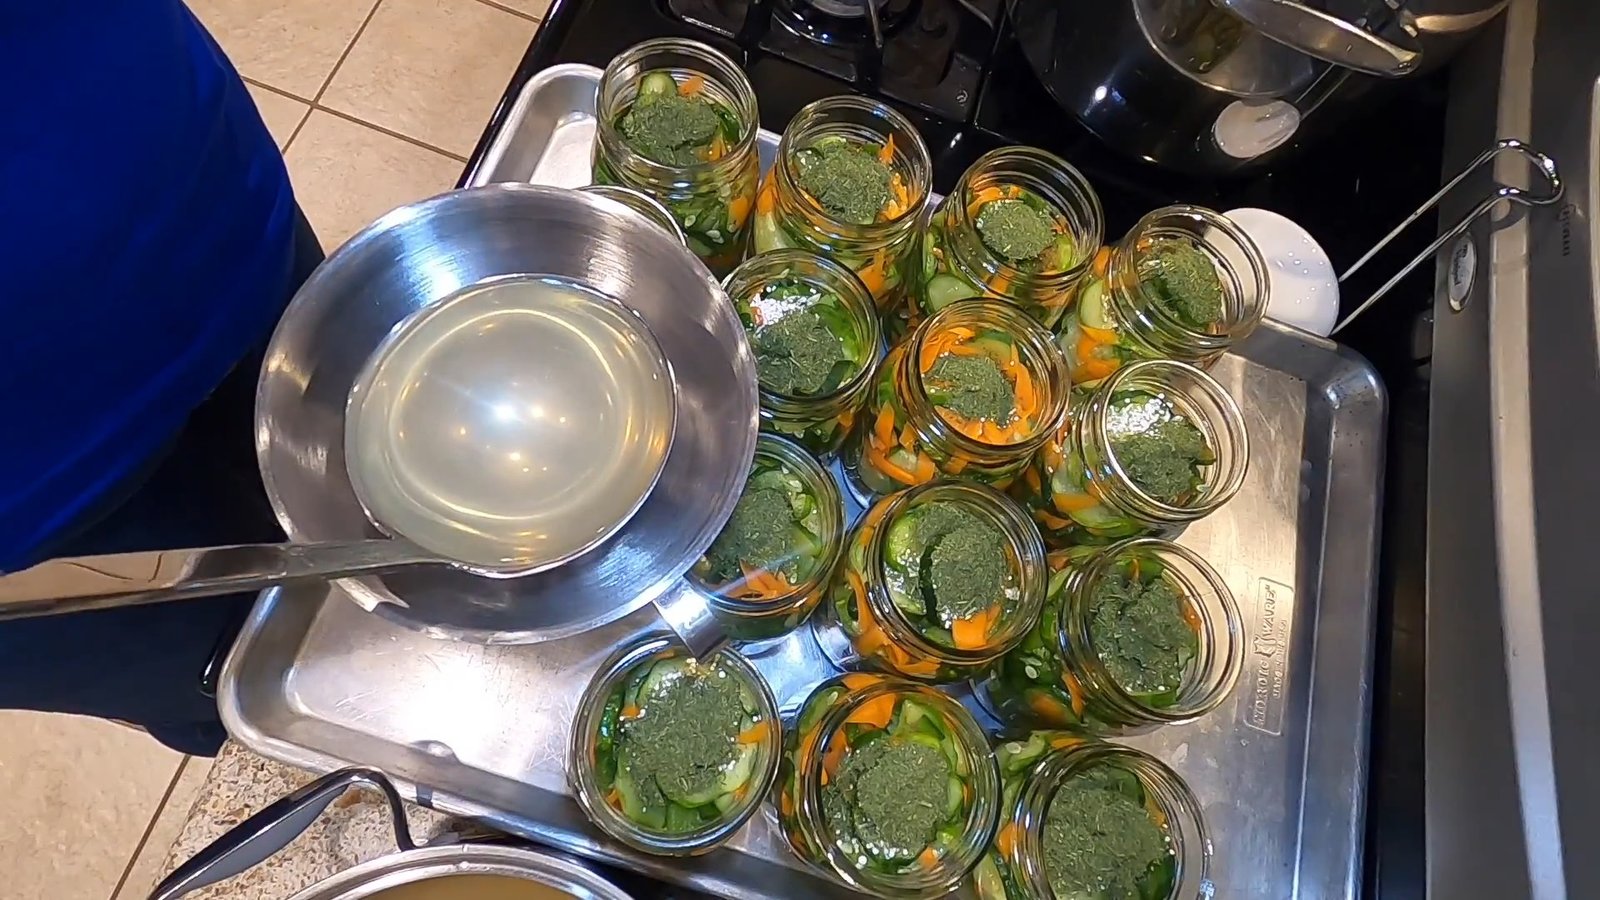
Step 4: Rinse and Pack the Jars
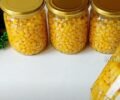
Rinse the vegetables under cold water to remove excess salt. Drain thoroughly. Fill clean pint jars with the vegetable mixture, packing them firmly but not too tightly. Leave about 1/4 to 1/2 inch of space from the top.
Step 5: Add Pickling Ingredients
To each pint jar, add:
1/4 teaspoon Pickle Crisp (to maintain crunchiness)
1/2 teaspoon dried dill (adjust to taste)
Then, pour the cold pickling brine into each jar, leaving about 1/4-inch headspace.
Step 6: Seal the Jars
Wipe the rims of the jars clean with a damp paper towel to ensure a proper seal. Place new canning lids and bands on the jars, tightening them to fingertip tightness.
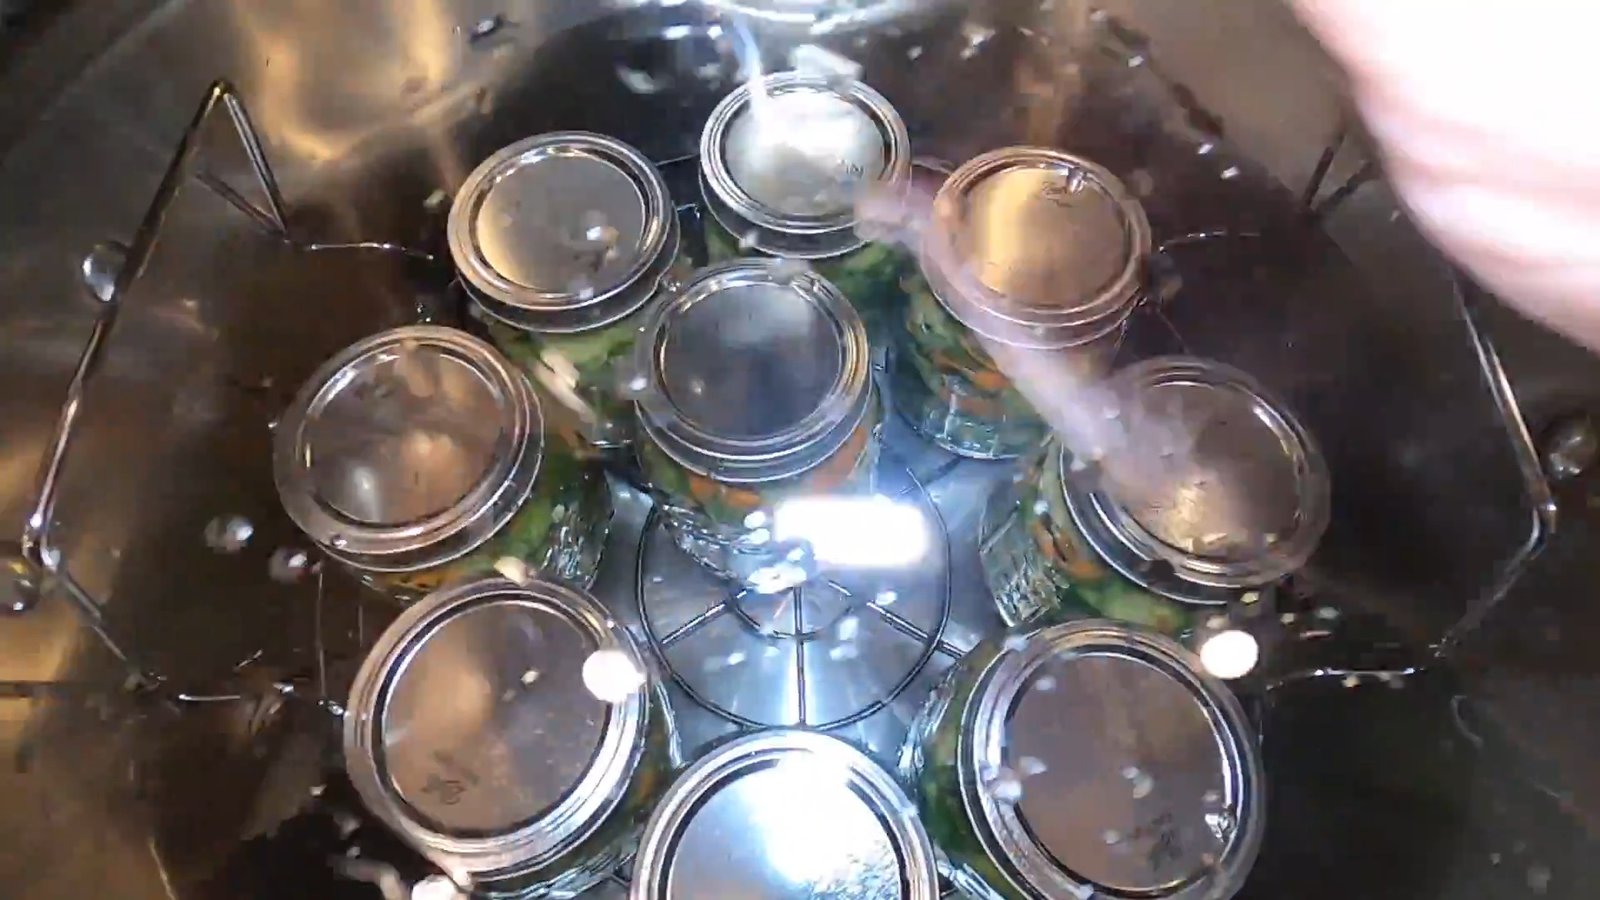
Step 7: Process in a Water Bath Canner
Place the jars into a cold water bath canner and cover them with at least 1-2 inches of water. Bring to a rolling boil and process for 10 minutes (adjust for altitude if necessary). After the time is up, turn off the heat and allow the jars to sit for a few minutes before removing them.
")
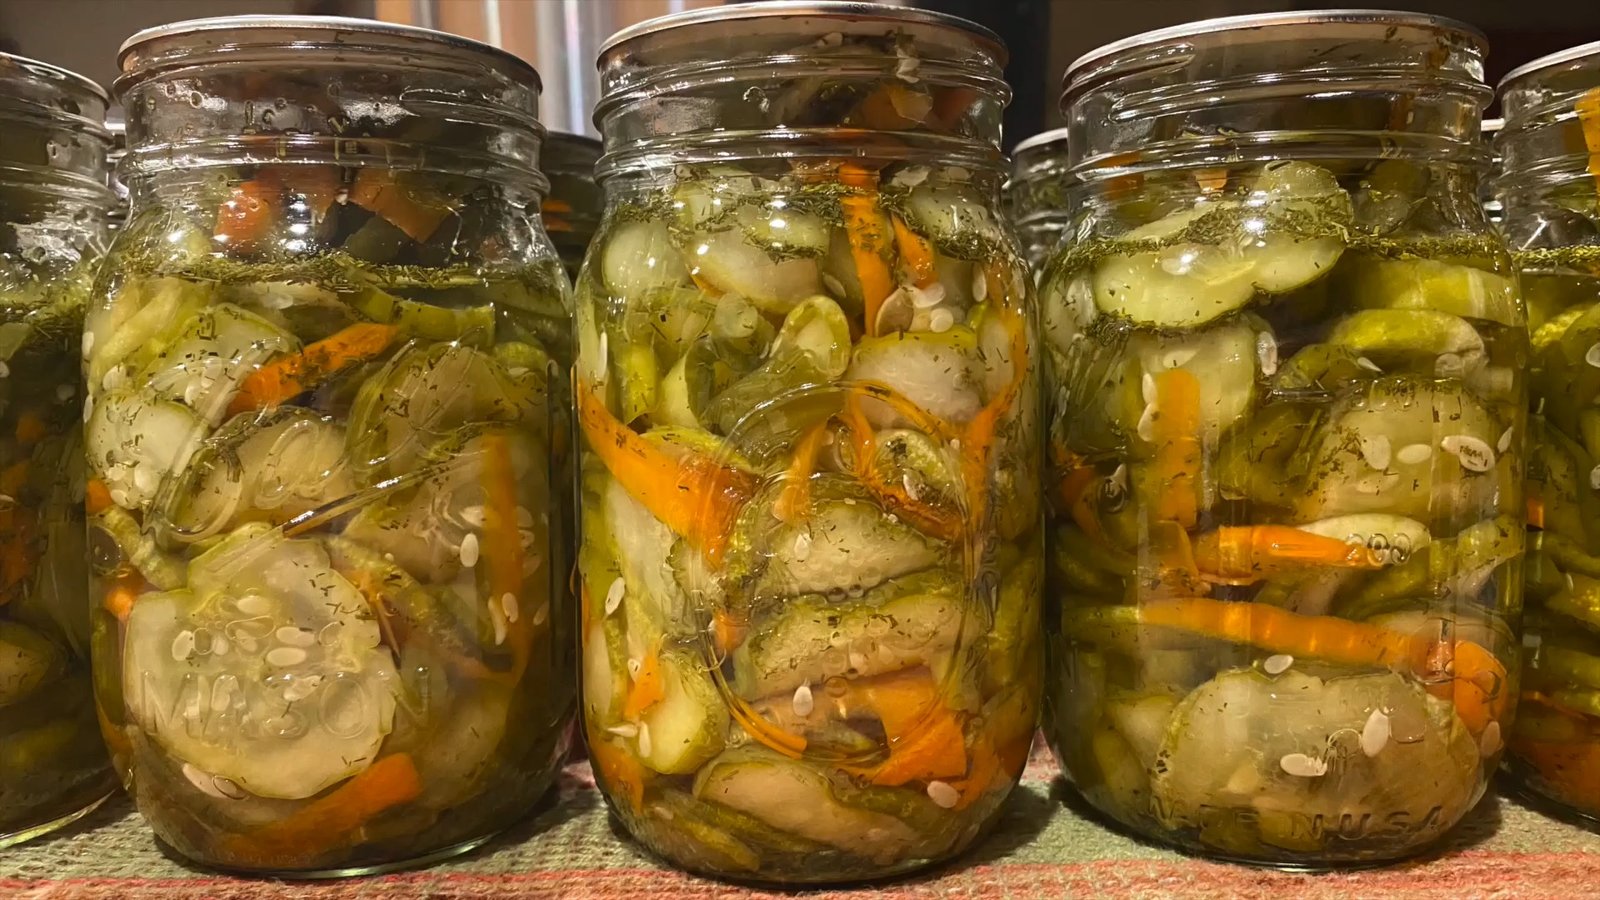
Step 8: Cool and Store
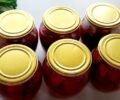
Carefully lift the jars out and place them on a towel-lined counter. Allow them to cool undisturbed for 12-24 hours. Once cooled, check that the lids have sealed properly.
")
Remove the bands, label the jars, and store them in a cool, dark place.
Serving Suggestions
This pickled cucumber salad can be enjoyed straight from the jar or drained and mixed with a little mayonnaise for a creamy salad. It pairs wonderfully with sandwiches, grilled meats, or as a crunchy topping for salads.
")
Final Thoughts
Making shelf-stable pickled cucumber salad is an easy and rewarding way to preserve fresh produce.
")
Whether you enjoy it as a tangy snack or a zesty side dish, this crunchy salad is sure to be a favorite all year long.
Happy canning!
")
If you love pickling and want a delicious, shelf-stable way to preserve cucumbers, you’re in the right place! Welcome to Outdoors and Country Living. My name is Leanne, and today I’m sharing my tried-and-true recipe for crunchy pickled cucumber salad. This easy canning recipe is perfect for using up an abundance of fresh cucumbers from your garden while keeping them crisp and flavorful.
Why Make Pickled Cucumber Salad?
If you're a gardener, you know how quickly cucumbers can pile up during the growing season. This recipe provides a fantastic way to preserve them without freezing or refrigeration. Plus, with the added crunch of bell peppers, carrots, and optional vegetables like radishes or celery, this salad is both refreshing and versatile.
Ingredients You’ll Need
6 lbs of cucumbers (small cucumbers sliced into rounds, larger ones halved or quartered)
Bell peppers (homegrown or store-bought, chopped)
Carrots (shredded using a vegetable peeler)
Pink Himalayan salt (or any non-iodized salt such as pickling salt)
3 cups white vinegar
3 cups water
1/2 cup lemon juice
1 cup sugar (balances the tartness of the vinegar)
Pickle Crisp (calcium chloride) (optional but enhances crunchiness)
Fresh or dried dill (for classic pickling flavor)
Step-by-Step Instructions
Step 1: Prepare the Vegetables
Start by slicing the cucumbers and placing them into a large bowl. Add in chopped bell peppers, shredded carrots, or any other vegetables you’d like. Sprinkle 1/4 cup of non-iodized salt per 6 lbs of cucumbers. Toss the vegetables so the salt evenly coats them. The salt will pull excess water from the cucumbers, ensuring they remain crunchy once canned.
Step 2: Refrigerate for 24 Hours
Transfer the salted vegetables to a container with a lid and store them in the refrigerator for 24 hours. After this time, the salt will have drawn out a significant amount of liquid. Drain and discard this liquid before proceeding.
Step 3: Make the Pickling Brine
In a large bowl, combine 3 cups white vinegar, 3 cups water, 1/2 cup lemon juice, and 1 cup sugar. Stir until the sugar is fully dissolved. This brine does not need to be heated.
Step 4: Rinse and Pack the Jars
Rinse the vegetables under cold water to remove excess salt. Drain thoroughly. Fill clean pint jars with the vegetable mixture, packing them firmly but not too tightly. Leave about 1/4 to 1/2 inch of space from the top.
Step 5: Add Pickling Ingredients
To each pint jar, add:
1/4 teaspoon Pickle Crisp (to maintain crunchiness)
1/2 teaspoon dried dill (adjust to taste)
Then, pour the cold pickling brine into each jar, leaving about 1/4-inch headspace.
Step 6: Seal the Jars
Wipe the rims of the jars clean with a damp paper towel to ensure a proper seal. Place new canning lids and bands on the jars, tightening them to fingertip tightness.
Step 7: Process in a Water Bath Canner
Place the jars into a cold water bath canner and cover them with at least 1-2 inches of water. Bring to a rolling boil and process for 10 minutes (adjust for altitude if necessary). After the time is up, turn off the heat and allow the jars to sit for a few minutes before removing them.
Step 8: Cool and Store
Carefully lift the jars out and place them on a towel-lined counter. Allow them to cool undisturbed for 12-24 hours. Once cooled, check that the lids have sealed properly.
Remove the bands, label the jars, and store them in a cool, dark place.
Serving Suggestions
This pickled cucumber salad can be enjoyed straight from the jar or drained and mixed with a little mayonnaise for a creamy salad. It pairs wonderfully with sandwiches, grilled meats, or as a crunchy topping for salads.
Final Thoughts
Making shelf-stable pickled cucumber salad is an easy and rewarding way to preserve fresh produce.
Whether you enjoy it as a tangy snack or a zesty side dish, this crunchy salad is sure to be a favorite all year long.
Happy canning!
0 servings