
Nutrition Facts
0 servings

If you’re looking to preserve fresh, seasonal fruit, water bath canning pears is a great place to start. Learn how Tony from Her Homestead Skills prepares, hot-packs, and cans delicious Bartlett pears using a simple light syrup method.
")
Why Water Bath Can Pears?
Canning pears at home is a wonderful way to extend the shelf life of your harvest while controlling the ingredients you use. In this guide, Tony from Her Homestead Skills walks us through the water bath canning process using fresh Bartlett pears from a local farm. These pears are firm, slightly under-ripe, and perfect for hot pack canning—ensuring the final result is tender but not mushy.
Choosing and Prepping Pears for Canning
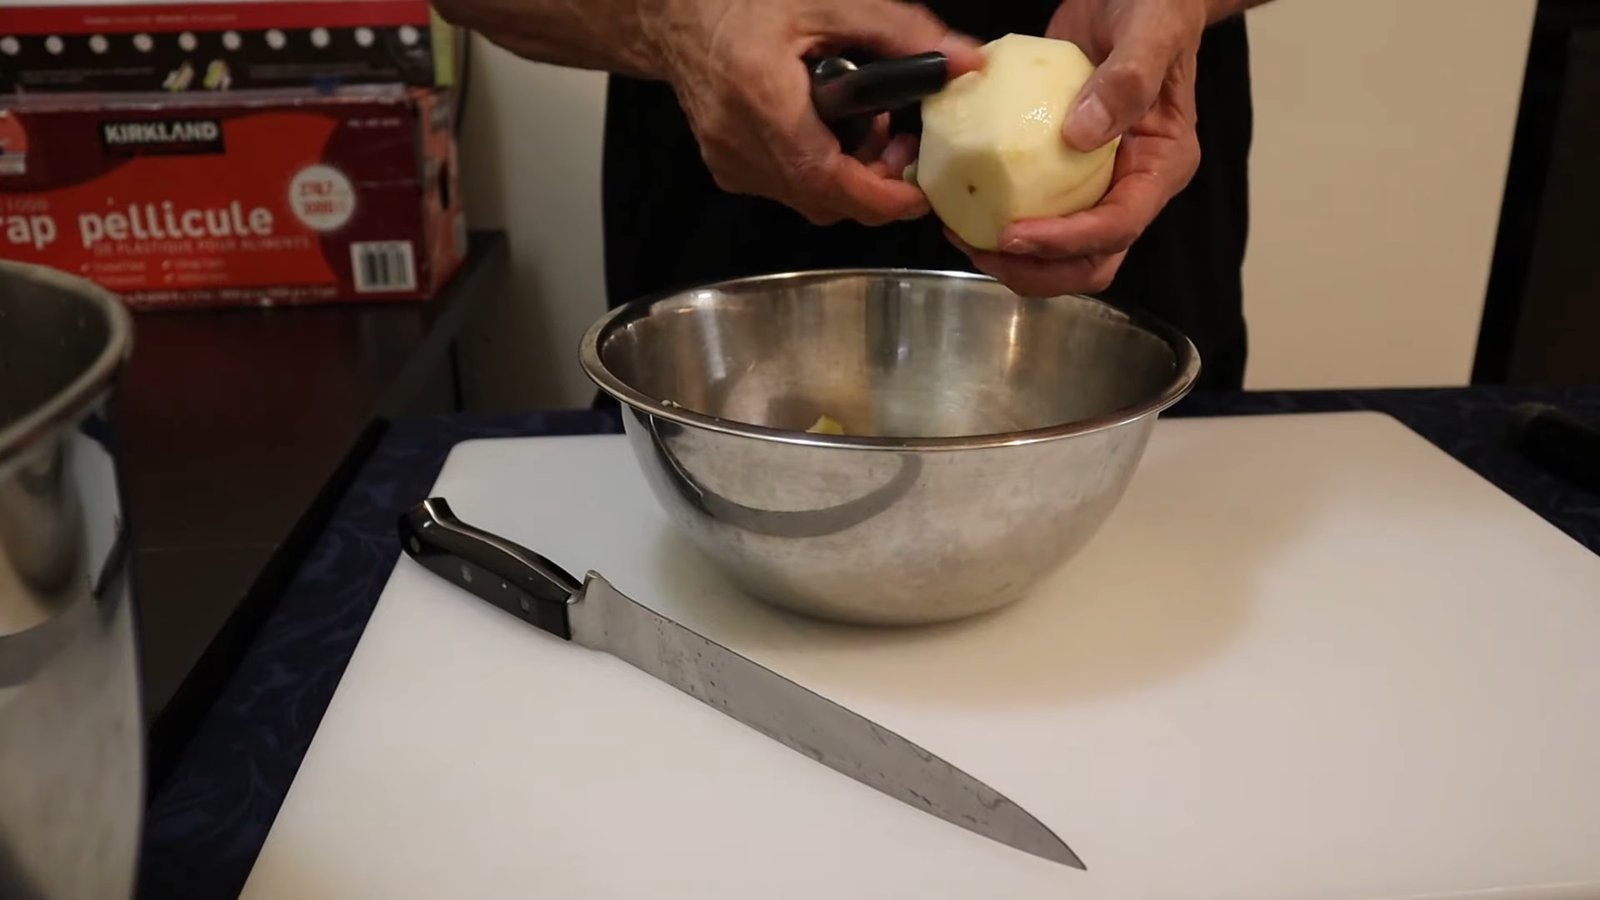
Tony starts by selecting pears that are mostly firm and only slightly ripe. Overripe or bruised pears don’t can well—they turn too soft after processing. Each pear is peeled, cored, and quartered to fit more easily into pint jars.
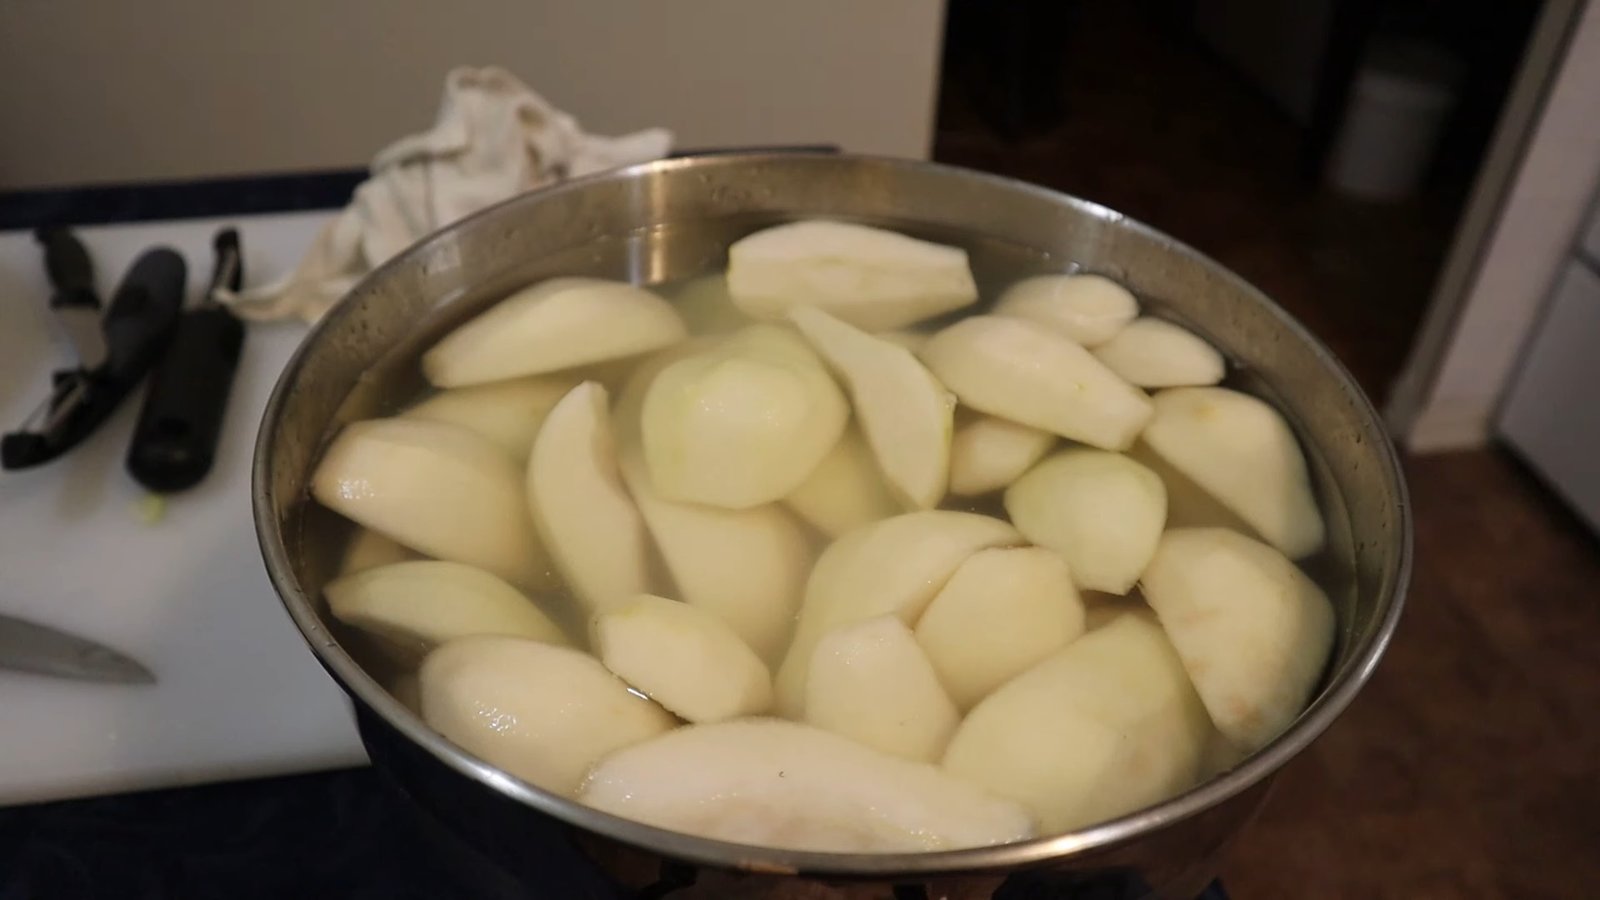
To prevent browning, the pear slices are immediately placed into a bowl of lemon water. Peels and cores are set aside, and seeds from suitable pears may even be saved for future planting.
Pro Tip: Quarters tend to pack better than halves, so go with quarters if you're trying to maximize your jar space.
Equipment and Tools Needed
Here’s a quick checklist of canning tools Tony uses:
Water bath canner (pressure canner used as a hot water bath)
")
Clean mason jars, lids, and rings
Funnel for pouring
Jar lifter and lid magnet
Chopstick or bubble remover
Clean towel for wiping rims
Large pot for preparing syrup
Making a Light Syrup
Tony prepares a light syrup using approximately ¾ gallon of water with just one cup of sugar—enough to enhance the pears’ natural sweetness without overpowering them.
Once the syrup is boiling, she hot-packs the pears in it for five minutes. This step helps the fruit absorb the liquid, reducing air pockets and minimizing fruit float once sealed in the jars.
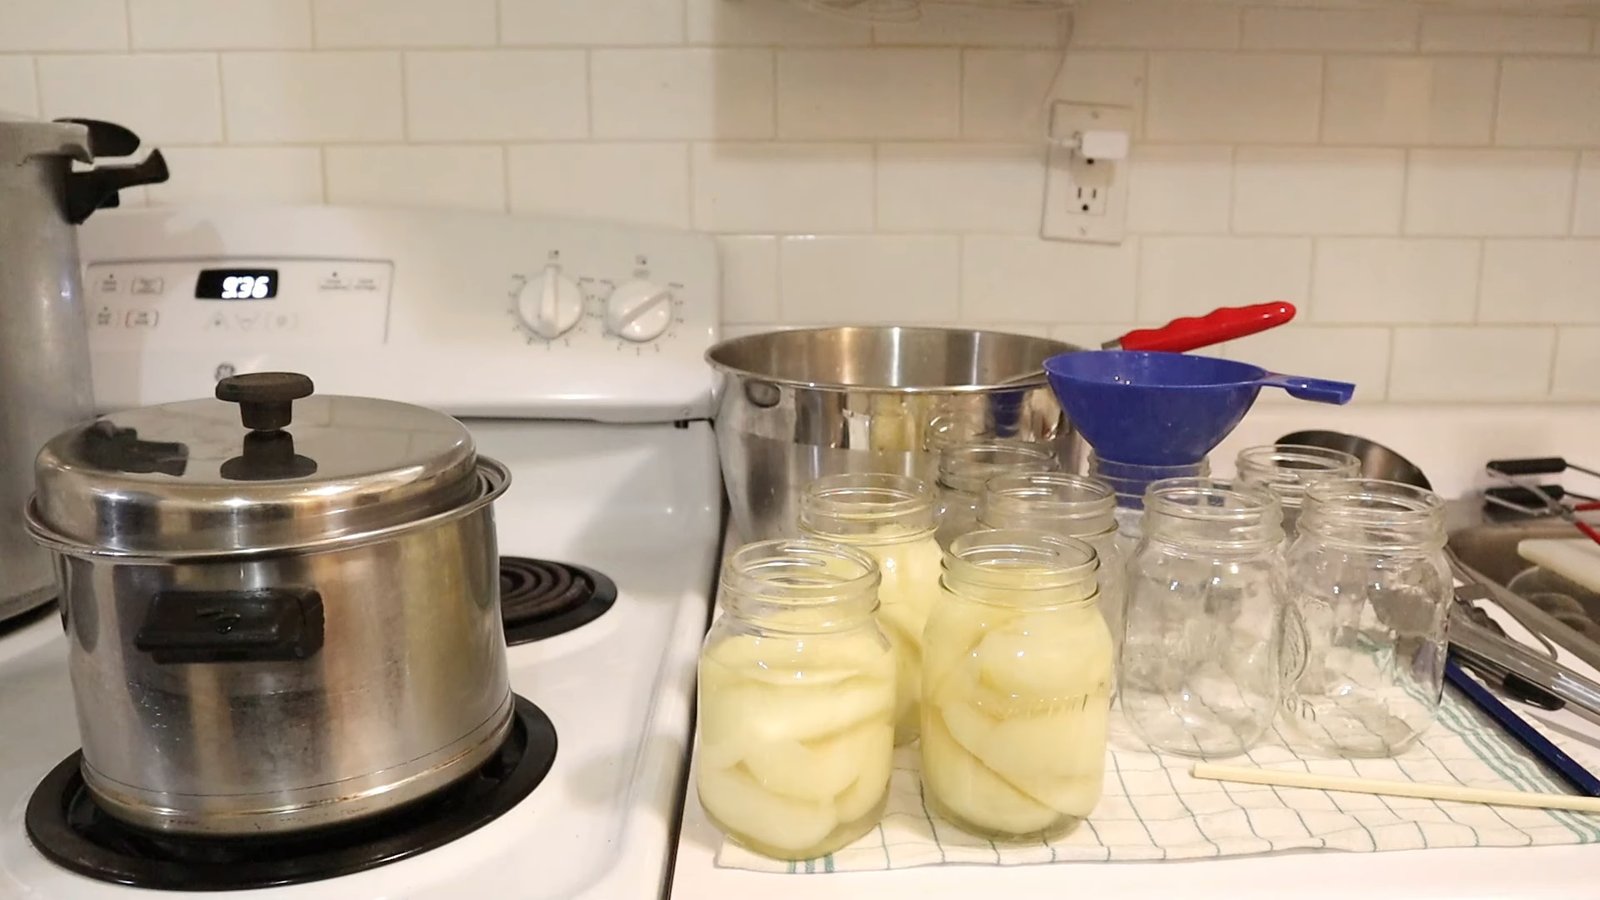
Filling and Processing the Jars
With the jars warm and ready, Tony carefully fills them with the hot pear quarters and ladles in syrup to cover the fruit. Each jar rim is wiped clean with plain water before adding the lids and tightening the bands.
Hot Pack vs. Cold Pack Tip: Tony recommends hot-packing pears for a better texture and reduced fruit floating.
Jars are then processed in a boiling water bath for 20 minutes (adjust for your altitude). A dash of vinegar is added to the canner to prevent mineral buildup and keep the jars sparkling clear.
Yield and Storage
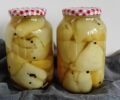
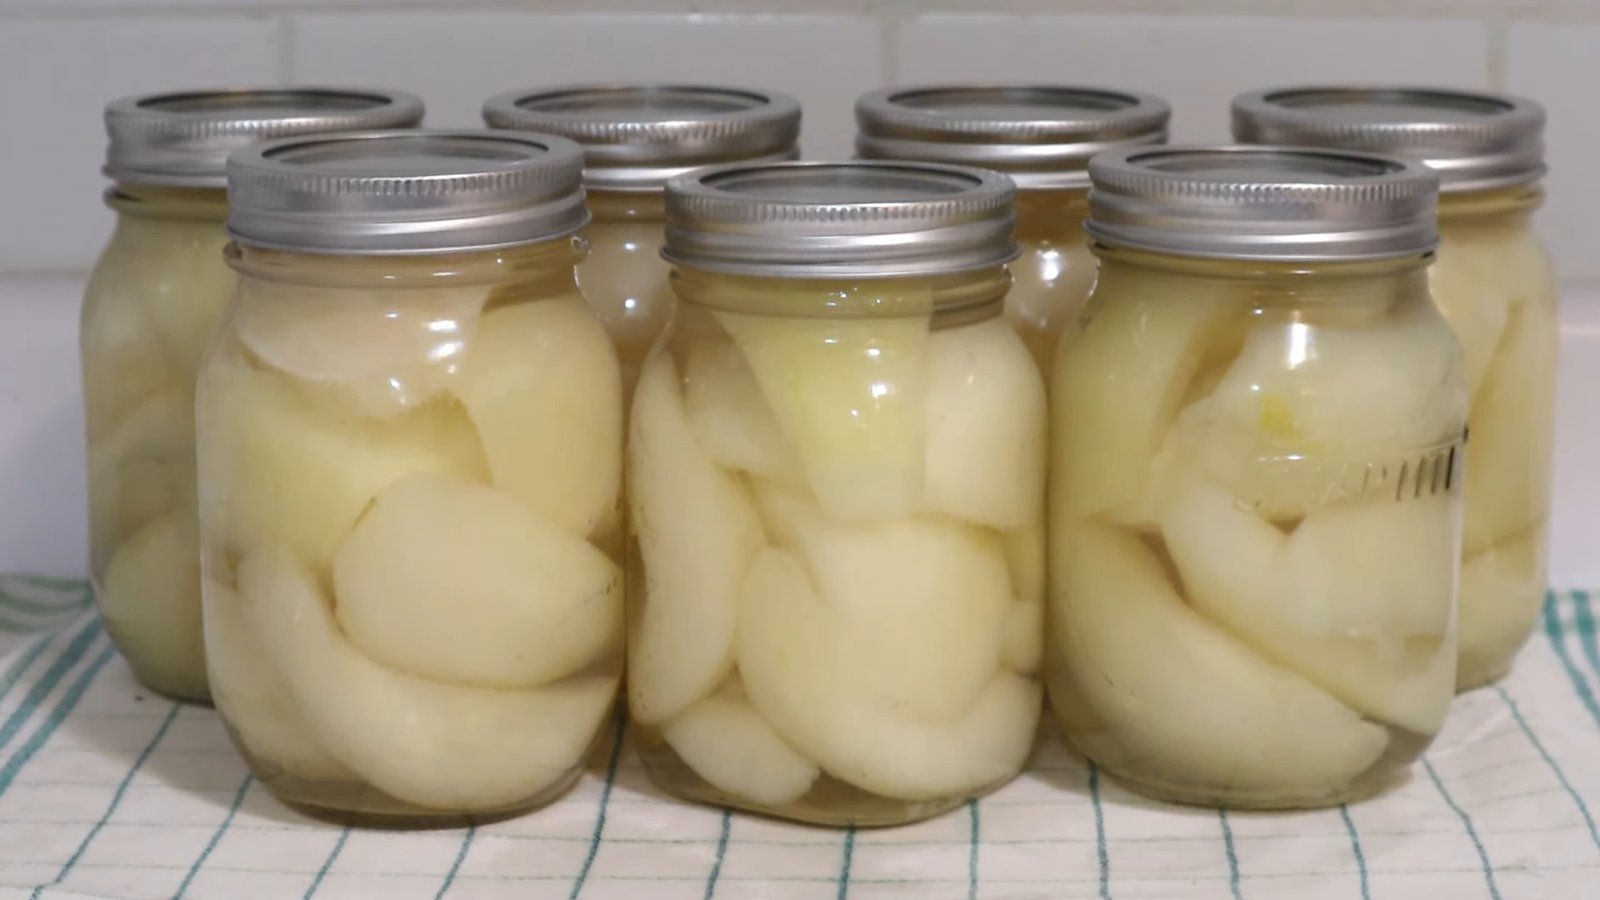
This batch yields about 9 pints of beautifully preserved pears. Once processed and cooled, the jars are
")
removed, allowed to sit undisturbed, and then stored for future use. Tony also mentions freezing a few pear slices for freeze-drying later.
Final Thoughts
As Tony notes, preserving your own food is more than a hobby—it’s a practical way to stay prepared and stock your pantry with wholesome ingredients. Whether you're water bath canning pears, dehydrating apples, or freeze-drying fruit, now is the season to fill your shelves.
")
If you’re looking to preserve fresh, seasonal fruit, water bath canning pears is a great place to start. Learn how Tony from Her Homestead Skills prepares, hot-packs, and cans delicious Bartlett pears using a simple light syrup method.
Why Water Bath Can Pears?
Canning pears at home is a wonderful way to extend the shelf life of your harvest while controlling the ingredients you use. In this guide, Tony from Her Homestead Skills walks us through the water bath canning process using fresh Bartlett pears from a local farm. These pears are firm, slightly under-ripe, and perfect for hot pack canning—ensuring the final result is tender but not mushy.
Choosing and Prepping Pears for Canning
Tony starts by selecting pears that are mostly firm and only slightly ripe. Overripe or bruised pears don’t can well—they turn too soft after processing. Each pear is peeled, cored, and quartered to fit more easily into pint jars.
To prevent browning, the pear slices are immediately placed into a bowl of lemon water. Peels and cores are set aside, and seeds from suitable pears may even be saved for future planting.
Pro Tip: Quarters tend to pack better than halves, so go with quarters if you're trying to maximize your jar space.
Equipment and Tools Needed
Here’s a quick checklist of canning tools Tony uses:
Water bath canner (pressure canner used as a hot water bath)
Clean mason jars, lids, and rings
Funnel for pouring
Jar lifter and lid magnet
Chopstick or bubble remover
Clean towel for wiping rims
Large pot for preparing syrup
Making a Light Syrup
Tony prepares a light syrup using approximately ¾ gallon of water with just one cup of sugar—enough to enhance the pears’ natural sweetness without overpowering them.
Once the syrup is boiling, she hot-packs the pears in it for five minutes. This step helps the fruit absorb the liquid, reducing air pockets and minimizing fruit float once sealed in the jars.
Filling and Processing the Jars
With the jars warm and ready, Tony carefully fills them with the hot pear quarters and ladles in syrup to cover the fruit. Each jar rim is wiped clean with plain water before adding the lids and tightening the bands.
Hot Pack vs. Cold Pack Tip: Tony recommends hot-packing pears for a better texture and reduced fruit floating.
Jars are then processed in a boiling water bath for 20 minutes (adjust for your altitude). A dash of vinegar is added to the canner to prevent mineral buildup and keep the jars sparkling clear.
Yield and Storage
This batch yields about 9 pints of beautifully preserved pears. Once processed and cooled, the jars are
removed, allowed to sit undisturbed, and then stored for future use. Tony also mentions freezing a few pear slices for freeze-drying later.
Final Thoughts
As Tony notes, preserving your own food is more than a hobby—it’s a practical way to stay prepared and stock your pantry with wholesome ingredients. Whether you're water bath canning pears, dehydrating apples, or freeze-drying fruit, now is the season to fill your shelves.
0 servings